Refinishing hardwood is one of the highest-payback projects you can tackle yourself, and varathane floor finish sits near the top of most shortlists because it balances durability, a reasonable price, and forgiving application. Whether you are reviving a tired oak living room or sealing brand-new maple treads, a quality varathane floor finish can add five to ten years of protection for a fraction of what a pro refinish costs.
This guide walks through the product line, the water-based versus oil-based decision, sheen choices, realistic dry times, and the application details that separate a glassy pro-grade result from a streaky, bubbled mess. Expect to spend a weekend on a single room and roughly $60 to $150 in materials for 200 to 300 square feet.
What Varathane Floor Finish Actually Is
Varathane is a polyurethane topcoat sold by Rust-Oleum, formulated specifically for floors rather than furniture or trim. Floor formulas carry more solids and tougher resins than general-purpose poly, so they resist foot traffic, furniture scuffs, and rolling chair casters. You will find it in one-quart and one-gallon cans, with a gallon covering roughly 350 to 500 square feet per coat depending on wood porosity.
Two broad families exist: water-based (labeled Water-Based Ultimate Polyurethane) and oil-based (Classic or Premium Oil-Based). Both cure to a hard protective film, but they behave very differently during application and age differently over the years. Choosing between them is the single biggest decision you make, so it deserves its own section.
Water-Based vs Oil-Based: The Core Decision
Water-based Varathane dries clear and stays clear, keeping light woods like maple, ash, and white oak looking bright and natural. It has low odor, cleans up with soap and water, and recoats in about two hours, so you can lay three coats in a single day. The tradeoff is that it raises the grain slightly on the first coat and costs more per gallon.
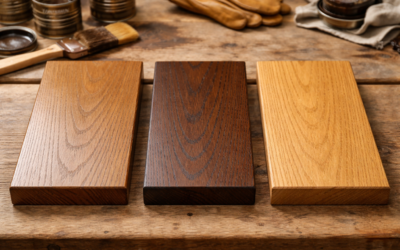
Oil-based Varathane adds a warm amber tone that deepens over time, which many homeowners love on red oak, hickory, and pine. It self-levels beautifully, hides brush marks, and generally costs less. The downsides are strong solvent fumes, mineral-spirit cleanup, and long dry times of 8 to 24 hours between coats. Consider these practical points:
- Color: Choose water-based to preserve pale, modern tones; oil-based for a richer, traditional glow.
- Speed: Water-based lets you finish a room in a day; oil-based often needs a full weekend or more.
- Odor and ventilation: Oil-based requires open windows and respirators; water-based is far milder.
- Longevity: Both last 7 to 10 years in a home, though oil-based films tend to be slightly more forgiving of spot repairs.
Picking the Right Sheen
Sheen changes both looks and maintenance. Varathane floor finishes come in gloss, semi-gloss, satin, and matte. Glossier surfaces reflect more light and feel formal, but they broadcast every scratch, dust mote, and pet-nail scuff. Lower sheens hide wear and are far more forgiving in busy households.
Satin is the workhorse choice for most homes because it offers a soft, low-glare surface that masks daily scuffing while still looking finished. Matte suits rustic and wide-plank floors, while semi-gloss and gloss shine in formal dining rooms or entryways where you want drama and are willing to dust often. A common pro trick is to build coats in satin and reserve gloss only where you truly want the mirror effect.
Tools and Materials You Will Need
Gather everything before you open a can, because polyurethane starts skinning over the moment air hits it. A rushed trip to the hardware store mid-coat almost guarantees lap marks. Here is a practical kit:
- Varathane floor finish, one gallon per 350 to 400 sq ft per coat, plus extra for a third coat
- A synthetic-bristle applicator or a T-bar/lambswool floor applicator for large areas
- A high-quality synthetic brush for edges and corners (natural bristle only for oil-based)
- 120-, 150-, and 220-grit sandpaper or sanding screens for between-coat abrasion
- A vacuum with a brush head and tack cloths or a microfiber pad for dust removal
- Painter’s tape, knee pads, a respirator rated for organic vapors, and gloves
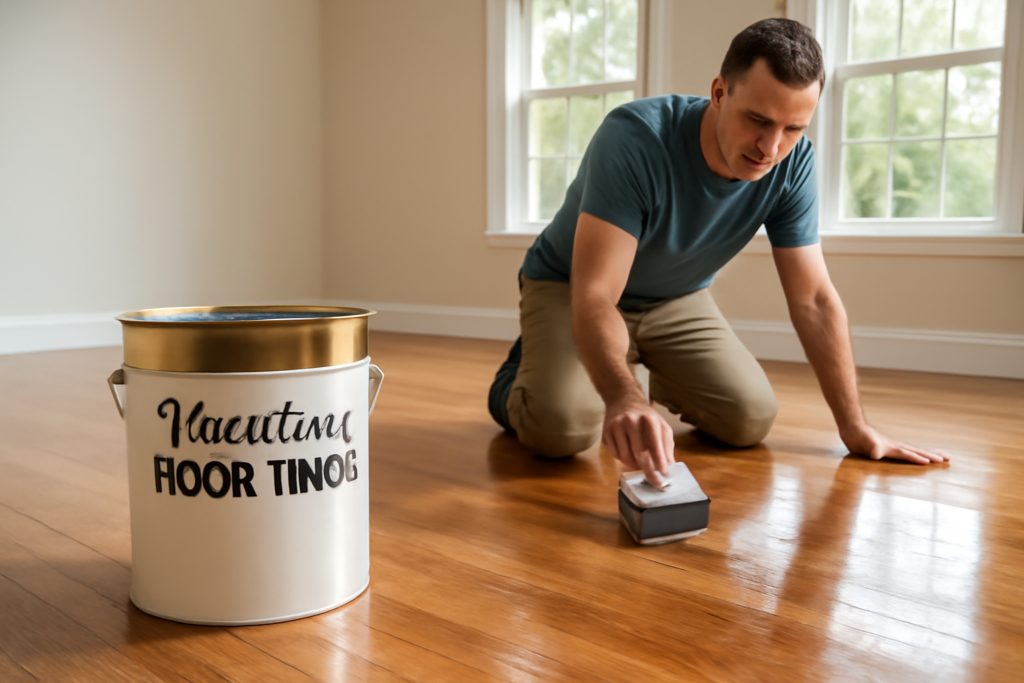
A dedicated floor applicator pad on a pole speeds coverage dramatically and cuts down on the crouching that wrecks your back over a full room. For rooms over 200 square feet, it pays for itself in time and consistency.
Step-by-Step Application
Preparation drives 80 percent of your result. Sand the bare or previously finished floor progressively, ending at 120-grit for the raw wood, then vacuum thoroughly and wipe with a tack cloth until no dust remains. Any grit left behind telegraphs straight through the finish as bumps.
- Stir the finish gently; never shake it, as bubbles trapped in the film dry as permanent cloudiness.
- Cut in the perimeter with a brush, working a two- to three-foot border ahead of the main field.
- Pour a bead and pull the applicator with the grain in long, overlapping passes, maintaining a wet edge.
- Let the first coat dry, then screen or lightly sand with 220-grit to knock down raised grain, and vacuum again.
- Apply the second and, ideally, third coat the same way, abrading lightly between each for adhesion.
Two coats are the bare minimum; three coats deliver the durability most floors need for high-traffic living areas, kitchens, and hallways. Work from the far corner toward your exit so you never paint yourself into a trap.
Dry Times, Cure Times, and When to Walk on It
Do not confuse dry with cured. Water-based Varathane is dry to the touch in 1 to 2 hours and recoatable in about 2 hours, while oil-based needs 8 or more hours between coats. Both, however, take much longer to fully cure. Plan around these milestones:
- Light foot traffic in socks: 24 hours for water-based, 24 to 48 hours for oil-based.
- Replacing furniture: wait at least 48 to 72 hours and use felt pads.
- Returning rugs and full cure: 7 to 14 days, and up to 30 days before laying area rugs.
Humidity above 60 percent and temperatures below 65°F stretch these windows considerably, so aim for a dry room between 65°F and 75°F.
Care, Maintenance, and Recoating
Once cured, a Varathane floor cleans up with a barely damp microfiber mop and a pH-neutral hardwood cleaner. Skip vinegar, ammonia, and steam mops, all of which dull and eventually degrade polyurethane. Felt pads under furniture and a no-shoes policy in the busiest rooms dramatically extend the life of the finish.
When traffic lanes start looking dull after several years, you often do not need a full sand-down. A screen-and-recoat, where you scuff the existing finish and roll on one fresh coat, restores protection and appearance in an afternoon. Done every few years, this keeps a floor looking new for decades and is the smartest habit any homeowner can adopt for hardwood.
Common Mistakes to Avoid
Rushing between coats, applying in a dusty room, and over-working the finish are the three errors that ruin most DIY jobs. Resist the urge to brush back over an area that has begun to set, as it drags and leaves permanent marks. Keep the room sealed off from pets and foot traffic, ventilate well, and give each coat its full dry time. With patience and the right prep, Varathane rewards you with a tough, beautiful floor that stands up to years of daily life.
Prefer to explore on your own?
See how new flooring looks in your actual room in seconds — free, no signup.
Try the free Floor Studio →