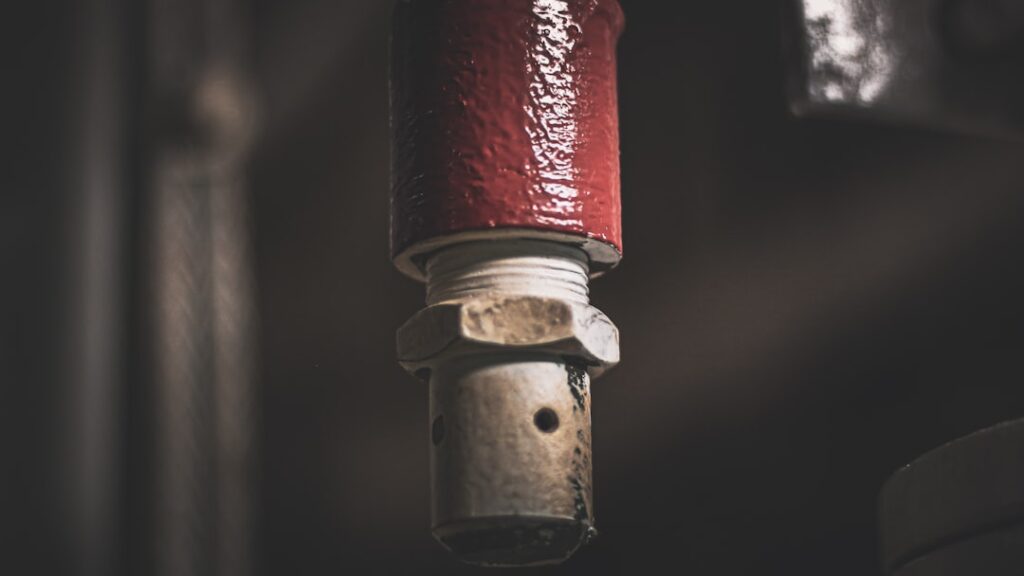
Water heater anode replacement is the single most overlooked maintenance task in the average home, and skipping it is why so many tanks rust out and flood a garage at year ten. The sacrificial anode rod inside your tank is designed to corrode so the steel tank doesn’t, but once it’s fully consumed, your tank starts rusting from the inside out. A water heater anode replacement costs $20 to $40 in parts and takes under an hour, and doing it every few years can push your tank past 15 or 20 years of service.
- What the Anode Rod Does
- When to Check and Replace It
- Magnesium vs. Aluminum vs. Powered Anodes
- Tools and Parts You’ll Need
- Step-by-Step Replacement
- The Most Common Sticking Point
- Dealing With Low Clearance
- The Combo Anode in the Hot-Water Outlet
- Flushing the Tank While You’re In There
- How Water Type Affects Rod Wear
- Why This Pays Off
What the Anode Rod Does
Every steel water heater tank has a magnesium or aluminum rod screwed into the top, running most of the tank’s height. Through simple electrochemistry, this rod corrodes in place of the steel tank, which is why it’s called a sacrificial anode. As long as there’s enough rod left, the tank stays protected.
The problem is that most homeowners never know the rod exists. It quietly dissolves over 3 to 5 years, and once it’s gone, the tank itself becomes the thing that corrodes. By the time you see rusty water or a leak, the damage is done.
When to Check and Replace It
A good rule is to inspect the anode every 2 to 3 years, sooner if you have soft water, which accelerates corrosion. Replace it when it’s clearly worn.
- Replace if: more than 6 inches of the steel core wire is exposed
- Replace if: the rod is coated in heavy calcium and reduced to under half its diameter
- Replace if: you notice a rotten-egg sulfur smell (switch to an aluminum-zinc rod)
- Timeline: most rods need replacement every 3 to 5 years
Magnesium vs. Aluminum vs. Powered Anodes
Choosing the right replacement rod matters as much as the timing. The three common types each suit different water conditions.
- Magnesium: the most protective and the standard for soft to moderate water; corrodes faster but shields the tank best
- Aluminum (or aluminum-zinc): lasts longer in hard water and, with zinc added, fights the rotten-egg sulfur smell
- Powered/impressed-current: an electric titanium rod that never depletes; pricier up front at $80 to $150 but essentially permanent
For most homes, a magnesium rod is the default. If you have a persistent sulfur smell from your hot water, switch to an aluminum-zinc rod, which usually cures it. In very hard water where magnesium disappears too fast, aluminum lasts longer. A powered anode is the set-and-forget option for anyone tired of repeat replacements.
Tools and Parts You’ll Need
This is a genuinely DIY-friendly job. You’ll want a 1 1/16-inch socket, a breaker bar or impact wrench for leverage, a garden hose, plumber’s tape, and the replacement rod. Buy a rod that matches your tank; a standard rigid rod works for most, but if you have low overhead clearance, get a segmented flexible anode that bends into place.
For homes with soft water or a sulfur smell, an aluminum-zinc rod resolves odor issues better than standard magnesium.
Step-by-Step Replacement
Give yourself an hour and work carefully; the hex head can be seized tight after years in place.
- Turn off power to an electric heater at the breaker, or set a gas heater to “pilot”
- Shut off the cold water supply valve at the top of the tank
- Drain 2 to 3 gallons from the drain valve to drop the water level below the anode port
- Locate the anode’s hex head on top of the tank (sometimes under a plastic cap)
- Break it loose with the socket and breaker bar; an impact wrench makes this far easier
- Unscrew and lift out the old rod, wrap the new rod’s threads with plumber’s tape, and thread it in
- Tighten firmly, restore water, open a hot tap to purge air, and check for leaks before restoring power
The Most Common Sticking Point
The hardest part of this job is almost always breaking the anode loose. After years of thermal cycling, the threads seize, and a hand wrench won’t budge it. This is where a corded or high-torque impact wrench earns its keep. If you’re using a breaker bar, have a helper brace the tank so it doesn’t rotate, and consider a 3-foot cheater pipe over the bar for extra leverage. Don’t overheat with a torch near a gas line.
Dealing With Low Clearance
A frequent real-world obstacle is not having enough headroom above the tank to pull a rigid 40-inch rod straight out. Many water heaters sit in a closet or under a low basement joist with just a foot or two of space overhead. The solution is a flexible segmented anode rod, which is made of short sections linked so it bends as you feed it in and out.
Measure your overhead clearance before buying. If you have less than the rod’s full length, get the flexible version. It installs the same way but articulates around the tight space, letting you complete a job that would otherwise seem to require moving the entire water heater.
The Combo Anode in the Hot-Water Outlet
Some tanks, particularly certain electric models and space-saving units, don’t have a separate anode port on top. Instead, the anode is a “combo” rod built into the hot-water outlet nipple. If you can’t find a hex head on top of your tank, this is likely your setup.
Replacing a combo anode means disconnecting the hot-water line and unthreading the outlet fitting, which the anode hangs from. It’s a bit more involved but follows the same principles: cut the power and water, drain enough to drop below the fitting, swap the rod, and reseal the threads. Knowing which type you have before you start saves a frustrating trip back to the store.
Flushing the Tank While You’re In There
Since replacing the anode already requires partially draining the tank, it’s the perfect time to flush out sediment, which is the other major cause of premature tank failure. Mineral sediment settles at the bottom of the tank over the years, insulating the burner or element, reducing efficiency, and causing that popping or rumbling sound many old heaters make.
With the water supply off and a hose on the drain valve, open the valve and let the tank drain fully, then briefly turn the cold water back on in bursts to stir up and flush out the settled sediment. Keep flushing until the water runs clear. On a tank that’s never been flushed, you may see a surprising amount of chalky grit and mineral debris come out.
Doing both jobs together, anode swap and sediment flush, takes maybe 30 extra minutes and addresses the two biggest killers of water heaters in one session. Make it an every-few-years ritual and you’ll dramatically extend the life of the appliance. If sediment is so heavy it clogs the drain valve, that’s often a sign the tank is well into its later years.
How Water Type Affects Rod Wear
Your water chemistry dictates how fast the anode disappears, which is why replacement intervals vary so much between homes. Soft water, whether naturally soft or run through a softener, is aggressive toward anode rods and can consume a magnesium rod in as little as one to three years. That’s a trade-off many softener owners don’t realize: the same soft water that protects your appliances from scale eats the anode faster.
Hard water, by contrast, tends to coat the rod in mineral scale that slows its consumption, so a rod may last four to five years. Well water with high mineral or iron content behaves differently again and warrants more frequent checks. The takeaway is simple: if you have a water softener, inspect the anode more often, every year or two, and consider an aluminum rod, which holds up longer in soft water than magnesium does.
Why This Pays Off
A replacement water heater runs $1,200 to $2,500 installed today. A fresh anode rod costs about $30. Spending an hour every few years on water heater anode replacement is the highest-return maintenance you can do on the appliance, easily doubling a tank’s realistic lifespan from 8 to 12 years up to 15 or 20.
If your tank is already past ten years and you’ve never touched the anode, it may be too late to save a rusted interior, but for anything newer, this simple swap is well worth the afternoon. Mark the date on the tank with a marker so you remember when the next check is due, and your water heater will outlast your neighbors’ by years.