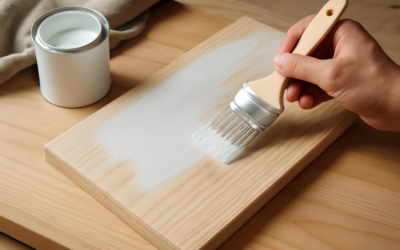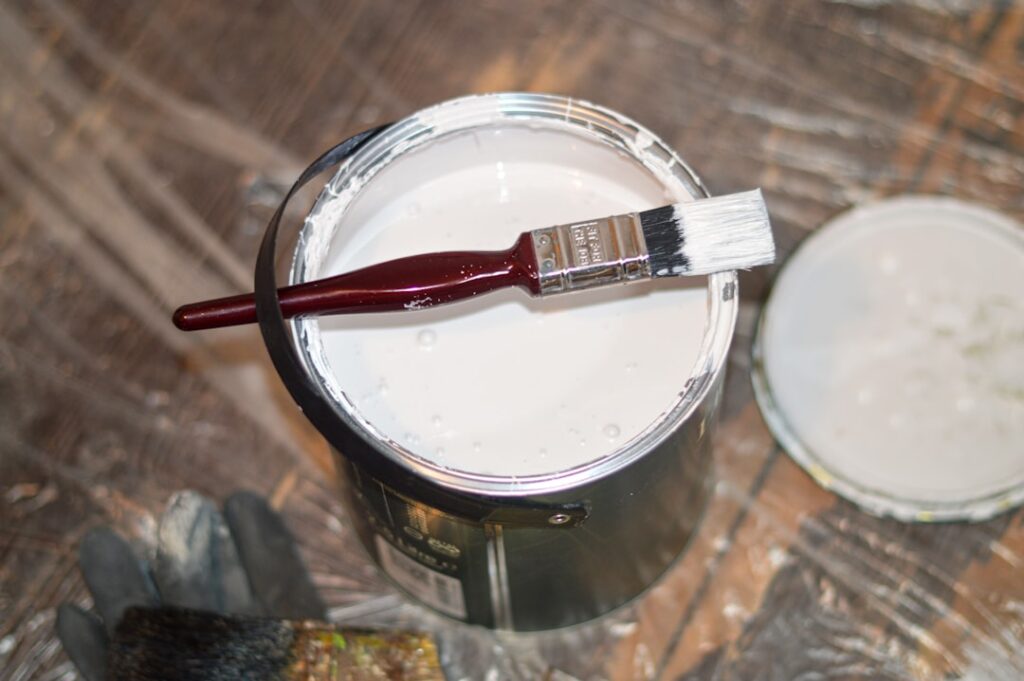
Skipping primer is the shortcut that costs you a second coat, a blotchy finish, or peeling paint a year later. White primer paint is the foundation coat that makes topcoats stick, hides what is underneath, and gives your color a clean, uniform base to sit on. Understand when you need it and which type to use, and you will get better results with less paint.
Part of our Paint & Walls guide — explore the full guide →
This guide covers what primer actually does, the different types, when white specifically is the right call, coverage and drying numbers, and how to apply it for a finish that lasts.
- What Primer Actually Does
- When You Should Use White Primer
- Types of White Primer
- Coverage and Drying Times
- What White Primer Costs
- How to Apply White Primer
- Common Priming Mistakes
- Should You Buy Tinted Primer Instead?
- Primer vs. Paint-and-Primer-in-One
- How Much Primer to Buy
- Priming Specific Surfaces
- The Bottom Line
What Primer Actually Does
Primer is not just thin white paint. It is engineered to do three jobs paint cannot do as well:
- Adhesion: primer bonds to difficult surfaces and gives the topcoat something to grip.
- Sealing: it seals porous surfaces like new drywall, bare wood, and patched spots so they do not drink up your finish paint unevenly.
- Blocking: stain-blocking primers seal in water stains, smoke, tannin bleed, and old colors so they do not ghost through.
White primer adds a fourth benefit: it gives you a bright, neutral base that makes your topcoat color read true and cover in fewer coats.
When You Should Use White Primer
You do not always need primer, but you do in these situations:
- New drywall: the paper and joint compound absorb differently; primer evens them out. Use a drywall/PVA primer.
- Bare wood: seals the grain and prevents blotchy stain absorption.
- Patched or repaired walls: spackle and joint compound flash differently than the surrounding wall without primer.
- Going from dark to light: white primer knocks down a dark wall so your light topcoat covers in two coats instead of four.
- Stains and problem areas: water marks, marker, grease, and smoke need a stain-blocking primer or they bleed through.
- Glossy or slick surfaces: a bonding primer lets paint grip tile, laminate, or previously high-gloss trim.
When you can skip it: repainting a clean, similar-colored, already-painted wall in good condition with a quality self-priming paint.
Types of White Primer
Match the primer to the surface and problem:
- PVA (drywall) primer: cheap, water-based, made for new drywall. Not a stain blocker.
- Latex/acrylic primer: the versatile all-rounder for walls, wood, and general interior use. Low odor, easy cleanup.
- Oil-based primer: excellent stain and tannin blocking, seals knots in wood, sticks to glossy surfaces. Stronger fumes, mineral-spirit cleanup.
- Shellac-based primer: the heavyweight stain and odor blocker — smoke damage, pet stains, severe water marks. Fast-drying, strong odor.
- Bonding primer: formulated to grip slick surfaces like tile, glass, laminate, and glossy trim.
Coverage and Drying Times
Real numbers to plan your project:
- Coverage: most white primers cover 200-400 sq ft per gallon. Porous surfaces like new drywall and bare wood eat toward the low end.
- Drying to recoat: latex primer is typically dry to topcoat in 1-3 hours; oil-based often needs several hours to overnight; shellac can recoat in under an hour.
- Coats needed: one coat of primer is standard, but heavy stains, deep color changes, or very porous surfaces may need two.
Always follow the can’s recoat window. Topcoating too soon over oil primer traps solvent and causes problems; waiting far too long can require a light scuff-sand for adhesion.
What White Primer Costs
Realistic 2025 pricing:
- PVA drywall primer: $15-$25 per gallon
- Latex/acrylic primer: $20-$40 per gallon
- Oil-based stain-blocking primer: $30-$50 per gallon
- Shellac-based primer: $35-$55 per gallon (or spray cans $8-$15 for spot work)
- Bonding primer: $30-$50 per gallon
Primer is cheaper than finish paint, which is part of why priming saves money — a gallon of primer costs less than the extra gallon of color you would burn covering a dark or porous wall without it.
How to Apply White Primer
The application is much like painting, with a few specifics:
- Clean and prep first. Primer bonds to a clean, dull surface — wash off grease, sand glossy areas, and dust everything.
- Cut in the edges with a brush, then roll the field, keeping a wet edge.
- Do not over-apply. A single even coat is the goal; primer is a base, not a build coat.
- Let it dry fully to the recoat window before topcoating.
- Lightly sand between primer and topcoat on trim and woodwork with 220-grit for a glass-smooth finish.
Common Priming Mistakes
A few errors undo the benefit of priming:
- Skipping primer on bare or patched surfaces, then wondering why the finish flashes and looks blotchy.
- Topcoating before the primer has dried to its recoat window, trapping moisture or solvent.
- Using a stain-blocking primer where a simple drywall primer would do, or the reverse — using PVA over a water stain that then bleeds through.
- Applying primer too thick as if it were a build coat; one even coat is the goal.
- Not cleaning or sanding a glossy surface first, so even bonding primer struggles to grip.
Avoid these and primer does exactly its job: a clean, sealed, well-bonded base that makes the topcoat cover better and last longer.
Should You Buy Tinted Primer Instead?
White primer is the default, but many paint counters will tint primer gray or toward your topcoat color. This helps when you are painting a very deep or saturated topcoat — red, deep blue, or bright yellow — where a plain white base fights the color and demands extra coats. For light and mid-tone topcoats, plain white primer is exactly right. For dark, vivid finishes, ask for a tinted primer to cut a coat off the job.
Primer vs. Paint-and-Primer-in-One
The paint counter is full of “paint and primer in one” products, and they cause a lot of confusion. These are thicker self-priming paints that work fine when you are repainting a clean, sound, similarly-colored surface — an already-painted wall in good shape. They are NOT a substitute for a real primer on bare drywall, bare wood, stained surfaces, glossy surfaces, or big color changes. In those situations you still need a dedicated primer. Think of paint-and-primer-in-one as a good repaint product, not a magic replacement for proper priming when the surface actually needs sealing, bonding, or stain-blocking.
How Much Primer to Buy
Estimating quantity keeps you from a second trip to the store or a half-used can gathering dust. Measure the square footage — length times height of each wall — and divide by the coverage rate on the can, usually 200-400 sq ft per gallon. Round up for porous surfaces like new drywall and bare wood, which drink more. A typical 12×12-foot room with 8-foot ceilings has roughly 380 sq ft of wall, so one gallon covers it in a single coat with a little to spare. Buy an extra quart if you have heavy stains or a deep color to block, since those areas may need two coats.
Store leftover primer sealed and out of freezing temperatures — most water-based primers are ruined if they freeze, so keep them out of an unheated garage in winter.
Priming Specific Surfaces
Different surfaces demand different primer strategies:
- New drywall: use a PVA drywall primer to seal the porous paper and joint compound so the topcoat covers evenly.
- Bare wood and trim: an oil-based or quality latex primer seals the grain; oil blocks knots and tannin bleed on pine and cedar.
- Previously painted walls in good shape: often no primer needed unless changing color drastically or the old paint is glossy.
- Glossy trim or cabinets: scuff-sand and use a bonding primer so the new paint grips the slick surface.
- Water-stained ceilings: a stain-blocking oil or shellac primer, or the stain ghosts back through.
- Bathrooms and kitchens: a mold-resistant primer in moisture-prone areas adds protection.
Matching the primer to the surface is the whole game — the right primer on the right substrate is what makes the topcoat bond, cover, and last, while the wrong one (or none) is behind most peeling, blotching, and bleed-through failures.
The Bottom Line
White primer paint is the step that makes everything above it look and last better. Prime new drywall, bare wood, patches, stains, glossy surfaces, and any big color change, and match the primer type to the problem — PVA for drywall, oil or shellac for stains, bonding primer for slick surfaces. Apply one even coat, respect the recoat window, and consider tinted primer under deep colors. Do that, and your topcoat goes on smoother, covers in fewer coats, and stays put for years.