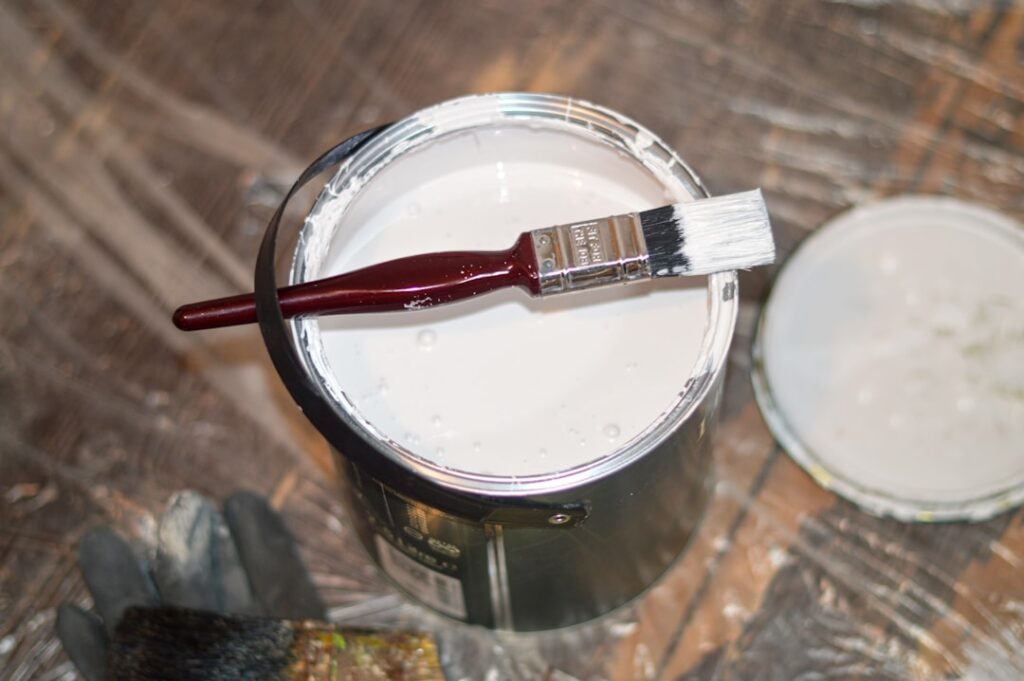
Skip the primer and you’ll pay for it in extra topcoats, blotchy sheen, and paint that peels in a year. An acrylic paint primer is the water-based undercoat that seals porous surfaces, blocks stains, and gives your finish paint something to grip. If you’ve ever wondered whether that gallon of acrylic paint primer is worth the extra step, the short answer from twenty years of jobsites is almost always yes.
Part of our Paint & Walls guide — explore the full guide →
- What Acrylic Primer Actually Does
- Acrylic vs. Oil vs. Shellac Primer
- When You Actually Need Primer
- How to Apply Acrylic Primer Step by Step
- Coverage, Dry Time, and What to Expect
- Tinting Primer to Save Coats
- What It Costs
- Priming Specific Surfaces
- How Many Coats of Primer?
- Common Mistakes to Avoid
- The Bottom Line
What Acrylic Primer Actually Does
Primer isn’t watered-down paint. It’s engineered for adhesion and sealing, not color and durability. A good acrylic primer does three jobs: it bonds to the substrate and gives the topcoat a uniform surface to stick to, it seals porous materials like new drywall or bare wood so they don’t drink up your finish paint, and it evens out the surface so your color goes on with consistent sheen instead of flashing dull in some spots and shiny in others.
Because it’s acrylic — a water-based resin — it dries fast, cleans up with soap and water, stays flexible so it won’t crack, and gives off far less odor than old solvent-based primers.
Acrylic vs. Oil vs. Shellac Primer
Three primer families cover almost every job. Knowing which to grab saves you a return trip.
- Acrylic (latex) primer — the everyday workhorse. Best for drywall, previously painted walls, masonry, and softwoods. Low odor, fast dry, water cleanup.
- Oil-based primer — better for heavy tannin bleed from cedar and redwood, and for sealing water stains on trim. Slower, smellier, needs mineral spirits to clean up.
- Shellac primer — the nuclear option for smoke damage, deep water stains, pet odor, and knots. Blocks almost anything but dries hard and brittle and needs denatured alcohol cleanup.
For 90% of interior repaints, an acrylic paint primer is the right call. Reach for oil or shellac only when you’re fighting a stain or odor that water-based won’t hold back.
When You Actually Need Primer
You don’t prime every job — that’s a myth that sells product. Here’s when it’s non-negotiable:
- New drywall — bare paper and joint compound absorb paint at different rates, so unprimed drywall flashes badly. Use a drywall-specific PVA or a quality acrylic primer.
- Bare wood, patched spots, and skim coats — anywhere raw or repaired material meets old paint.
- Big color changes — going from dark to light, or covering a bold red or deep blue. A gray-tinted primer cuts your topcoats from three to one or two.
- Glossy or slick surfaces — a bonding acrylic primer lets you paint over semi-gloss trim, tile, or laminate without sanding to bare.
- Stains and marks — water rings, marker, grease. Spot-prime at minimum.
When can you skip it? Repainting a clean, previously painted wall the same or similar color in the same sheen. A quality self-priming paint handles that fine.
How to Apply Acrylic Primer Step by Step
The prep is 80% of the result. Cutting corners here shows up in the finish coat every time.
- Clean the surface. Wipe walls with a damp sponge; degrease kitchens with a TSP substitute. Primer won’t bond to dust or grease.
- Scuff glossy areas. Hit slick trim or old semi-gloss with 150-grit so the primer has tooth. Wipe the dust.
- Patch and sand. Fill nail holes and dents, sand smooth, and spot-prime the patches so they don’t flash.
- Cut in. Use a 2.5-inch angled brush around trim, corners, and ceiling lines.
- Roll it on. A 3/8-inch nap on smooth walls, 1/2-inch on texture. Work in 3-by-3-foot sections and keep a wet edge.
- Let it dry, then lightly sand. Most acrylic primers recoat in one hour. A quick pass with 220-grit before your topcoat gives a glass-smooth finish.
Coverage, Dry Time, and What to Expect
A gallon of acrylic primer covers roughly 200–400 square feet depending on how porous the surface is — bare drywall and wood soak it up fast, so plan on the low end. New surfaces drink more than sealed ones.
Dry-to-touch is usually 30 minutes to an hour. Recoat or topcoat after one to two hours in normal conditions, but humidity and cold slow that down. Below 50°F, most acrylics won’t cure properly, so don’t prime an unheated garage in winter. One coat is standard; two on very porous or heavily stained areas.
Tinting Primer to Save Coats
Here’s a trick most homeowners miss: have the paint desk tint your primer toward your finish color. A gray-tinted primer under a deep or saturated topcoat can mean the difference between one finish coat and three. For light colors, tint the primer to a soft version of the topcoat. For reds, oranges, and deep colors, a medium-gray tinted primer is the pro standard — it’s why bold walls actually look bold instead of patchy.
What It Costs
Budget acrylic primers like Kilz 2 or Glidden PVA run $18–$25 a gallon. Premium bonding and stain-blocking acrylics — Zinsser Bulls Eye 1-2-3, Sherwin-Williams ProBlock — run $30–$45 a gallon. Spray cans of primer for small spot jobs cost $8–$12. For a standard 12-by-14 room, one gallon primes the walls with room to spare. It’s cheap insurance against a topcoat that peels or blotches.
Priming Specific Surfaces
Not every surface takes primer the same way, and knowing the quirks saves you a failed finish.
- New drywall — a dedicated PVA primer or quality acrylic seals the porous paper and joint compound so they absorb your topcoat evenly. Skip it and the mudded seams flash dull against the glossy paper.
- Bare wood trim — an acrylic primer raises the grain slightly, so let it dry and sand with 220-grit before topcoating. For knotty pine or cedar, spot-prime the knots with shellac first or they’ll bleed through.
- Previously painted glossy trim — scuff with 150-grit, wipe clean, then use a bonding acrylic primer so your new paint doesn’t peel off in sheets.
- Masonry and concrete — a masonry acrylic primer fills the pores and neutralizes the alkalinity that can otherwise attack your topcoat. Let fresh concrete cure at least 30 days first.
- Patched and skim-coated areas — always spot-prime repairs. Fresh joint compound is far more porous than the surrounding wall and will flash if you paint over it raw.
How Many Coats of Primer?
One coat of acrylic primer handles most jobs. You need a second coat when the surface is bare and very porous, when you’re blocking a stain that ghosts through the first pass, or when you’re making a dramatic color change and want a fully uniform base. Don’t confuse coverage with hiding — primer’s job is to seal and bond, not to look perfect. If your primer looks a little blotchy over patches, that’s fine, as long as it’s sealed. Your topcoat does the covering.
Common Mistakes to Avoid
- Topcoating too soon. Painting over primer that isn’t cured traps solvents and ruins adhesion. Wait the full recoat window.
- Using primer as a finish. Primer isn’t washable or durable — it’s a base. Always topcoat it, and don’t leave it exposed for weeks in sunlight.
- Wrong primer for the stain. Water-based acrylic won’t block heavy tannin, smoke, or deep water stains. Match the primer to the problem.
- Skipping the scuff sand. On glossy surfaces, even a bonding primer benefits from a quick 150-grit pass.
- Priming in bad conditions. Below 50°F or above 85°F with high humidity, acrylic primer won’t cure right and adhesion suffers. Aim for a dry day between 60 and 80 degrees.
One more field lesson: don’t over-thin acrylic primer to stretch it. A splash of water to help it flow through a sprayer is fine, but thinning past 10% wrecks the sealing and bonding properties that are the whole point. If it’s dragging on the roller, you’re better off with a fresh, better-quality product than a watered-down one.
The Bottom Line
An acrylic paint primer is the low-odor, fast-drying, water-cleanup workhorse that handles the vast majority of interior jobs — new drywall, patches, color changes, and slick surfaces. Prime when the surface is raw, repaired, glossy, stained, or changing color dramatically, and skip it only on a clean same-color repaint. Tint it to save coats, give it time to cure, and your finish will look sharp and last for years instead of peeling by next spring.