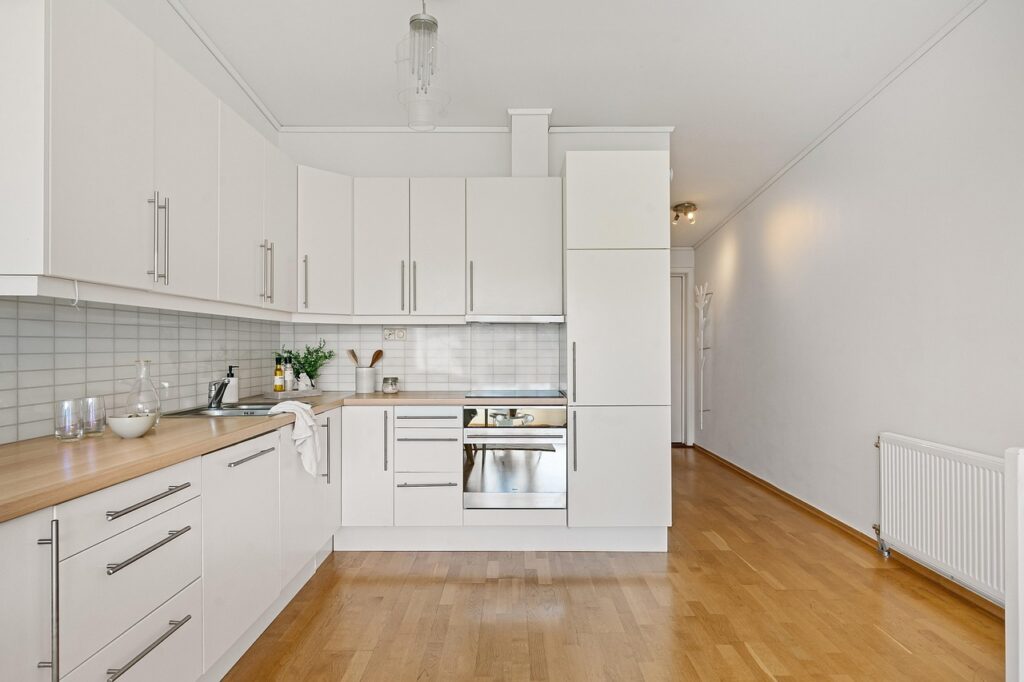
A flawless painted finish starts long before the color coat, which is why choosing the best primer for kitchen cabinets is the single most important decision in the process. The right primer blocks stains, grips slick surfaces, and gives topcoats a smooth, durable foundation that resists the grease, moisture, and heavy use of a real kitchen.
Part of our Kitchen Remodeling guide — explore the full guide →
- Why Primer Matters So Much
- Shellac-Based Primers
- Oil-Based Primers
- Water-Based Bonding Primers
- Matching Primer to Your Cabinets
- Surface Prep Comes First
- Spray, Brush, or Roll
- How Many Coats You Need
- Dry and Recoat Times
- Choosing a Compatible Topcoat
- Priming Oak and Open-Grain Woods
- Priming Laminate and Thermofoil
- Low-VOC and Odor Concerns
- Tinting Primer for Better Coverage
- Common Mistakes to Avoid
- How Long Primer Needs to Cure
- Choosing Brushes and Rollers
- Cleanup and Disposal
- Spot-Priming Repairs and Touch-Ups
- Storing Leftover Primer
- Final Thoughts
Why Primer Matters So Much
Cabinets face grease splatter, steam, fingerprints, and constant handling. Paint applied directly to bare or previously finished wood often peels, bleeds, or shows tannin stains within months. Primer creates a bonding layer that locks the topcoat to the surface, seals wood tannins, and provides a uniform base so the color goes on evenly and lasts for years.
Shellac-Based Primers
Shellac primers, such as the classic BIN formula, are prized for unmatched stain and odor blocking. They seal knots, water stains, and tannin bleed from woods like oak and pine, and they dry in under an hour. The downsides are a strong alcohol smell and cleanup requiring denatured alcohol. For cabinets prone to bleed-through, shellac is often the top pick.
Oil-Based Primers
Oil, or alkyd, primers offer excellent adhesion and stain resistance and level to a very smooth surface. They penetrate wood well and block tannins effectively. However, they emit strong fumes, dry slowly over several hours, and require mineral spirits for cleanup. They can also yellow over time under light colors, so they suit warmer or darker topcoats better.
Water-Based Bonding Primers
Modern acrylic bonding primers have improved dramatically and now grip glossy and laminate surfaces well. They dry fast, clean up with water, and have low odor and lower VOCs. Bonding formulas are ideal for previously painted or slick factory-finished cabinets. While their stain-blocking is slightly less aggressive than shellac, a quality bonding primer handles most repaint jobs beautifully.
Matching Primer to Your Cabinets
For raw oak or knotty pine that will bleed tannins, choose shellac or oil. For slick thermofoil, melamine, or previously painted cabinets, a bonding primer grips best. For maple and poplar destined for white paint, a water-based bonding or shellac primer keeps the color clean. Identifying your surface first ensures you buy the right product rather than guessing.
Surface Prep Comes First
No primer performs without proper prep. Degrease every surface with a strong cleaner to remove cooking film, then rinse and dry. Scuff-sand with 150 to 220 grit to give the primer tooth. Fill dents and grain as needed, then remove all dust with a tack cloth. Skipping degreasing is the leading cause of peeling paint on cabinets.
Spray, Brush, or Roll
Spraying delivers the smoothest primer coat but requires masking and equipment. A fine foam roller followed by light brush tipping produces excellent results for the DIYer. Use a high-quality synthetic brush for water-based primers and a natural bristle brush for oil. Thin, even coats beat one thick coat, which sags and takes longer to cure properly.
How Many Coats You Need
Most cabinets need one solid coat of primer, but heavily stained wood or dramatic color changes benefit from two. Sand lightly with 220 grit between coats and before the topcoat to knock down any raised grain or dust nibs. A well-sanded primed surface is the secret to a glass-smooth final finish.
Dry and Recoat Times
Shellac primers recoat in about an hour, water-based in one to two hours, and oil-based in several hours or overnight. Follow the label, since recoating too soon traps solvents and softens the film. Temperature and humidity affect drying; aim for 60 to 80 degrees Fahrenheit and moderate humidity for best results and proper curing.
Choosing a Compatible Topcoat
Pair your primer with a cabinet-grade enamel, whether a water-based acrylic-alkyd hybrid or a durable urethane-fortified paint. Water-based topcoats generally go over any fully cured primer. Confirm compatibility on both product labels. The primer and topcoat working together, not either alone, produce a hard, washable finish that stands up to kitchen life.
Priming Oak and Open-Grain Woods
Oak presents a special challenge because its deep, open grain telegraphs through paint and its tannins bleed yellow. To achieve a smooth painted finish on oak, either embrace the grain or fill it with a grain filler or several sanded primer coats before painting. A shellac or oil primer blocks the tannin bleed that water-based products can struggle with. Skipping this step on oak leads to visible grain lines and amber stains within weeks.
Priming Laminate and Thermofoil
Slick factory surfaces like melamine, laminate, and thermofoil have no tooth for paint to grab. A dedicated bonding primer is essential here, and even then, thorough scuff-sanding with 220 grit improves adhesion. Thermofoil can peel if it was already lifting, so repair or replace failing doors first. Testing adhesion on a hidden area before committing saves you from a full repaint if the bond fails.
Low-VOC and Odor Concerns
Because kitchens are living spaces, odor and air quality matter during a repaint. Shellac and oil primers off-gas strong fumes and demand good ventilation and respirators. Water-based bonding primers emit far less odor and lower VOCs, making them friendlier for occupied homes. If you must use a solvent-based primer for its stain-blocking, open windows, run fans, and wear a properly rated respirator throughout application and drying.
Tinting Primer for Better Coverage
When painting cabinets a deep or saturated color, ask the paint store to tint the primer toward the topcoat shade. A gray-tinted primer under a dark navy or black, for instance, means fewer color coats to achieve full coverage. Tinting is inexpensive and can save an entire coat of finish paint, cutting both cost and drying time while improving the depth and evenness of the final color.
Common Mistakes to Avoid
Skipping degreasing dooms the whole project to peeling. Using a cheap primer to save a few dollars undermines an expensive topcoat. Applying primer too thick causes drips and slow cure. Painting before the primer fully dries traps solvents. And forgetting to sand between coats leaves a gritty base. Respect each step and the finish rewards you.
How Long Primer Needs to Cure
There is a difference between dry to the touch and fully cured. Most primers feel dry within an hour or two but need longer to harden enough for topcoating and sanding. Rushing to paint over a primer that is dry on the surface but soft underneath traps solvents and causes adhesion problems later. Follow the label recoat window, and in humid or cool conditions, allow extra time. Patience at this stage protects the durability of the entire finish.
Choosing Brushes and Rollers
The right applicator affects how smooth your primer lays down. For water-based primers, use a quality synthetic-bristle brush and a dense foam or microfiber mini-roller that leaves minimal texture. For oil and shellac, natural-bristle brushes work best. Whatever you use, apply thin coats and tip off with light brush strokes to level any roller stipple. Investing in good applicators pays off in a smoother base that needs less sanding.
Cleanup and Disposal
Cleanup depends on the primer type. Water-based products rinse from brushes and rollers with soap and water. Oil primers require mineral spirits, and shellac needs denatured alcohol. Never pour solvents down the drain; let rags dry flat before disposal, since oil-soaked rags can spontaneously combust if bunched up. Following proper cleanup and disposal keeps your workspace safe and extends the life of your painting tools for the next project.
Spot-Priming Repairs and Touch-Ups
Not every job requires priming every surface. When repairing a chip or a small area of bare wood on an already-painted cabinet, spot-prime just the exposed spot rather than the whole door. Feather the primer edges so they blend, then topcoat the area and lightly extend the paint into the surrounding finish. This targeted approach saves time and product while keeping the repair invisible, and it works especially well on edges and corners where paint wears first.
Storing Leftover Primer
Cabinet projects often leave partial cans of primer, and storing them well means you have matching product for future touch-ups. Seal the lid tightly, wipe the rim clean so it closes fully, and store the can upside down to create an airtight seal at the top. Keep it in a temperature-stable space away from freezing. Label the can with the date and the cabinets it was used on so a future repair uses the identical primer for a seamless match.
Final Thoughts
Choosing the best primer for kitchen cabinets means matching the product to your surface: shellac or oil for bleed-prone raw wood, and a water-based bonding primer for slick or previously painted cabinets. Combine the right primer with thorough degreasing, careful sanding, and a quality topcoat, and your cabinets will hold a beautiful, durable finish for years.