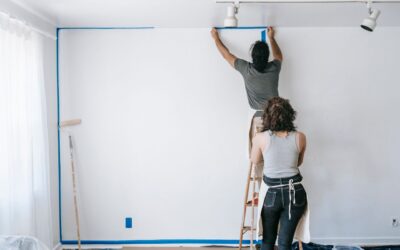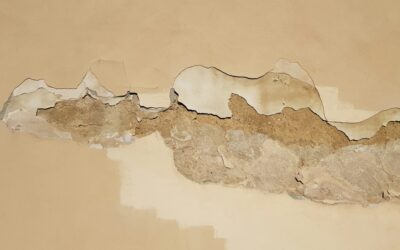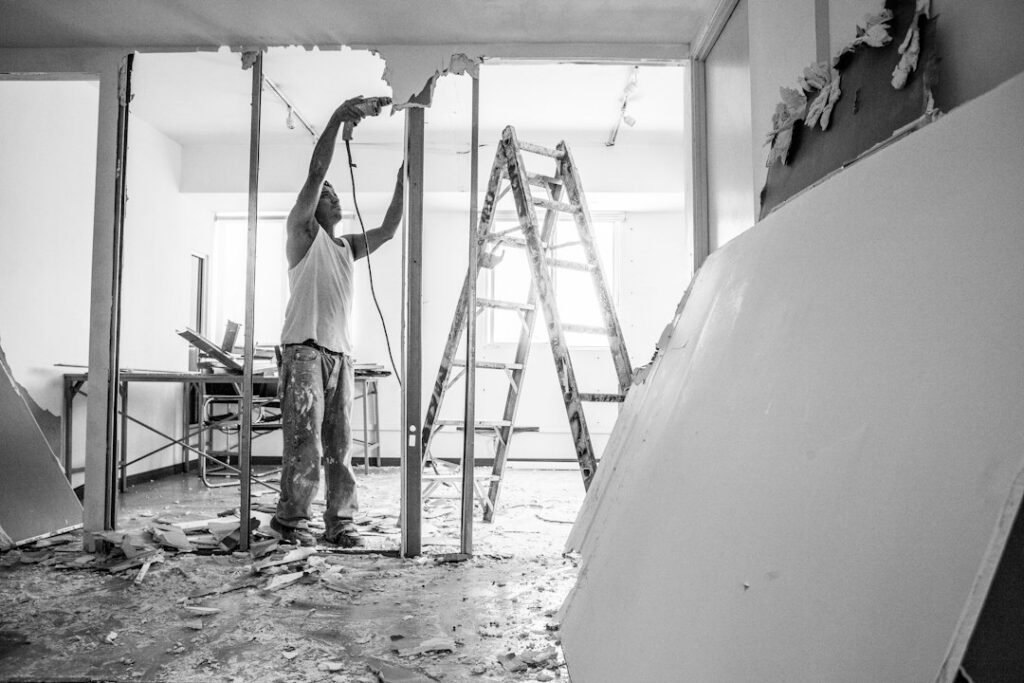
New drywall and joint compound absorb paint at completely different rates, which is why a single coat of paint over fresh drywall almost always shows obvious patches and flashing. Priming drywall evens out the surface so paint goes on uniformly and adheres for the long haul. Skip this step and you will spend 3 to 4 coats of finish paint trying to hide what one coat of $25 PVA primer would have solved. Done correctly, primer adds 30 to 45 minutes to your project and saves a half day of frustrating re-coats. The right primer for the job depends on the surface condition, the finish paint, and how much vapor or stain blocking the wall needs.
Part of our Paint & Walls guide — explore the full guide →
Why Drywall Needs a Primer
Drywall has two surfaces — the paper face and the dried joint compound covering the seams, screws, and corners. The paper face soaks up paint moderately. The joint compound is far more porous and pulls paint in twice as fast. Without primer, you get a finished wall that looks blotchy, with dull patches over every taped seam and screw spot. Primer seals both surfaces to roughly the same porosity, so the topcoat goes on evenly.
Primer also gives the topcoat better adhesion. Latex paint sits on bare drywall paper but bonds chemically to a properly primed surface. The bond difference shows up in years 5 through 10, when an unprimed wall starts peeling around door frames and window casings while a primed wall stays solid.
PVA Primer: The Standard Choice
PVA (polyvinyl acetate) primer is the right choice for most new drywall and skim-coated surfaces. It is cheap ($20 to $30 per gallon), low-odor, dries fast, and seals porous gypsum board well. Apply one coat with a 3/8-inch nap roller for smooth drywall or a 1/2-inch nap for textured finishes.
Top-rated PVA primers include:
- Sherwin-Williams ProMar 200 PVA ($28): Industry-standard, excellent coverage, dries in 1 hour
- Behr Premium Plus PVA ($23): Wide availability at Home Depot, low VOC
- Glidden PVA ($22): Budget option, performs well in single-coat applications
One gallon covers about 350 square feet. A standard 12×14 bedroom needs roughly 1.5 gallons for a single primer coat including the ceiling.
Latex Primer-Sealer for Repairs and Patches
Drywall repairs that involve joint compound over old painted surfaces need a latex primer-sealer rather than PVA. The repair area is mixed — fresh compound, old paint, sometimes bare drywall paper — and a higher-build primer evens the porosity better. Zinsser Bulls Eye 1-2-3 ($28) and Kilz 2 Latex ($22) both work well for this purpose.
Latex primer also handles light stains, scuff marks, and minor color blocking better than PVA. Apply with a roller for the field and a 2-inch sash brush for cut-in around trim and corners.
Shellac Primer for Heavy Stains
Water stains, smoke damage, crayon marks, and tannin bleed from cedar or pine framing all need a shellac-based primer like Zinsser BIN. Shellac dries in 45 minutes, blocks almost any stain, and seals odors that latex cannot touch. The downside is the strong alcohol smell during application — open windows and run a fan.
BIN runs $42 a gallon, about double the price of PVA, but you only need to spot-prime the stained areas before applying a regular PVA topcoat. Shellac also doubles as a primer when painting over knotty wood paneling, oil-based paints, or glossy surfaces.
How Many Coats Do You Need
For new drywall in good condition, one coat of PVA is usually enough. The exception is when you are painting over a dark color or dramatic accent paint with a much lighter topcoat — in that case, two thin primer coats covered better than one thick one.
The drywall test for adequate primer coverage is simple: shine a bright light at a low angle across the wall after the primer dries. Any “flash” — shiny spots where the primer is thinner — needs another coat. Flat-finish primer should look uniformly matte across every square inch.
Sand Between Coats When Needed
For a furniture-grade finish on a feature wall, lightly sand the primer with 220-grit sandpaper after it dries before applying the topcoat. This removes any roller texture, dust nibs, or fine bumps and gives you a glass-smooth surface for the finish paint. Wipe down with a tack cloth or a damp microfiber towel before painting.
For a normal interior wall, you can skip the sanding step. Most homeowners cannot tell the difference and the time savings is significant on a multi-room job.
Drying Time Realities
Primer labels say “dry to touch in 30 minutes, recoat in 1 hour.” The recoat number is what matters. Apply your topcoat before the primer fully cures and you will lift the primer off when you re-roll. Wait too long (more than 24 hours) and the primer surface oxidizes slightly, creating mediocre adhesion for the topcoat.
The sweet spot is 2 to 4 hours after applying primer. The surface should feel completely dry, with no tackiness when you press a knuckle into it. In humid weather, double the dry time. In a dry, well-ventilated room with airflow, the lower end of the range works.
Tools That Make the Job Easier
The right tools are the difference between a 2-hour primer job and a 5-hour primer job for the same room:
- Wooster Pro 3/8-inch nap roller cover ($6): Holds primer well, leaves minimal stipple
- Purdy 9-inch roller frame ($14): Sturdy, lifetime tool
- 4-foot extension pole ($18): Saves your back and reaches ceilings
- Purdy 2.5-inch Pro-Extra Glide brush ($22): For cutting in corners and trim
- 5-gallon paint bucket with grid ($12): Faster loading than a tray for big rooms
- Drop cloths ($25): Canvas, not plastic — plastic is slippery and unsafe on stairs
Common Mistakes to Avoid
A few errors will undo all your prep work:
- Skipping primer entirely: Saves 30 minutes now, costs you 2 extra topcoats and a worse-looking wall
- Using regular paint as a primer: Paint cannot seal new drywall properly — you need actual primer
- Rolling too thick: Thick coats sag, drip, and dry unevenly — keep it thin
- Painting over still-wet primer: Pulls primer off in sheets and ruins the work
- Skipping the cut-in: Roller cannot reach corners cleanly — cut in with a brush first, every coat
- Forgetting to clean roller covers between coats: Dried primer flakes off into your topcoat
Final Tips for a Pro Finish
Inspect every section of the drywall before priming. Joint compound that is not feathered out smoothly will telegraph through both primer and topcoat. Sand any high spots with 150-grit, vacuum the dust thoroughly, and wipe with a damp cloth before you start.
Maintain a wet edge as you roll — work in 4-foot wide sections and roll into the previous section before it starts to dry. This prevents the lap marks that ruin sidewall lighting on freshly painted walls. Priming drywall is a step that cannot be skipped on new construction or major repairs, but the work is straightforward when you choose the right primer for the surface and apply it with patience.