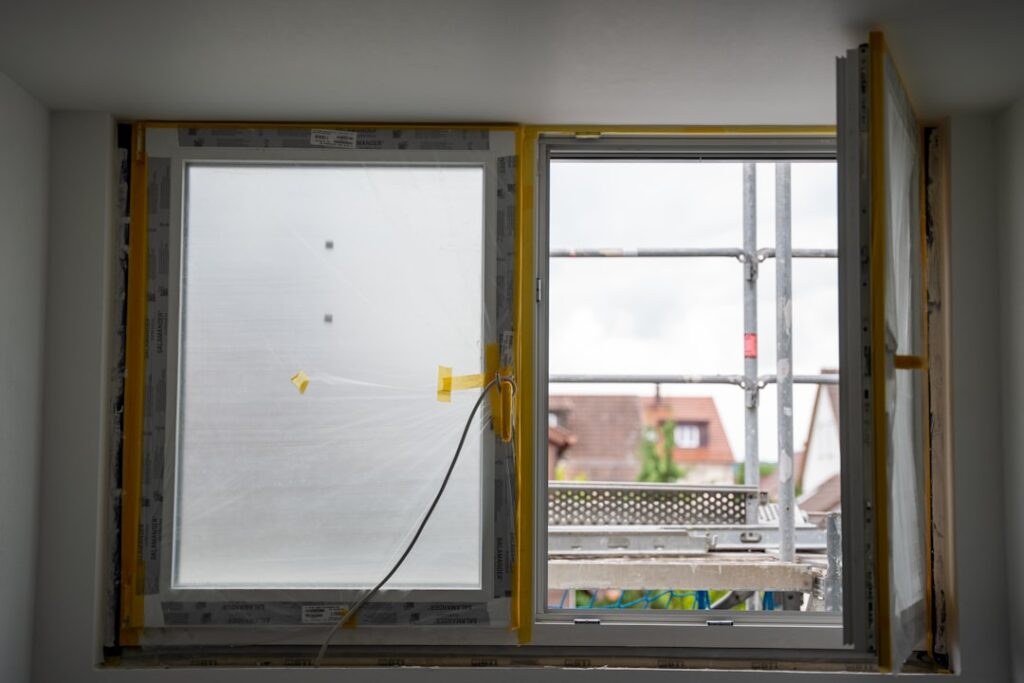
I have set windows in new construction, swapped rotten units in 1920s bungalows, and fixed more bad installs than I care to remember, and here is the core truth of this trade: the window is maybe 60 percent of the outcome, and the window installation is the other 40. A mid-grade vinyl window installed square, plumb, flashed, and foamed correctly will outperform a premium window slammed in with a few screws and a smear of caulk. This guide explains the two installation types, what each actually costs in 2026, the step-by-step process so you know what good work looks like, and how to vet the person doing it.
Part of our Windows & Doors guide — explore the full guide →
Insert vs Full-Frame: The First Decision
Every replacement job starts with this fork, and plenty of homeowners get sold the wrong one.
- Insert (pocket) replacement: the old sashes and hardware come out, but the original frame stays in the wall, and a new smaller window unit slides into that opening. Faster, cheaper, no disturbance to interior trim or exterior siding. The trade-offs: you lose roughly 1 to 2 inches of glass area on each dimension, and the new window inherits whatever condition the old frame is in.
- Full-frame replacement: everything comes out down to the rough opening, studs exposed. The new window installs with proper flashing integration into the weather barrier, exactly like new construction. It costs 50 to 100 percent more per opening and requires trim and sometimes siding work, but it is the only correct choice when the existing frame is rotted, out of square, or leaking.
My field rule: probe the sill and lower frame corners with a screwdriver. Soft wood, staining, or visible water tracks mean full-frame, no debate. Inserting a new window into a rotting frame buries a problem that keeps eating the wall behind your back. If the frame is sound and square, an insert is a perfectly good value.
Window Installation Cost in 2026
| Scenario | Per-Window Installed Cost |
|---|---|
| Vinyl double-hung, insert replacement | $400-$800 |
| Vinyl or composite, full-frame replacement | $700-$1,400 |
| Fiberglass or wood-clad, full-frame | $1,000-$2,500 |
| Bay or bow window | $2,000-$6,000+ |
| Labor only (you supply windows) | $150-$400 insert; $300-$700 full-frame |
Whole-house numbers: a typical 10-window job runs $5,000 to $10,000 in vinyl inserts and $9,000 to $18,000 in full-frame with better materials. Watch for volume pricing games; national window-sales outfits commonly quote $1,500-plus per basic vinyl window and then “discount” to numbers a local installer charges every day. Getting three quotes on identical spec sheets, same glass package, same install type, is worth several thousand dollars on a whole house.
Cost drivers beyond the window itself: second-story openings add $50 to $150 each, rot repair runs $100 to $600 per opening when discovered, lead-safe work practices on pre-1978 homes add 10 to 15 percent, and enlarging or shrinking openings is a framing job that can double the price of that unit.
What a Proper Installation Looks Like, Step by Step
Whether you DIY or supervise a crew, this is the sequence that separates a 30-year installation from a callback.
- Measure three times. Width at top, middle, and bottom; height at left, center, right; use the smallest of each, then order the window 1/4 to 1/2 inch smaller than the opening. Almost every disaster install I have rescued started with a window ordered too big and forced in.
- Remove the old unit with the opening protected: sashes out, stops pried carefully if being reused, insert frames cut and collapsed, full-frame units cut free of the nailing flange. A tidy crew does one opening at a time so your house is never wide open.
- Repair and prep the opening. Rot gets cut out and replaced with solid lumber, not filled with caulk. In full-frame work, the sill gets a sloped sill pan or flexible flashing pan that will drain any future leak to the exterior. This pan is the single most important thing you cannot see when the job is done.
- Dry-fit, then set the window on shims, and here is the discipline: plumb, level, and square are checked with a level on the sill and jambs and by measuring diagonals, which must match within about 1/8 inch. The sashes should operate smoothly before anything is fastened permanently. A window screwed in racked will drag, lock badly, and leak air at the meeting rail forever.
- Fasten per manufacturer instructions. Screws through the jamb at shim points or roofing nails through the flange, not a random pattern. Over-driven fasteners bow vinyl frames, and I can spot a bowed jamb from the sidewalk by the uneven reveal around the sash.
- Flash the exterior in shingle fashion: sill pan first, then side flashing tape over the flange, then top flashing, then the weather barrier lapped over the head flashing so gravity carries water over, never behind, each layer. In insert installs where there is no flange, the exterior gap gets backer rod and high-grade sealant, with the sill left with drainage gaps or the unit’s weep system unobstructed.
- Insulate the perimeter gap with low-expansion window-and-door foam, not the regular gap-filler that bows frames, or with loosely packed backer rod. Fiberglass stuffed in the crack, standard practice decades ago, filters air rather than stopping it.
- Trim, seal, and clean up: interior stops or casing reinstalled, exterior sealant tooled cleanly, weep holes checked clear, sashes and locks cycled in front of you, stickers off, glass cleaned.
What to Expect on Installation Day
A competent two-person crew replaces 8 to 12 insert windows in a day, or 4 to 8 full-frame units. Each opening is exposed for 30 to 90 minutes, so the house does not turn into a wind tunnel, and yes, crews work year-round, winter installs are routine and done one window at a time. Expect some noise, some dust, and furniture pulled two or three feet from each window with your curtains and blinds down before the crew arrives, which most contracts make the homeowner’s job. Interior paint touch-up at the trim line is normal on inserts and guaranteed on full-frame work; factor it in rather than being surprised.
DIY Window Installation: Where the Line Is
A capable DIYer with a helper can handle a first-floor insert replacement: the skills are careful measurement, shimming, and sealant work, and the material stakes are one window at $250 to $500. I draw the DIY line at full-frame installs on any home where the weather barrier integration matters, meaning all of them, second-story work, and anything structural. The flashing sequence is unforgiving, and a mistake shows up as rot inside the wall three to seven years later, long past any memory of the shortcut. If you do DIY, buy the window’s actual installation instructions grade of materials: sill pan flashing, low-expansion foam, and a $60 tube-count of quality sealant, and follow the manufacturer document because warranty claims get denied over installation deviations constantly.
Vetting an Installer
- Ask who physically does the work: employees or subs, and how long the crew lead has installed this brand.
- Ask them to describe their sill pan and flashing detail. An installer who cannot explain it in one minute does not do it.
- Get the install type in writing: insert versus full-frame, foam type, flashing materials.
- Confirm licensing, insurance certificates, and lead-safe certification on pre-1978 houses.
- Prefer a labor warranty of at least 2 years separate from the product warranty; 5 to 10 years is common among good outfits.
Last word from someone who has opened up too many walls behind pretty windows: buy a mid-tier window from a manufacturer that has been around 20 years, and spend your negotiating energy on the quality of the window installation itself, the pan flashing, the square-and-plumb discipline, the low-expansion foam. Insist on operating every sash before the crew leaves, run a hose test on a suspect opening if weather allows, and keep your paperwork, because a properly installed window is a 25-to-40-year component, and the ten extra minutes of diligence per opening is what gets you there.