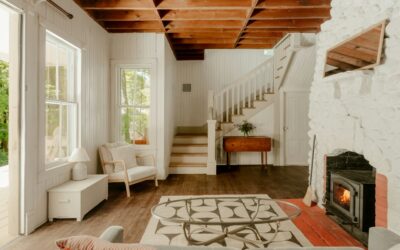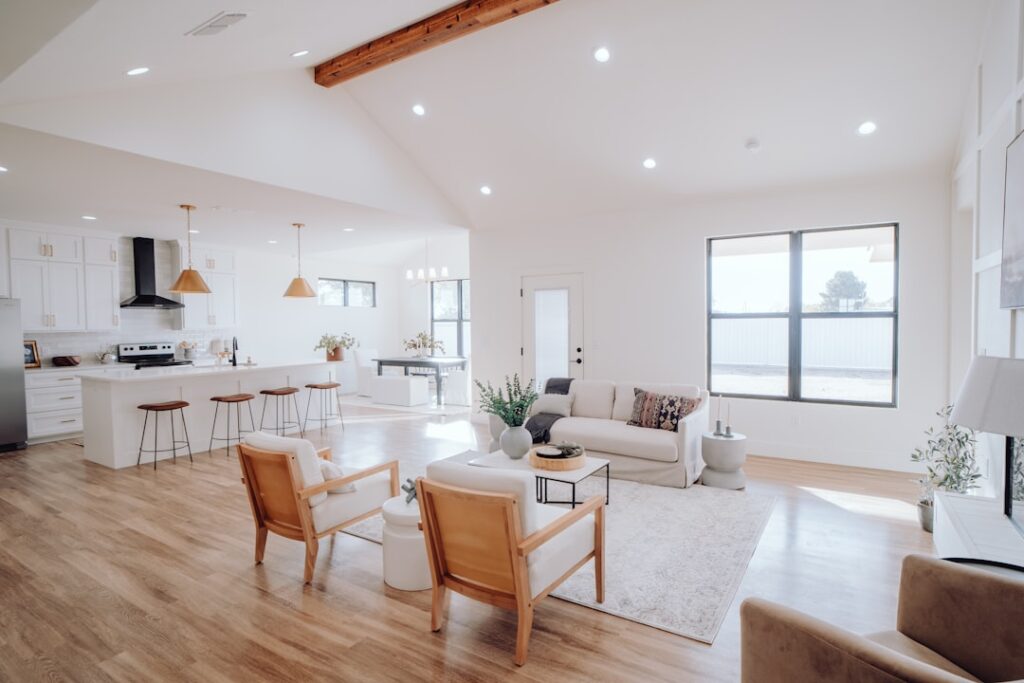
Looking up at a flat drywall ceiling is the visual equivalent of a blank stare — adding wood gives a room weight, warmth, and architecture all in one step. A wood shiplap ceiling runs $2 to $8 per sq ft in materials depending on species and grade, takes one or two weekends to install in a typical 12×14 room, and delivers a finish that costs $4,000 to $9,000 to replicate with custom millwork. It works in dining rooms, primary bedrooms, screened porches, and entire open-plan main floors. The catch: doing it well requires understanding board orientation, finish choice, and the seasonal movement of real wood.
This guide walks through material picks from Home Depot’s UFP-Edge to specialty cedar, install methods for joists and existing drywall, finish options from clear coat to whitewash, and pro tips that prevent the most common installation mistakes.
Choosing the Right Wood
Three species dominate residential ceilings. Pine is the most common — knotty pine for a rustic look ($1.50 to $3 per linear foot) or clear pine for a smoother finish ($3 to $5 per linear foot). Cedar runs $2.50 to $5 per linear foot and resists humidity better, making it the choice for bathrooms, screened porches, and lake homes. White oak or hickory ($5 to $9 per linear foot) gives the highest-end look — formal, durable, and finishes beautifully but adds significant weight.
Width matters as much as species. 6-inch nominal (5.5-inch face) is the classic farmhouse look. 8-inch boards read more modern and require fewer pieces, speeding install. Narrower 4-inch boards work for small spaces but multiply your install time. Match board width to room size — narrow boards in big rooms look busy; wide boards in tight rooms feel heavy.
Real Shiplap vs. Faux Shiplap vs. T&G
Three constructions compete in this category. True shiplap has rabbeted edges that overlap, creating the signature reveal line. Tongue-and-groove (T&G) boards interlock with a tongue on one edge and a groove on the other — easier to install on ceilings because they self-align. Faux shiplap is just a flat board with a routed groove milled into one face to mimic the look.
For ceilings, T&G is the smartest choice. The interlocking edges prevent boards from sagging between fasteners over decades, and they hide nail heads when blind-nailed through the tongue. UFP-Edge Charred Wood T&G ($1.30 per sq ft at Home Depot) and Metrie 1×6 Pine T&G ($1.60 per linear foot) are budget-friendly. Pre-finished options from real wood floor brands like Bruce or Mohawk run $4 to $7 per sq ft.
Installing Over Joists vs. Drywall
New construction or exposed-joist ceilings let you nail directly into framing — the simplest install. Mark joist centers on the ceiling with a chalk line, start the first board against the longer wall with the tongue facing out, blind-nail through the tongue at 16-inch intervals into joists, and work your way across. Use 2-inch 16-gauge finish nails from a Bostitch or Dewalt nailer ($150 to $250).
Over existing drywall, locate joists with a stud finder (Bosch GMS120, $50) and mark them with chalk lines extending the full board length direction. Use 2.5-inch 15-gauge or 16-gauge finish nails to penetrate drywall plus 1.5 inches into joists. Plan board direction perpendicular to joists — running parallel to joists requires furring strips or 1×4 sleepers screwed across joists first.
Direction and Layout Strategy
Board direction shapes how a room reads. Long boards running across the short dimension of a rectangular room visually widen it. Boards running with the long dimension make the room feel longer and lower. In open-plan spaces, boards usually run perpendicular to the longest wall to balance the proportion.
Plan the first and last board widths before starting. If your room is 144 inches and you’re using 5.5-inch wide boards, you’ll need 26 full boards plus a 2-inch ripped piece — visually awkward. Rip the first and last boards to 3.75 inches each instead, giving balanced edges that read intentional. Always cut a uniform 1/4-inch expansion gap at all walls, hidden behind crown molding or shoe trim.
Finish Choices That Last
Three finish directions work for ceiling shiplap:
Clear matte sealer: Bona Mega Clear HD ($65 per gallon) preserves natural wood color with minimal yellowing. Two coats, sanded with 220 grit between, takes a weekend. Best for cedar and clear pine.
Whitewash or pickling stain: Minwax White Wash Pickling Stain ($15 per quart) softens knots and gives a coastal feel. Wipe on, wipe off, seal with a matte polyurethane. Works on knotty pine and rough-sawn cedar especially well.
Solid paint: Sherwin-Williams Emerald Urethane Trim Enamel ($95 per gallon) covers wood completely. White (Alabaster SW 7008) is the safest choice. Spraying produces the smoothest finish, but a brush-and-roll with a Wooster 9-inch shed-resistant roller works on smaller ceilings.
Skip glossy finishes on ceilings — they amplify every imperfection. Matte or eggshell sheens hide nail putty, joint variations, and minor warping.
Lighting, Vents, and Penetrations
Plan around obstacles before installation. Recessed cans can be retrofit with low-profile LED disk lights (Halo HLB6 6-inch slim LEDs, $25 each) that fit between boards. Vents need new wood trim rings cut to match the board pattern — measure twice and use a Forstner bit for clean holes.
Smoke detectors and ceiling fan boxes need extra care. Cut tight, square openings around them — leave a 1/8-inch reveal gap and trim with thin pine quarter-round if needed. Most building codes (NEC 314.27) require fan boxes rated for the fan weight; check yours before installing shiplap that you’d have to remove later.
Cost Tiers and DIY vs Pro
Budget breakdowns for a 12×14 (168 sq ft) ceiling:
Budget DIY ($350 to $600): Knotty pine T&G boards, basic finish nails, primer plus paint. Two weekends. Tools needed: miter saw, finish nailer, ladder.
Mid-tier DIY ($700 to $1,400): Cedar or clear pine T&G boards, pre-finished or stained on-site, with crown molding trim. One weekend with two people.
Pro install ($1,400 to $3,000): Finish carpenter rates of $8 to $15 per sq ft for ceiling work, materials and labor included. Worth it for vaulted or tray ceilings, anything over 10 feet tall, or rooms with multiple penetrations.
A wood shiplap ceiling reliably adds resale value when the rest of the home matches its character — farmhouse, craftsman, modern coastal. In a 1990s contemporary, it can read as a costume rather than an upgrade. Pair shiplap ceilings with other character details like board-and-batten walls, butcher block counters, or natural fiber rugs to make the design language consistent.