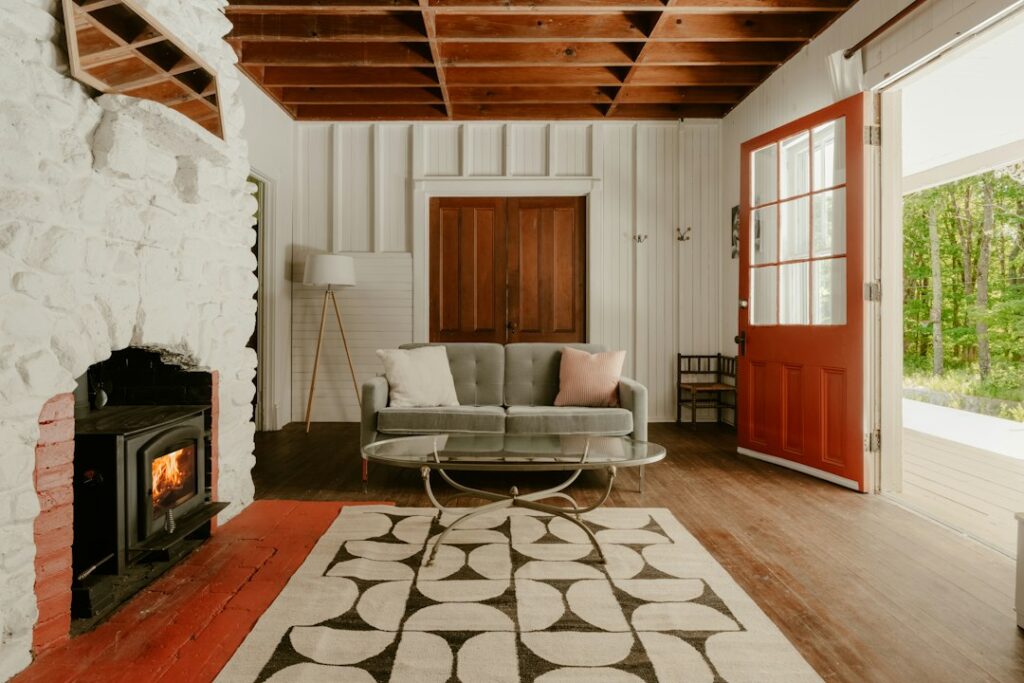
A cathedral ceiling can feel oddly cold, a tall expanse of flat drywall that echoes and draws the eye to every nail pop. Covering it with boards changes that instantly, and a shiplap vaulted ceiling has become one of the most requested upgrades in living rooms, primary bedrooms, and sunrooms. The look is simple, but installing boards overhead on a pitched surface is a very different job from paneling an accent wall. This guide covers materials, board direction, cost, the installation sequence, and the details that keep the finished ceiling straight and crack-free for years.
Why Choose a Shiplap Vaulted Ceiling?
Boards add texture and warmth that paint alone cannot. Horizontal lines running along the length of the room emphasize its breadth, while boards running up the slope toward the ridge draw the eye upward and exaggerate height. Wood or wood-look paneling also breaks up sound reflections slightly, which makes tall rooms feel less echoey, although it is not a substitute for real acoustic treatment.
Practically, shiplap can hide imperfect drywall, old popcorn texture, or patched ceilings without the mess of scraping. It pairs naturally with exposed beams, farmhouse and coastal interiors, and Scandinavian designs finished in pale wood. The main downsides are cost, the difficulty of working overhead, and the dust-catching reveals between boards.
Material Options and Costs
Shiplap for ceilings comes in several materials, and weight matters when every board is overhead.
- Primed MDF shiplap: $1.50 to $3 per sq ft. Smooth, stable, and inexpensive, but heavy and vulnerable to moisture. Best in dry living spaces.
- Pine or poplar shiplap: $2.50 to $6 per sq ft. Real tongue-and-groove or rabbeted joints, can be stained or painted, lighter than MDF.
- Cedar or knotty pine: $4 to $9 per sq ft. Beautiful stained, natural choice for cabins and porches.
- Plywood strips: $1 to $2 per sq ft. Budget DIY option ripped from 1/4-inch or 1/2-inch sheets with nickel-gap spacing.
- PVC shiplap: $4 to $8 per sq ft. Moisture-proof, useful for bathrooms and covered porches.
Buy 10 to 15 percent extra for waste; angled cuts at the ridge and wall lines eat more material than a flat ceiling. Standard board widths are 5-1/2 and 7-1/4 inches. Wider boards install faster and show fewer seams, while narrower boards look more traditional and are easier to handle overhead.
Board Direction and Layout Decisions
On a vaulted ceiling you have two main choices. Running boards parallel to the ridge (horizontally along the length of the room) is the most common approach. Boards are fastened across the rafters, which gives a solid nailing surface at every rafter crossing, typically 16 or 24 inches on center. Running boards perpendicular to the ridge, from wall plate up to the peak, makes the ceiling look taller but requires horizontal blocking or furring strips because the boards run parallel to the rafters.
Plan the layout so the ridge line looks intentional. Many installers start at the ridge with a full board or a ridge trim piece and work down each slope, so any narrow rip ends up at the wall where crown or trim can hide it. Others start at the wall and cover the ridge with a beam or a 1×6 ridge board. Measure both slopes before you begin; if they differ in length, adjust the first course so the final boards on each side are similar widths.
Stagger end joints by at least two rafter spaces and avoid lining them up in a visible pattern. Ideally, every butt joint lands on a rafter or blocking.
Preparation Before You Install
Start with the structure. Use a stud finder and a chalk line to mark every rafter on the ceiling surface. If you are covering drywall, those marks become your nail lines. On new construction or after removing drywall, check the insulation and vapor retarder requirements for your climate, since vaulted ceilings are also the roof assembly and moisture control matters.
Relocate or extend electrical boxes. Recessed lights need box extensions or trim rings that sit flush with the new surface, and ceiling fan boxes must remain fan-rated and firmly attached to framing. Any wiring changes, new fan circuits, or box relocations should be done by a licensed electrician, and ceiling fans on a slope need an angled mounting kit rated for the pitch.
Acclimate wood boards in the room for at least 48 to 72 hours, stacked with spacers. Prime or paint all faces, including the edges and tongues, before installation. Painting after installation leaves bare wood showing when boards shrink in winter, which creates visible stripes in the gaps.
Installation Steps on a Sloped Ceiling
- Set up safe access. Rent a rolling scaffold or use a pair of stable planks on sturdy ladders. Vaulted ceilings often peak at 14 to 18 feet, and a stepladder alone is unsafe at that height.
- Snap a reference line. Never trust the wall or ridge to be straight. Snap a line for the first course and check it with a laser level.
- Install the first board. Face-nail and blind-nail it through the tongue into every rafter, using a construction adhesive bead for extra hold on heavy MDF.
- Fasten each course. Use 2-inch to 2-1/2-inch 16-gauge finish nails or 18-gauge brads angled into rafters. Nickel spacers or coins keep reveals consistent on flat-edge boards.
- Check alignment every few rows. Measure from the reference line at both ends to catch drift before it compounds.
- Cut around fixtures. Use a hole saw for recessed lights and a jigsaw for boxes, keeping cuts slightly undersize so trim covers them.
- Finish the ridge and walls. Rip the last boards to width, then add ridge trim, crown, or a simple 1×2 cove at wall lines.
A two-person crew is strongly recommended. One person holds and aligns 12- or 16-foot boards while the other fastens. Board lifts or simple T-braces cut from 2x4s help when working alone, but long boards overhead are awkward and tiring.
Professional Installation Costs
Professional installation for a shiplap vaulted ceiling typically runs $7 to $15 per sq ft including material and labor, higher for stained hardwoods, complex dormers, or ceilings above 16 feet. A 300 sq ft living room ceiling usually lands between $2,100 and $4,500. Expect extra charges for scaffolding rental, removing popcorn texture, relocating fixtures, and finish painting or staining. Painting a ceiling after install costs $1 to $3 per sq ft if done by a pro.
If you plan to add structural beams, whether solid or faux box beams, get a separate quote. Faux beams are light and cosmetic, but real timbers add load. Anything that adds significant weight to rafters, or any change to rafter ties or collar ties, should be reviewed by a structural engineer or licensed contractor.
Finishing and Design Ideas
White or soft white paint in a satin or eggshell finish keeps a tall room bright and hides minor imperfections. For contrast, paint the walls a deeper tone and leave the ceiling light. Natural wood tones such as clear-coated pine, whitewashed cedar, or a light oak stain bring warmth and pair well with painted walls.
- Combine shiplap with a central ridge beam for a rustic farmhouse look.
- Run boards up the slope and add a painted beam at the peak for a Scandinavian feel.
- Use a dark stained ceiling over light walls in a large great room for drama.
- Match ceiling boards with the flooring tone for a cohesive, cabin-inspired space.
Caulk only where trim meets boards, never in the shiplap gaps themselves; the reveals are part of the look and need room to move.
Shiplap Ceiling FAQ
Can you install shiplap directly over a drywall ceiling?
Yes. Most installations go right over existing drywall, as long as every board is nailed through the drywall into the rafters or ceiling joists. Drywall alone cannot hold nails securely overhead, so mark framing carefully and use fasteners long enough to penetrate at least 1 inch into the wood.
How long does it take to shiplap a vaulted ceiling?
A two-person crew can typically cover a 250 to 350 sq ft vaulted ceiling in two to four days, not counting prep, pre-painting, and final touch-up. DIYers working weekends often need two or three weekends, especially when scaffolding must be moved frequently.
Is MDF or real wood better for a sloped ceiling?
MDF is cheaper and very stable in dry, climate-controlled rooms, but it is heavier and can swell if exposed to moisture. Pine or poplar costs more yet is lighter to lift, holds nails better at the tongue, and can be stained. For sunrooms, porches, or humid climates, real wood or PVC is the safer choice.
Does a shiplap ceiling add value to a home?
It rarely adds dollar-for-dollar resale value, but a well-executed plank ceiling is a strong visual feature in listing photos and can help a home stand out. Poorly aligned boards or visible gaps at the ridge can have the opposite effect.
Maintenance and Common Problems
Dust collects in the reveals, so vacuum the ceiling with a soft brush attachment on an extension wand once or twice a year. Seasonal gaps and small cracks in paint along joints are normal with real wood; touch them up rather than filling. Watch for signs of moisture such as stains, swelling, or nail rust, which on a vaulted ceiling often point to a roof leak or condensation from inadequate ventilation.
Sagging boards usually mean nails missed the rafters or MDF was used in a humid space. Fix these early by adding trim screws into framing. When planned carefully and installed straight, a shiplap vaulted ceiling becomes the defining feature of a room and stays attractive for decades with minimal upkeep.