
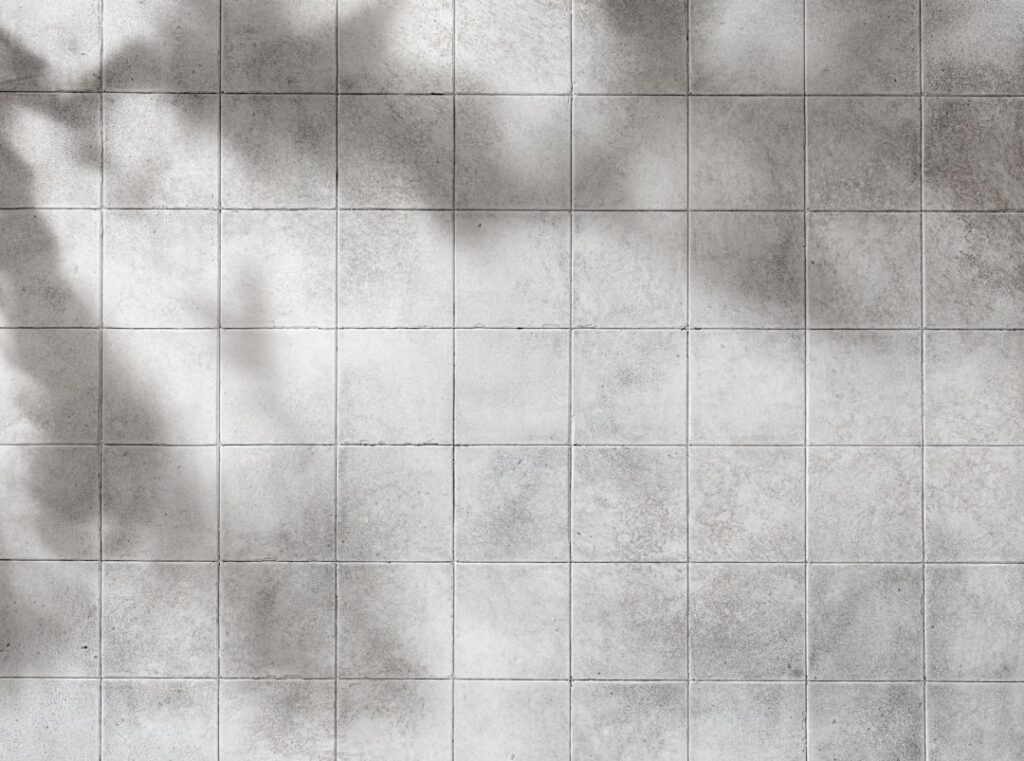
If you have shopped for floor tile, you have probably noticed sizes that seem slightly off from the round numbers you expected, and 13×13 tile is one of the most common examples. This format measures roughly 13 inches by 13 inches and was, for years, an extremely popular size for residential floors. It strikes a practical balance: large enough to cover ground quickly and minimize grout lines, but small enough to handle and lay without specialized equipment.
Part of our Tile & Grout guide — explore the full guide →
This guide walks you through where this size works best, the materials it comes in, popular layout patterns, installation considerations, and how it stacks up against neighboring sizes like 12×12 and larger formats. Understanding these details will help you decide whether this tile is the right fit for your project.
What Makes 13×13 a Popular Size
The 13-inch format gained traction because it covers more area per piece than the older 12-inch standard while remaining easy to work with by hand. A slightly larger tile means fewer pieces, fewer grout lines, and a cleaner, more open look across a floor.
That extra inch matters more than it sounds. Each tile covers noticeably more surface than a 12-inch square, so you set fewer tiles over the same room and spend less time cutting and spacing. For many homeowners and installers, it hit a sweet spot between coverage and manageability.
Common Materials and Finishes
This size is produced in several materials, each with its own strengths. The right choice depends on the room, the traffic it sees, and the look you want.
- Ceramic: Affordable, easy to cut, and available in countless colors and styles; well suited to walls and light-traffic floors.
- Porcelain: Denser and more durable than standard ceramic, with excellent water and stain resistance for floors and wet areas.
- Natural stone: Travertine, slate, and similar stones offer a high-end, organic look but need sealing and more care.
Finishes range from glossy and polished to matte and textured. For floors, especially in kitchens and bathrooms, a matte or textured surface provides better traction and hides minor wear and water spots more gracefully than a high-gloss finish.
Best Rooms and Applications
This versatile size works across much of the home, though it shines in certain spaces. Its scale flatters medium and large rooms without overwhelming them.
- Kitchens: Durable porcelain in this size handles spills, foot traffic, and dropped utensils well.
- Bathrooms: A water-resistant, slip-aware finish makes it a reliable bathroom floor.
- Entryways and hallways: Easy to clean and tough enough for grit tracked in from outside.
- Living and dining areas: Fewer grout lines create a smooth, continuous look.
In very small rooms, such as a tiny powder room, a large square can feel out of scale and require many cut pieces, so weigh the room size against the tile size before committing.
Layout Patterns to Consider
How you arrange the tile changes the entire feel of a floor. The same product can look traditional or contemporary depending on the layout you choose.
- Straight grid: Tiles aligned in clean rows and columns for a simple, orderly look.
- Diagonal: Rotating the grid 45 degrees can make a room feel wider and adds visual interest.
- Offset or brick-style: Staggering each row gives a relaxed, dynamic appearance, though large offsets can accentuate any lippage.
- Mixed sizes: Pairing this size with smaller or larger tiles creates a custom modular pattern.
A diagonal layout uses more material because of the angled cuts at the edges, so buy extra to account for waste. Whatever pattern you pick, dry-lay a section first to preview the result.
Installation Tips
Setting larger square tile rewards careful preparation. A flat, stable subfloor is essential, because any dips or humps will show as uneven tile edges, an effect called lippage.
- Check that the subfloor is flat and rigid; on wood subfloors, consider an uncoupling membrane to manage movement.
- Plan your layout from the center of the room outward so cut pieces fall evenly at the edges.
- Use the correct trowel size and back-butter tiles as needed to achieve full mortar coverage.
- Use spacers for consistent grout joints; 1/8 to 3/16 inch is common for this size.
- Let the mortar cure fully before grouting, then seal natural stone or grout as recommended.
If your project involves a large area, tricky cuts, or a heavy stone version, hiring an experienced tile setter can save time and prevent costly mistakes.
How It Compares to Other Sizes
Compared with the classic 12×12, this slightly larger format covers more ground with fewer pieces and grout lines, giving a marginally more open look. The difference is modest but real over a full room.
Against today’s large-format tiles, such as 18×18, 24×24, or big rectangular planks, this size is easier to handle and more forgiving on floors that are not perfectly flat. Very large tiles look sleek but demand near-flawless substrate prep and often professional installation. For a do-it-yourself floor in a typical home, this mid-size square remains a practical, attractive choice.
Estimating How Much Tile to Buy
Getting the quantity right saves both money and headaches. Start by measuring the length and width of each area to be tiled and multiplying to find the square footage, then add the areas together for the room total. Because each 13-inch tile covers slightly more than one square foot, you will need a bit fewer pieces than a 12-inch tile would require for the same space.
Always order extra to account for cuts, breakage, and future repairs. A straight grid layout usually needs about 10 percent overage, while diagonal and offset patterns can require 15 percent or more because of the angled edge cuts. Buying from the same production lot matters too, since dye lots vary slightly; keep a few spare tiles after the job in case you ever need to replace a cracked piece and cannot find a match later.
Care and Maintenance
Maintenance depends on the material, but the basics are simple. Sweep or vacuum regularly to keep grit off the surface, then clean with a damp mop and a pH-neutral cleaner suited to your tile.
Grout lines need the most attention; sealing them after installation and resealing periodically keeps them cleaner and easier to wipe. Natural stone versions also require sealing to resist stains. With routine care, a quality 13×13 tile floor will stay attractive and hold up to daily life for many years, making it a dependable foundation for almost any room in your home.
Prefer to explore on your own?
See how new flooring looks in your actual room in seconds — free, no signup.
Try the free Floor Studio →

