
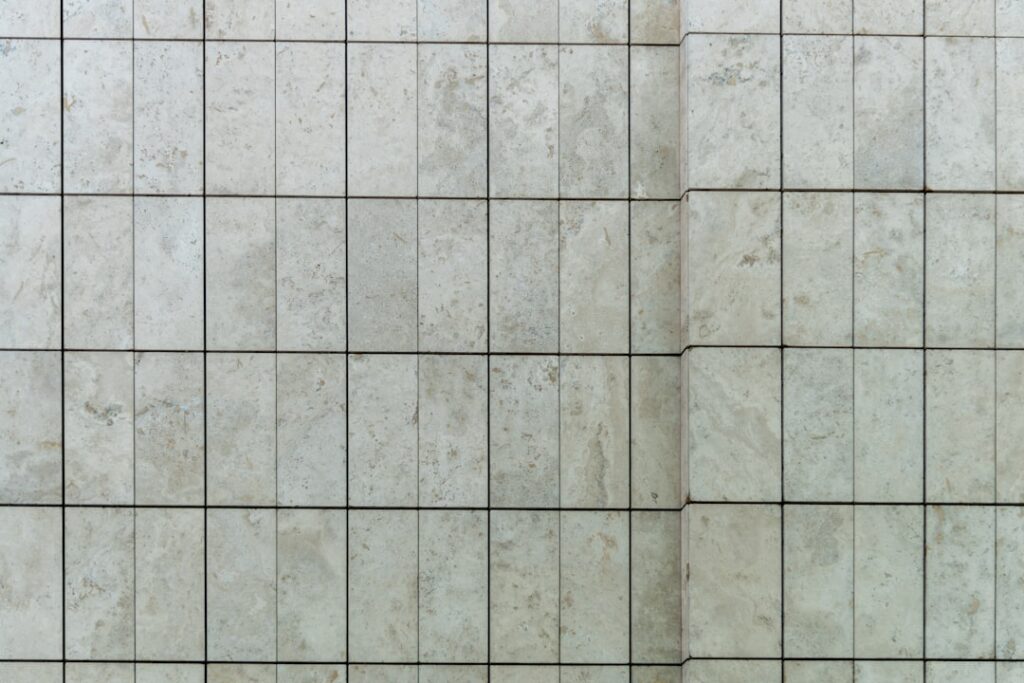
Walk into most tile showrooms and the 18-inch square is the size that quietly does the heavy lifting. An 18×18 floor tile covers ground fast, cuts your grout lines nearly in half compared with a 12×12, and gives a room a cleaner, more upscale look without stepping into the tricky world of oversized slabs. I’ve laid thousands of these squares across kitchens, entryways, and living rooms, and they hit a sweet spot between coverage, cost, and how forgiving they are to install. This guide walks through everything worth knowing before you buy a pallet.
Part of our Tile & Grout guide — explore the full guide →
Why the 18-Inch Square Is So Popular
Each 18×18 tile covers 2.25 square feet, so you set roughly 2.5 tiles for every 6 square feet you’d need with 12x12s. That means fewer pieces to handle, fewer grout joints to fill, and a faster install overall. The larger face also makes a room feel bigger and less busy, since your eye isn’t tracking a dense grid of lines across the floor.
There’s a practical durability angle too. Fewer grout joints mean fewer places for dirt to collect and grout to stain or crack. For homeowners who dread grout maintenance, jumping from 12-inch to 18-inch tile roughly halves the linear footage of joints you’ll be scrubbing over the years.
Materials and Where They Fit
The 18×18 format shows up across nearly every tile material, but the practical choices for floors come down to a few.
- Porcelain — the top pick for floors. Dense, low water absorption under 0.5 percent, and rated for heavy traffic. Works indoors and, in the right rating, on covered patios.
- Glazed ceramic — lighter-duty and more affordable, good for bathrooms and low-traffic rooms but more prone to chipping under heavy use.
- Natural stone — travertine, marble, and slate come in 18×18 and bring genuine character, but they need sealing and a flatter substrate.
For most whole-home projects, a through-body or color-body porcelain in an 18×18 is the safe, long-lasting call. It resists chips, handles moisture, and comes in wood-look, stone-look, and concrete-look finishes that suit almost any style.
Coverage Math and How Much to Buy
Figuring quantity is simple once you know each tile covers 2.25 square feet. Take your room’s square footage and divide by 2.25 to get the raw tile count, then add for waste.
- Measure length times width for total square footage. A 12×15 room is 180 square feet.
- Divide by 2.25. That’s 80 tiles for the 180-square-foot room.
- Add 10 percent waste for a straight lay, or 15 percent for a diagonal layout or a room with lots of cuts around cabinets and islands.
For that 180-square-foot room on a diagonal, you’d order about 92 tiles. Always buy from the same dye lot and grab an extra box beyond your waste factor, because matching a discontinued run years later for a repair is nearly impossible.
Layout and Design Options
A straight grid is the default and the easiest to install, but the 18×18 format opens up a few looks worth considering. A diagonal, or point-to-point, layout turns the squares 45 degrees and adds visual movement, which can make a narrow room feel wider. It costs more in labor and waste, though, so factor that in.
You can also run a brick or one-third offset, but be cautious here. Large-format tiles have a slight bow across their length, so offsetting more than a third of the tile can create lippage, where one edge sits proud of its neighbor. For 18-inch tile, a 33 percent offset is the safe maximum, and many pros stick with a straight stack for the flattest result.
Subfloor Prep Is Everything
Large tiles are unforgiving of an uneven substrate. The bigger the tile, the more any dip or hump in the floor telegraphs into lippage at the joints. Before setting a single 18×18, the subfloor needs to be flat within 1/8 inch over 10 feet. That often means self-leveling compound over concrete or an additional plywood layer plus a cement backer board over a wood subfloor.
Use a large-format, medium-bed mortar rather than standard thinset, and back-butter each tile so you get at least 80 percent mortar coverage, 95 percent in wet areas. Set with 1/16 to 1/8 inch spacers and use a tile leveling clip system on the first few rows if you’re new to big tile. Skipping this prep is the number one reason large-tile floors fail or look wavy.
What 18×18 Floor Tile Costs
Material pricing is competitive because the size is so common and produced at scale. Expect these ballpark ranges for the tile itself:
- Basic glazed ceramic: $1.50 to $3 per square foot
- Mid-grade porcelain: $3 to $7 per square foot
- Premium or wood-look porcelain: $6 to $12 per square foot
- Natural stone: $5 to $15 per square foot
Professional installation runs $7 to $14 per square foot depending on layout, subfloor prep, and your area. A straight lay on a flat floor sits at the low end; a diagonal pattern or a floor that needs leveling pushes toward the top. For a 200-square-foot area in mid-grade porcelain, plan on roughly $2,000 to $4,000 installed, plus $200 to $500 in setting materials if you’re supplying them yourself.
Grout, Sealing, and Upkeep
Keep grout joints tight, 1/8 inch or less for rectified porcelain, both to minimize maintenance and to suit the clean look of a larger tile. A quality stain-resistant grout, or better yet an epoxy grout in kitchens, keeps joints from discoloring. Match the grout close to the tile color for a seamless field, or go a shade darker on floors where dirt tends to show.
Porcelain itself needs no sealing, just routine sweeping and damp mopping with a pH-neutral cleaner. Natural stone in the same size does need periodic sealing, every 12 to 18 months, and prompt cleanup of spills. Either way, a large-format floor is one of the lowest-maintenance surfaces you can put in a home once it’s set correctly.
Common Questions About 18×18 Tile
A few questions come up on nearly every large-tile job, so it’s worth addressing them directly.
Can I install 18×18 tile myself?
A confident DIYer can, but the size raises the difficulty compared with 12×12. The tiles are heavier, the cuts require a good wet saw, and the flatness tolerance is unforgiving. If your subfloor is already dead flat and you’re comfortable renting a saw and using a leveling clip system, it’s achievable. If the floor needs leveling compound or you’re tiling a complex layout, hiring a pro is money well spent.
Do 18×18 tiles work in bathrooms?
Yes, in medium and large bathrooms they cut down grout lines and look clean. In a small powder room the cuts can feel chopped up, so weigh the room size before committing. On shower floors, though, skip the large format, since small mosaics are needed there to slope the water toward the drain.
Will large tile crack more easily?
Not if it’s installed correctly. Cracks in large tile almost always trace back to an uneven subfloor, voids under the tile from poor mortar coverage, or movement in the substrate. Get 80 to 95 percent mortar coverage, back-butter every piece, and honor movement joints at the perimeter, and porcelain will outlast most of the house.
Is 18×18 the Right Size for Your Room?
The 18-inch square is a genuine all-rounder. It’s large enough to look modern and cut grout maintenance, yet small enough to stay affordable and manageable for a confident DIYer or any tile setter. It shines in medium to large rooms, entryways, and open floor plans where its scale can breathe. In a tiny powder room, the cuts can start to look chopped up, and there a 12×12 or a smaller format may frame the space better. But for the bulk of a home, an 18×18 floor tile in quality porcelain, set over a properly flattened subfloor, delivers a floor that looks great and lasts for decades.
Prefer to explore on your own?
See how new flooring looks in your actual room in seconds — free, no signup.
Try the free Floor Studio →

