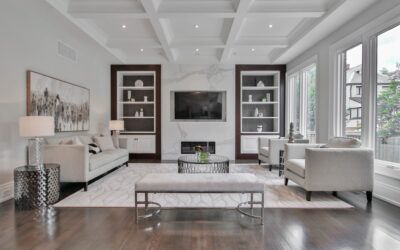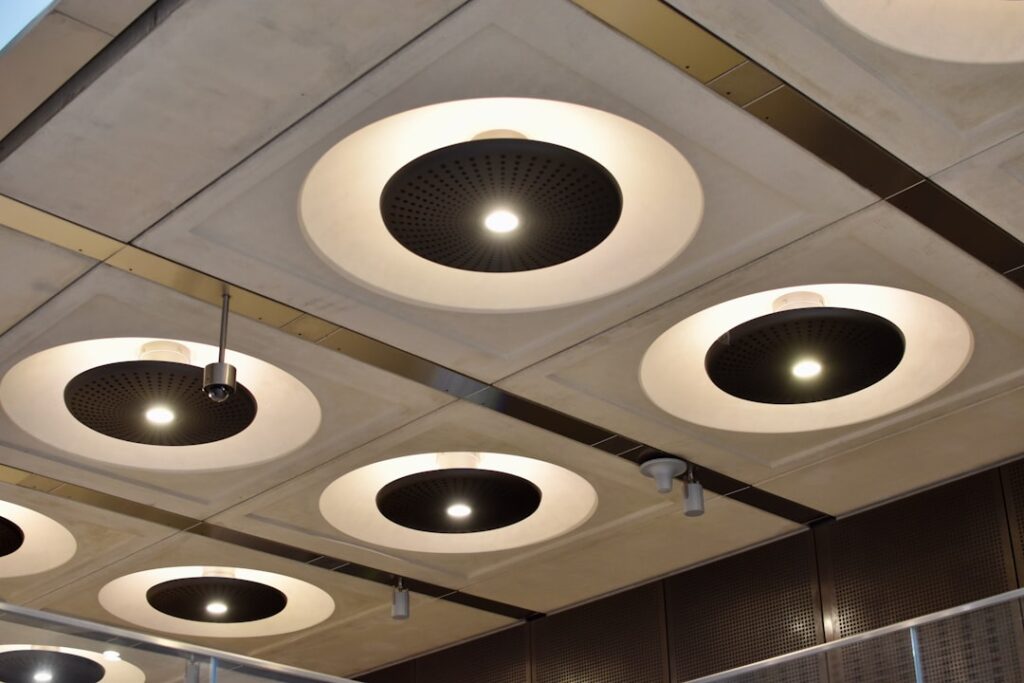
Standard downlights fire straight down and stay there, which is fine over a hallway but useless when you want to wash light across a stone fireplace or spotlight a painting. Adjustable recessed lighting solves that by letting the trim or the lamp inside pivot, so you can direct the beam onto walls, artwork, countertops, or architectural features instead of just the floor beneath the fixture. These directional fixtures, often called gimbal or eyeball trims, turn a flat ceiling of downlights into a flexible tool for highlighting the parts of a room you actually want people to notice.
- How Adjustable Fixtures Differ from Fixed Downlights
- The Main Types
- Beam Angle Matters
- Where Adjustable Recessed Lighting Shines
- Spacing and Placement
- Bulbs, Color, and Dimming
- Installation and Retrofit Options
- Layering Adjustable Lights with Other Fixtures
- Avoiding Glare and Hot Spots
- Frequently Asked Questions
How Adjustable Fixtures Differ from Fixed Downlights
A fixed downlight has a stationary trim that aims the light in one direction, straight down. An adjustable fixture adds a movable element that tilts and often rotates, letting you swivel the beam up to 35 or 40 degrees off vertical. That range is enough to accent a wall, graze a textured surface, or redirect light around a beam or soffit that would otherwise block a fixed light.
The value is flexibility. In a room where furniture, art, or a feature wall might change over time, adjustable trims let you re-aim the light without moving the housing in the ceiling. That saves you from cutting new holes or hiring an electrician every time you rearrange a space.
The Main Types
Adjustable recessed lighting comes in a few common styles, each suited to different jobs.
- Gimbal trim: The lamp sits inside a ring that tilts and rotates within the trim, staying mostly flush with the ceiling. Clean-looking and popular for accent lighting.
- Eyeball trim: The lamp protrudes slightly and pivots like an eye in a socket, offering a wider aiming range but a more visible fixture.
- Adjustable slope trims: Made for vaulted or angled ceilings, they compensate for the slope so the beam still points where you want.
- Directional LED modules: Integrated LED units with a built-in adjustable optic, combining energy efficiency with aiming flexibility in a low-profile package.
Gimbals give the most finished look for accent work, while eyeballs win when you need maximum tilt to reach a distant wall or high artwork.
Beam Angle Matters
Aiming the light is only half the equation; the beam angle determines how tight or broad the pool of light is. Narrow beams of 15 to 25 degrees create a focused spotlight ideal for artwork or a single sculpture. Medium beams around 35 to 40 degrees light a countertop or reading area. Wide beams of 60 degrees or more wash a whole wall or fill a general space.
For wall washing, pair a wider beam with the fixture positioned 18 to 30 inches out from the wall so the light spreads evenly from ceiling to floor. For a tight accent on a framed piece, choose a narrow beam and aim it at roughly a 30-degree angle to minimize glare and reflection off the glass.
Where Adjustable Recessed Lighting Shines
These fixtures earn their keep anywhere you want to draw the eye. Over a kitchen island or countertop, angling the light slightly toward the work surface reduces the shadow your body casts when a fixed downlight is directly overhead. Along a gallery wall, a row of aimed accents makes art pop. In a living room, grazing an adjustable beam across a stone or brick fireplace reveals texture that flat lighting flattens.
They also solve problem ceilings. On a sloped or cathedral ceiling, an adjustable or slope-rated trim keeps light pointing down into the room instead of raking across the floor. Around ceiling beams and soffits, the tilt lets you clear the obstruction and still light the space below.
Spacing and Placement
Good aiming starts with sensible placement. For general ambient lighting, a common rule spaces fixtures a distance apart equal to half the ceiling height; an 8-foot ceiling suggests roughly 4 feet between lights. For accent work, placement follows the target rather than a grid, so position each fixture based on where the art or feature sits.
Keep accent fixtures far enough from the wall to allow the tilt to work without the trim glaring into the room. Aiming from too shallow an angle produces hot spots and reflections; a 30-degree aim from vertical is a reliable starting point that lights the subject while keeping the bright source out of your eyeline.
Bulbs, Color, and Dimming
LED is the default choice today for its efficiency, long life, and low heat, which matters in an enclosed recessed can. For accent lighting, a color temperature of 2,700 to 3,000 Kelvin gives a warm, inviting tone that flatters wood, art, and skin. Cooler 3,500 to 4,000 Kelvin suits task areas like kitchens where you want crisp, energetic light.
Pay attention to the color rendering index, or CRI. A CRI of 90 or higher renders colors accurately, which is essential when the whole point is showing off artwork or a richly colored feature wall. Add a compatible dimmer so you can dial accent lights up for cleaning and down for ambiance, and confirm the LED and dimmer are matched to avoid flicker.
Installation and Retrofit Options
If you already have recessed housings, you can often swap a fixed trim for an adjustable one that fits the same can, an easy afternoon upgrade with the power off. For new installations, choose IC-rated housings if the can will contact insulation, and airtight housings to prevent drafts and energy loss in exterior ceilings.
Retrofit LED modules that thread into an existing socket and clip into the can make the simplest path to adjustable light, though their tilt range is usually smaller than a dedicated gimbal trim. For serious accent work, a proper gimbal or eyeball trim in a compatible housing delivers the widest aiming range and the cleanest result.
Adjustable recessed lighting turns a static ceiling grid into a design tool. Choose the trim style for your ceiling, match the beam angle to the job, place fixtures relative to what you want to highlight, and use warm, high-CRI LEDs on a dimmer. Aim each light with intention, and your room stops looking evenly lit and starts looking deliberately designed.
Layering Adjustable Lights with Other Fixtures
Adjustable recessed fixtures rarely work alone. The best-lit rooms combine three layers: ambient light that fills the space, task light for working, and accent light that highlights features, which is where directional recessed lights excel. Using adjustable cans purely for accents while a separate source handles general illumination produces a far richer result than trying to make one grid of downlights do everything.
In a living room, for example, you might have fixed downlights or a central fixture for ambient light, a floor lamp for reading, and a few adjustable recessed lights grazing the fireplace and washing an art wall. That layering creates depth and lets you shift the mood by dimming layers independently. When every light is on a separate dimmer or scene control, a single room can go from bright and functional for cleaning to soft and dramatic for entertaining.
Avoiding Glare and Hot Spots
The most common mistake with adjustable lighting is aiming it so aggressively that the bright source glares into the room or bounces off glossy surfaces. Two techniques prevent this. First, keep your aim within about 30 to 35 degrees from vertical so the lamp stays recessed and shielded rather than tilting far enough to shine straight at seated eye level. Second, choose trims with a deep baffle or a lens that shields the lamp, reducing the visible brightness of the source itself.
For artwork behind glass, aim from an angle that directs any reflection away from the typical viewing position, generally around a 30-degree aim, so you see the art and not a bright reflection of the fixture. Testing the aim with the furniture in place and someone sitting where guests will sit reveals glare problems you would miss standing under the light.
Frequently Asked Questions
What is the difference between a gimbal and an eyeball trim?
A gimbal trim holds the lamp in a ring that tilts and rotates while staying mostly flush with the ceiling, giving a clean look. An eyeball trim protrudes slightly and pivots like an eye in a socket, offering a wider aiming range but a more visible fixture.
How far from the wall should I place accent lights?
For wall washing, position adjustable fixtures 18 to 30 inches out from the wall so the beam spreads evenly. Placing them too close creates a harsh downward streak instead of a smooth wash of light.
Can I replace a fixed recessed trim with an adjustable one?
Usually yes. If your existing housing accepts standard trims, you can swap a fixed trim for a compatible adjustable gimbal or eyeball trim with the power off, an easy afternoon upgrade with no rewiring.
What color temperature is best for accent lighting?
Use warm 2,700 to 3,000 Kelvin light with a color rendering index of 90 or higher for accent work. That warm, accurate light flatters wood, art, and richly colored surfaces, which is exactly what accent lighting is meant to show off.