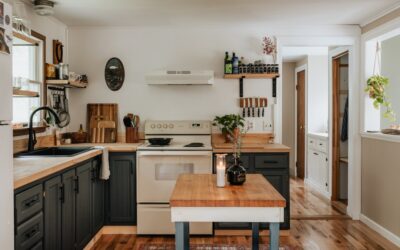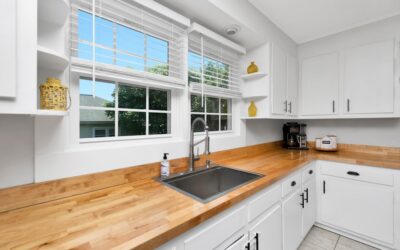
Butcher block brings warmth into a kitchen that no slab of stone can match, but the seam where wood meets wall is the most vulnerable joint in the room. Choosing the right backsplash for butcher block counter installations is partly a style call and partly a waterproofing decision, because wood moves with humidity and swells when standing water finds an unsealed edge. Get the material and the caulk detail right and the combination lasts decades; get it wrong and the back edge of the counter turns gray and spongy within a couple of years. Here is how to pick a backsplash that flatters the wood and protects it.
Part of our Countertops guide — explore the full guide →
The Design Logic: Contrast Beats Matching
Butcher block is already the texture star of the kitchen, so the backsplash’s job is to complement, not compete. Wood-look tile behind real wood almost always reads as a mismatch, since the fake grain sits next to the real thing. The combinations that consistently photograph well share one principle: pair the organic warmth of the wood with something cooler, smoother, or lighter.
- White subway tile: the default for a reason. Crisp 3×6 ceramic ($2 to $8 per sq ft) against oak or walnut is farmhouse-kitchen shorthand, and glossy glaze bounces light onto the counter.
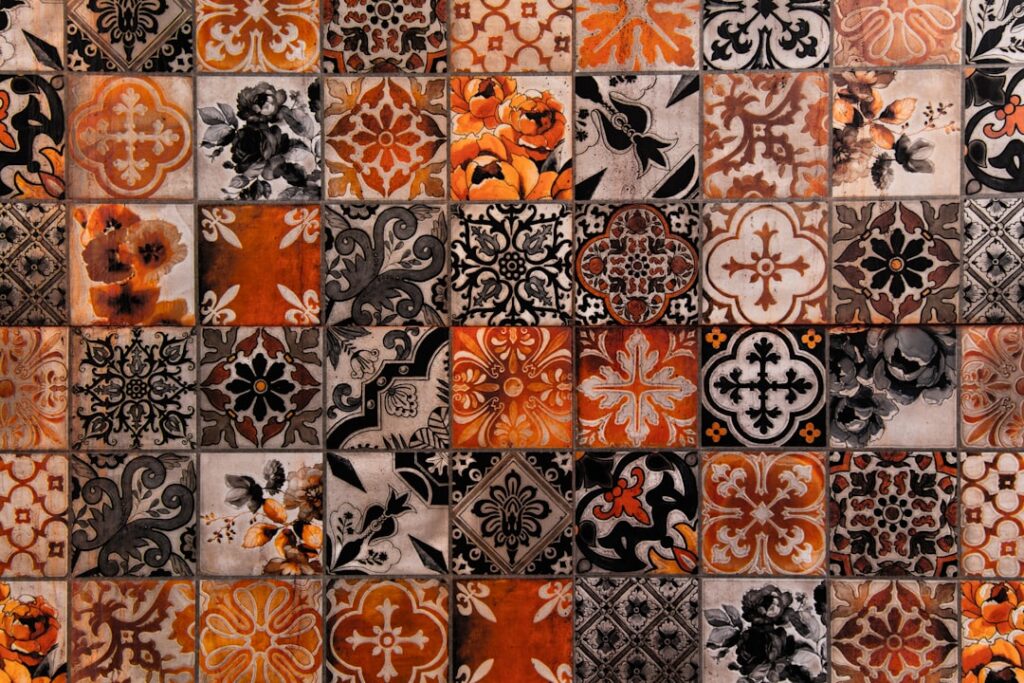
- Zellige and handmade-look tile: the irregular glaze variation adds craft character that suits wood counters, at $12 to $30 per sq ft.
- Marble and marble-look porcelain: cool gray veining against warm wood is a classic high-low pairing; porcelain versions ($6 to $15) skip marble’s etching problems in a cooking zone.
- Beadboard or shiplap: painted paneling gives cottage charm for $1 to $3 per sq ft, but it must be primed, painted, and caulked thoroughly, since it is wood protecting wood.
- Quartz or solid-surface slab: a single seamless panel ($60 to $100 per sq ft installed) in a matte white or soft gray makes butcher block look intentional and high-end, with zero grout to maintain.
- Painted drywall with a wood ledge: the budget minimalist route, viable only outside the sink and stove zones.
Color Pairings by Wood Species
Match the backsplash undertone to the wood’s undertone and the room holds together. Golden woods like maple and birch pair best with warm whites, creams, and sage greens; cool bright whites can make them look orange. Walnut’s chocolate tones love pale gray, white, and even deep navy tile with brass accents. Oak sits in the middle and tolerates nearly anything, which is why it dominates the Pinterest boards. Red-toned woods like cherry narrow your lane: stick to creams and warm neutrals, and avoid pink-undertone grays that amplify the red.
The Waterproofing Detail That Actually Matters
Whatever material goes on the wall, the joint between the counter and the backsplash decides whether the wood survives. Wood counters expand and contract across their width with seasonal humidity, up to 1/8 inch or more on a 25-inch-deep top, so a rigid grout line at that joint will crack the first winter.
- Leave a 1/8 inch gap between the back edge of the butcher block and the wall or tile.
- Fill it with 100 percent silicone caulk in a color matched to the grout or counter, never grout or acrylic caulk. Silicone flexes with the wood’s movement.
- Seal the counter’s back edge and underside near the wall with the same oil or film finish as the top. Installers routinely skip the hidden edges, and that is where swelling starts.
- Inspect and recut the silicone bead every couple of years, especially behind the sink and faucet.
Behind a sink set into butcher block, consider running the backsplash material down to the counter with a generous silicone joint and adding a small tile or stone ledge; this is the splash zone that kills wood counters.
How High Should the Backsplash Go?
Three standard treatments work with wood counters. A 4-inch splash in the same butcher block, sold as matching splash strips by IKEA and lumber suppliers, is the traditional budget move, though it doubles the wood you must keep sealed. A counter-to-cabinet backsplash (usually 18 inches of tile) is the modern default and the most practical, protecting the entire wet zone. A counter-to-ceiling treatment behind open shelving or a range hood turns the wall into a feature, and with butcher block below it, a simple tile in a big field looks deliberate rather than busy. Whichever height you choose, carry it behind the faucet and range at minimum.
Grout, Sheen, and Practical Finishes
Kitchens with wood counters skew warm and textured, so a few finish details keep the backsplash practical. Choose a mid-tone grout (warm gray or greige) over bright white near cooking zones; white grout behind a range shows every grease film. Glossy tile wipes cleaner than matte behind a stove, while matte and satin finishes hide water spotting better behind a sink. If you install beadboard, use a scrubbable satin or semi-gloss enamel, and prime the back and cut edges before it goes up. For natural stone splashes, seal the stone before grouting, or the grout pigment can shadow the edges permanently.
Budget Snapshot for a Typical Kitchen
Most kitchens have 25 to 40 sq ft of backsplash area. Realistic 2026 all-in numbers, materials plus professional installation:
- Ceramic subway tile: $400 to $1,200
- Porcelain marble-look: $600 to $1,600
- Zellige or handmade tile: $900 to $2,500
- Beadboard, DIY: $100 to $300 in materials
- Quartz slab splash: $1,500 to $4,000
Tile setters typically charge $10 to $25 per sq ft for backsplash labor because of the cuts around outlets and windows. Peel-and-stick tile ($5 to $12 per sq ft) is a defensible renter’s option away from the range, but treat it as a five-year finish, not a permanent one.
Timing the Install: Counter First, Then Backsplash
Sequence matters more with wood counters than with stone. Install and finish the butcher block first, including two or three coats of sealer on the top, edges, and back, and let it acclimate in the kitchen for at least 72 hours before the tile goes on. Wood moves the most in its first weeks in a new humidity environment, and tiling to a counter that has not settled can close your expansion gap. When the tile setter arrives, have them start the first course on tile spacers or a ledger set 1/8 inch above the counter surface, never resting tile directly on the wood. After grouting, that gap gets its silicone bead. If you are replacing counters under an existing backsplash instead, plan for a slightly thicker silicone joint, since the new slab will not land at exactly the old height, and a 3/16 inch color-matched bead reads as a shadow line rather than a patch.
Bottom Line
The best backsplash for butcher block counter setups pairs the wood with a cooler, smoother material, white or handmade tile, marble-look porcelain, or a clean slab, and treats the wall joint as a flexible, silicone-sealed seam rather than a grouted one. Budget for the full counter-to-cabinet height in the wet zones, match undertones to your wood species, and keep the hidden back edge of the counter sealed. Do those things and the wood-plus-tile combination that drew you in on Pinterest will still look that way in ten years.