You can spend weeks choosing the perfect tile and still end up with a backsplash that looks unfinished, all because of one overlooked detail: the edge. Backsplash tile trim is the piece that caps the raw, exposed edges of your tile where it meets a countertop, a wall corner, or open drywall, turning a rough cut into a clean, intentional line. It is the difference between a professional-looking installation and an obvious DIY job, and choosing the right trim is easier than most people think once you know the options.
Part of our Kitchen Remodeling guide — explore the full guide →
- Why Edges Need Trim in the First Place
- The Main Types of Backsplash Tile Trim
- Choosing the Right Trim for Your Look
- Metal Profiles Explained
- When Bullnose Is the Better Choice
- Where Trim Is Needed on a Backsplash
- Installation Basics
- Common Mistakes to Avoid
- Coordinating Trim Finish With Your Fixtures
- The Bottom Line
Why Edges Need Trim in the First Place
Most wall tile has finished front faces but raw, unglazed sides. When a run of tile ends, at the top of a partial-height backsplash, at an outside corner, or beside a window, that raw edge shows. It looks unfinished, it can be sharp, and on porous tile it can absorb moisture and grime. Trim solves all three problems. It hides the raw edge behind a clean profile, protects the tile corner from chipping, and gives the eye a deliberate stopping point. Skipping trim is the single most common reason an otherwise good backsplash looks amateurish.
The Main Types of Backsplash Tile Trim
There are several ways to finish an edge, and they range from invisible to decorative.
- Metal profiles (Schluter-style): L-shaped aluminum, stainless, or anodized strips that tuck under the tile and cap the edge with a slim, modern reveal.
- Bullnose tile: tiles with a factory-rounded, glazed edge that match the field tile for a seamless all-tile finish.
- Pencil and liner trim: thin decorative strips, often rounded or rope-textured, that add a traditional accent while finishing the edge.
- Quarter-round and chair-rail tile: molded ceramic pieces for a more classic, dimensional border.
Choosing the Right Trim for Your Look
Match the trim to the style of the room and the tile. For a sleek, contemporary kitchen, a metal profile in brushed nickel, matte black, or brass gives a crisp modern edge that can also tie into your cabinet hardware and faucet finish. For a classic or transitional look, a bullnose edge disappears into the field for a soft, timeless finish. For traditional and cottage kitchens, a decorative pencil liner adds charm. The key is intentionality: pick a trim that either blends invisibly or complements the metals already in the space, never one that clashes.
Metal Profiles Explained
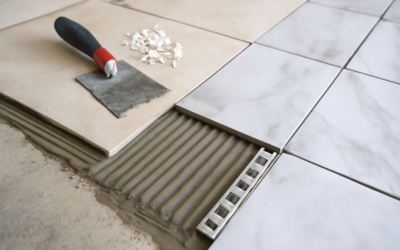
Metal edge profiles have become the default in modern installations for good reason. They install with an anchoring leg that sits in the thinset beneath the last row of tile, so the visible face is a clean, durable metal cap only a fraction of an inch wide. They come in square-edge, rounded, and reveal profiles, and in finishes from polished chrome to oil-rubbed bronze to matte black. Because they are metal, they resist chipping far better than a glazed tile edge, which matters at an exposed outside corner. Measure the exact thickness of your tile and buy a profile sized to match, since the channel must fit the tile depth precisely.
When Bullnose Is the Better Choice
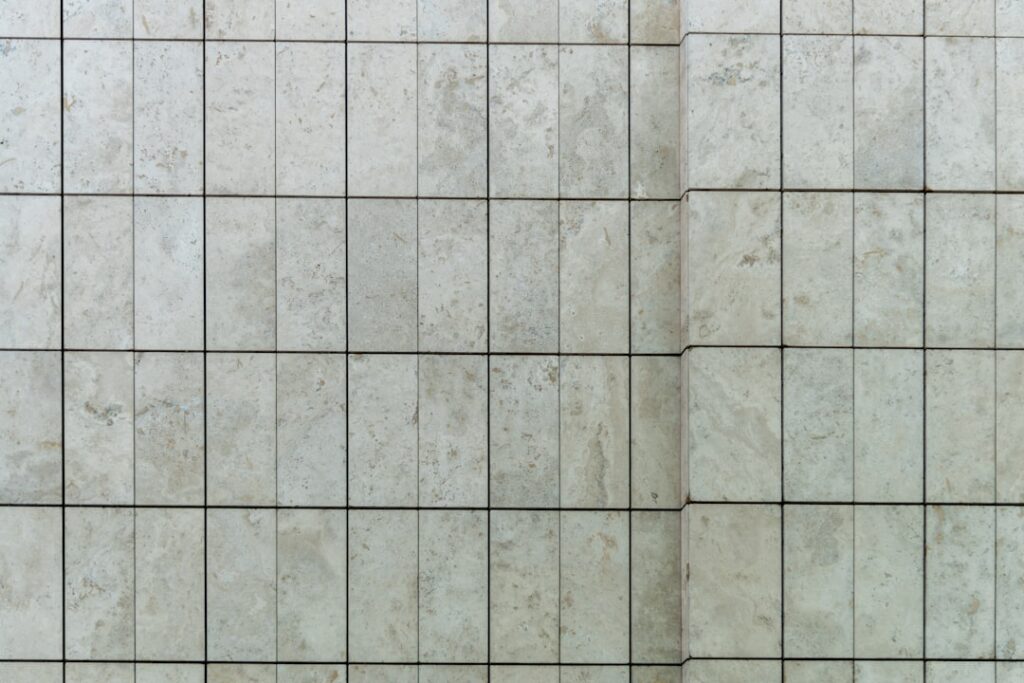
Bullnose tile has one glazed, rounded edge and is designed to finish a run without any visible metal. It is the right call when you want the trim to disappear and let the tile itself be the finish, which suits classic subway and natural-stone looks. The catch is availability; not every tile line offers a matching bullnose, and many trendy tiles, especially handmade and specialty products, do not. If your chosen tile lacks a bullnose, your options are a metal profile, a mitered edge cut by a skilled installer, or a coordinating decorative trim. Check bullnose availability before you fall in love with a tile.
Where Trim Is Needed on a Backsplash
Not every edge requires trim, so plan where it goes. You need a finished edge wherever tile meets open air rather than a cabinet, wall, or countertop. That typically means the top edge of a backsplash that stops below the upper cabinets, the vertical edges where the backsplash ends beside a range or at an open wall, and any outside corners. Edges that die into a cabinet, a window casing, or the countertop usually do not need trim because the adjacent surface hides them. Walk your layout and mark every exposed edge before ordering, so you buy the right length of trim.
Installation Basics
Trim installs alongside the tile, not after. For a metal profile, set it into the thinset first with the anchoring leg embedded under the adjacent tile, keeping the visible face plumb and aligned, then butt the field tile against it with a normal grout joint. For bullnose, simply set it as the final piece in the run. Cut metal profiles with a hacksaw or miter shears and file the burrs; miter the corners where two profiles meet for a clean joint. Keep the reveal consistent, and grout the joint between trim and tile just like any other, or caulk it where the trim meets a different plane.
Common Mistakes to Avoid
A few errors undermine an otherwise good backsplash. Installing trim as an afterthought, glued on top of the finished tile, leaves a lip that looks wrong and traps grime. Choosing a metal profile sized for the wrong tile thickness leaves a gap or a proud edge. Forgetting to miter metal corners produces an ugly overlap. And selecting a trim finish that fights the room’s hardware, shiny chrome trim beside matte black fixtures, undercuts the whole design. Plan the trim at the same time as the tile, not once the tile is already on the wall.
Coordinating Trim Finish With Your Fixtures
The finish of a metal trim profile is a design decision, not just a practical one. The most polished-looking kitchens carry one metal tone through the hardware, faucet, lighting, and edge trim. If your cabinet pulls and faucet are matte black, a matte black profile makes the backsplash feel intentional and custom. If you have brass or champagne bronze fixtures, a matching trim adds a warm, cohesive glow. Brushed nickel and stainless are the safe, versatile middle. The mistake to avoid is defaulting to whatever the store has in stock, since a mismatched shiny chrome edge next to warm brass fixtures instantly cheapens the whole look.
Profile shape matters too. A square-edge profile reads modern and crisp, while a rounded or bullnose metal profile feels softer and more traditional. Reveal-style profiles create a slim shadow line that looks especially clean against large-format tile. Consider the sightlines in your kitchen: the trim on an exposed outside corner is seen constantly, so it is worth choosing a profile and finish you genuinely like there. When the edge treatment coordinates with the rest of the room’s metals and matches the tile’s style, the backsplash stops looking like a collection of parts and starts looking like a single, deliberate design element.
The Bottom Line
Backsplash tile trim is a small detail with an outsized effect on how finished your kitchen looks. Whether you choose a slim metal profile that coordinates with your hardware, a seamless bullnose that disappears into the tile, or a decorative liner that adds character, the goal is the same: a clean, deliberate edge with no raw tile showing. Decide on the trim before you order, size metal profiles to your tile, and install them alongside the field tile. Get that edge right and even a simple backsplash looks like professional work.
Prefer to explore on your own?
See how new flooring looks in your actual room in seconds — free, no signup.
Try the free Floor Studio →