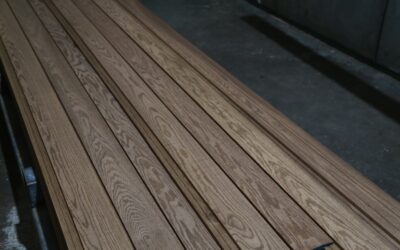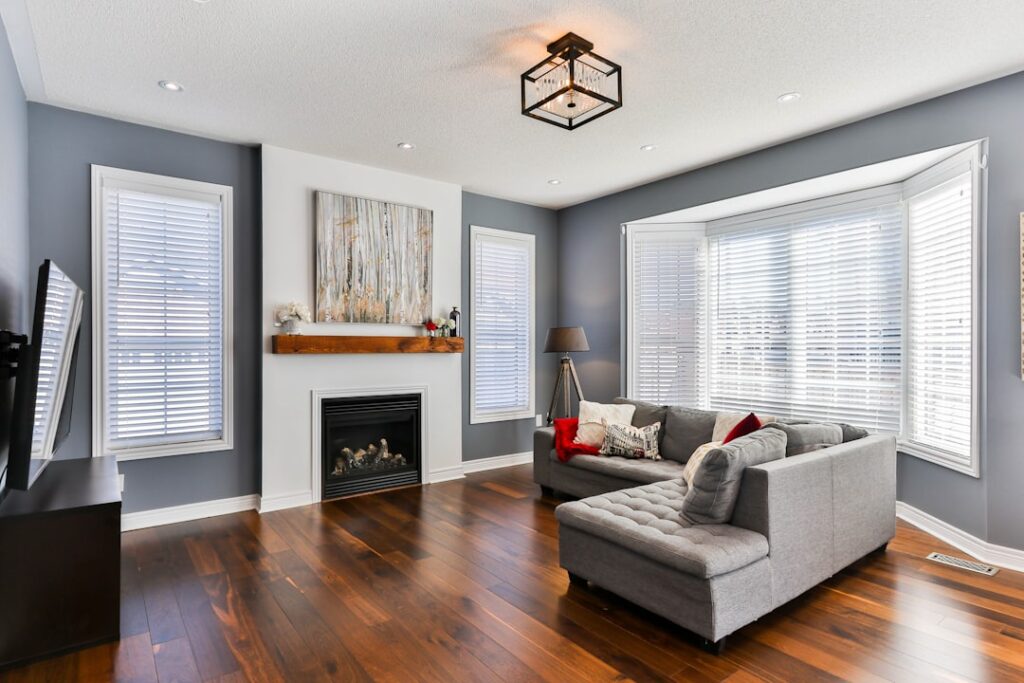
When people talk about bare hardwood flooring, they mean wood in its raw, unfinished state, either freshly milled planks that arrive without any factory coating or an old floor sanded all the way back to clean, naked wood. In both cases the surface has no stain and no protective topcoat, so the sanding, sealing, and finishing all happen in your home, on your subfloor, after the boards are down.
That site-finished approach gives you control most homeowners never get with a boxed prefinished product. It also asks more of your time, your budget, and your tolerance for dust. Here is everything you need to decide whether bare wood is right for your project.
What “Bare” Hardwood Actually Means
There are two common scenarios. The first is buying unfinished solid or engineered hardwood, raw planks with no urethane, no oil, and no color. You install them, then a finisher sands the field flat and applies stain and topcoat. The second is refinishing: taking an existing wood floor and drum-sanding it down through the old finish until you reach fresh, bare wood, then re-staining and re-sealing.
Both routes leave you, at one point, standing on exposed wood fiber that is vulnerable to water, scuffs, and dirt until it is sealed. That vulnerable window, usually a few days, is the defining trait of working with bare hardwood.
Unfinished vs. Prefinished Hardwood
The single biggest decision is unfinished (bare) versus prefinished. They are the same wood species and similar planks; the difference is where the finish gets applied.
- Prefinished: The factory sands, stains, and applies 7 to 10 coats of aluminum-oxide urethane under UV curing, then ships sealed planks. You install and walk on them the same day. Edges are usually micro-beveled.
- Unfinished/bare: Raw planks ship to your home. You install, sand, stain, and seal on site. The result is a flat, seamless surface with no bevels collecting grit.
Prefinished wins on speed, factory-tough wear layers, and predictable cost. Bare wood wins on a smooth, monolithic look, custom stain color, and the ability to fill seams and create a perfectly flush field. For matching a stain to existing trim or an adjacent room, bare wood is the only real option.
Why Choose Bare Wood Over Prefinished?
People deliberately buy bare hardwood for a handful of strong reasons. Custom color tops the list: you can test stains on your actual boards in your actual light, then dial in the exact tone instead of choosing from a fixed factory palette. Bare wood also produces a flush, beveless surface that many designers prefer because it photographs as one continuous plane and does not trap dirt in micro-grooves.
A site-applied finish also seals the seams between boards, which helps in spaces where spills are a worry. And when the floor eventually wears, a site-finished bare floor is straightforward to screen-and-recoat because there is no factory aluminum-oxide layer fighting your buffer.
The Sanding and Refinishing Process
Whether you start with raw planks or strip an old floor, the on-site work follows the same arc.
- Rough sand: A drum or belt sander with 36- to 40-grit paper removes old finish and levels the field down to clean, bare wood.
- Intermediate passes: Step up through 60- and 80-grit to erase the deep scratches the rough grit left behind.
- Edging: An edger sands the perimeter and corners the big machine cannot reach.
- Final sand: A finish pass at 100- to 120-grit, often with a buffer and screen, leaves the surface smooth enough to accept stain evenly.
- Tack and vacuum: Every speck of dust comes up before any finish touches the wood, because trapped grit shows in the topcoat.
This is dusty, noisy work. Plan on the room being unusable for several days, and seal off doorways with plastic to protect the rest of the house.
Staining and Sealing Bare Hardwood
Once the wood is bare and clean, you choose your color and protection. Oak and other open-grain species often get a water-popping step, lightly wetting the wood so it absorbs stain more deeply and evenly. After staining and a full dry, you apply the topcoat.
Two finish families dominate:
- Oil-based polyurethane: Ambers the wood for warmth, very durable, but slow to cure and high in odor and VOCs. Expect 24 hours between coats and several days before furniture returns.
- Water-based polyurethane: Dries clear, low odor, fast recoat (often 2 to 4 hours), but typically needs 3 to 4 coats and costs more.
- Penetrating hardwax oil: A natural matte look that is easy to spot-repair, though it offers less surface protection than urethane.
Most floors get two to four coats. Until that final coat cures, the floor stays in its bare, vulnerable state, so keep pets, kids, and water off it.
Pros and Cons of Bare Hardwood Flooring
Weigh these honestly against your timeline and budget.
Pros:
- Fully custom stain color matched to your room and trim.
- Smooth, beveless, seamless surface that resists trapping dirt.
- Sealed seams from the site-applied topcoat.
- Easy to recoat or fully refinish down the road.
- Can be installed, then sanded flush even if the subfloor has minor variation.
Cons:
- Days of disruption, dust, and fumes during sanding and curing.
- Vulnerable bare-wood window until the finish cures.
- Higher labor cost and more skill required than snapping in prefinished planks.
- Field-applied finish is usually thinner than a factory wear layer at first.
What Bare Hardwood Costs
Raw unfinished planks typically run $3 to $8 per square foot for common species like red oak, with exotics climbing higher. Installation of raw boards costs roughly $3 to $6 per square foot. Then sand-and-finish labor adds another $3 to $5 per square foot for the multi-step process described above. All in, a site-finished bare floor often lands between $9 and $15 per square foot installed and finished.
Refinishing an existing floor back to bare wood is cheaper because you skip the planks: expect $3 to $8 per square foot depending on the number of coats, stain work, and how badly the old surface is worn.
Bare hardwood flooring rewards patience with a floor that is truly yours: the exact color, a flawlessly smooth plane, and a surface you can renew for decades. If you can absorb the downtime and the dust, it is one of the most satisfying upgrades a home can get.
Prefer to explore on your own?
See how new flooring looks in your actual room in seconds — free, no signup.
Try the free Floor Studio →