Dated tile can drag down an entire bathroom, and bathroom tile paint offers a budget-friendly way to transform the space without the dust, cost, and disruption of a full retile. With the right products and careful prep, you can take dingy pink or avocado-green tile to crisp white, soft gray, or any modern color in a weekend. The catch is that tile is smooth and non-porous, so success depends entirely on the right paint system and meticulous surface preparation. This guide walks through how to do it well.
What Bathroom Tile Paint Can and Cannot Do
Tile paint is a cosmetic refinishing solution, not a structural fix. It can change the color of sound tile on walls, tub surrounds, and floors, and it can update grout color in the process. It cannot repair cracked or loose tile, fix failing waterproofing, or substitute for proper bathroom moisture control.
Done correctly, painted tile looks remarkably good and holds up for years. Done carelessly, it peels and chips quickly. The difference is almost always in the preparation and product choice, not the painting itself.
Types of Paint for Tile
Several product categories work on bathroom tile, each with trade-offs in durability and ease of use.
- Two-part epoxy refinishing kits: The most durable option, designed for tubs and tile, with excellent water and wear resistance, but more demanding to apply.
- Tile-specific paint: Specialized coatings formulated to adhere to glazed surfaces, often easier to use than epoxy.
- Bonding primer plus durable topcoat: A high-adhesion primer followed by a tough enamel or urethane finish.
For wet zones like shower walls and tub surrounds, lean toward an epoxy or moisture-rated system. For drier areas like a backsplash or wall tile away from direct water, tile paint or a primer-and-enamel approach can suffice.
Prep Is Everything
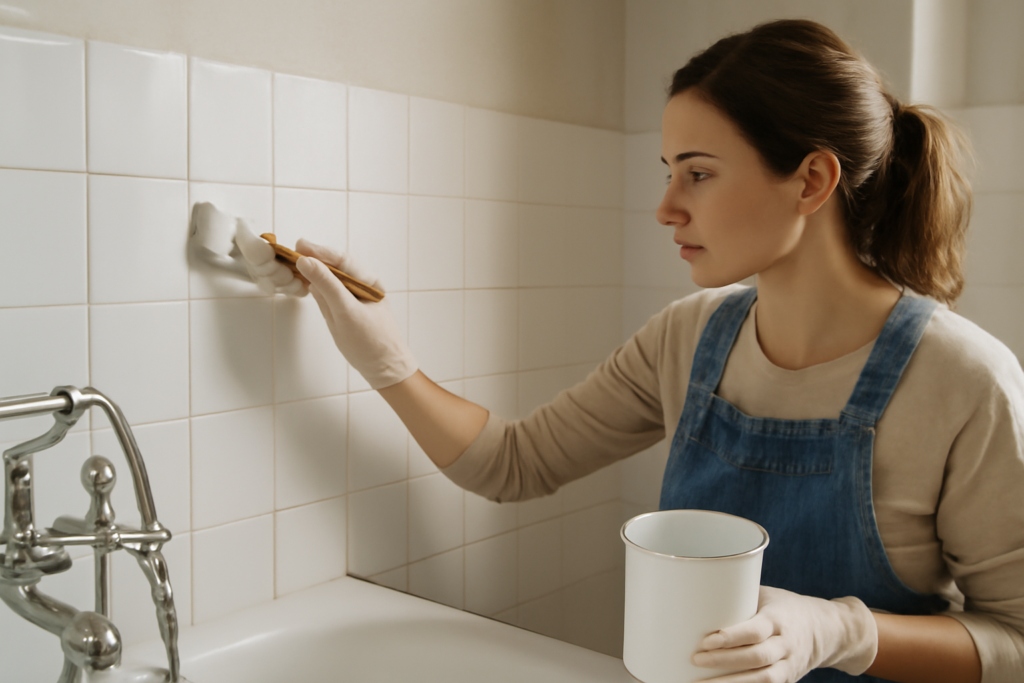
The number one reason painted tile fails is poor prep, because paint will not grip a slick, dirty surface. Start by cleaning the tile thoroughly to strip away soap scum, body oils, and mildew, then treat and kill any mold present. Rinse and let it dry completely.
Next, scuff-sand the glaze with the grit specified by your product, usually fine sandpaper, to give the primer something to bite into. Wipe away all dust. Repair any cracked grout and let it cure, and mask off fixtures, trim, and anything you do not want painted. This stage takes the most time and matters the most.
Applying Tile Paint Step by Step
Work methodically and in thin coats. A general sequence looks like this:
- Apply a high-adhesion bonding primer if your system calls for one, and let it cure fully.
- Apply the first thin, even coat of paint or epoxy with a fine roller and brush for corners.
- Respect the recoat window on the label; apply a second and sometimes third thin coat for even coverage.
- Smooth out drips immediately, especially on vertical surfaces.
- Allow the full cure time before exposing the surface to water.
Thin, multiple coats give a smoother, more durable finish than one heavy coat, which sags and stays soft.
Safety and Ventilation
Epoxy and many tile coatings release strong fumes during application and curing. Ventilate aggressively by opening windows and running a fan, and wear gloves and an appropriate respirator or mask if the product directs. Keep children and pets out of the bathroom during the work and the cure period, and never deviate from the safety instructions on the can. Following the manufacturer’s directions for mixing, ventilation, and protective gear is essential for a safe project and a finish that lasts.
Curing and First Use
Patience during curing makes or breaks the result. Most systems are dry to the touch in hours but need several days to harden fully, and shower and tub surfaces often require waiting up to 3 days or more before exposure to water. Check your specific product’s cure schedule.
During the cure window, keep the surface completely dry and avoid scrubbing, taping, or placing anything on it. The coating only reaches its real toughness after full cure, so early water or abrasion can ruin the job.
Living With Painted Tile
Once cured, treat painted tile gently to extend its life. Clean with mild, non-abrasive cleaners rather than harsh scrubs, bleach-heavy products, or abrasive pads that can dull or scratch the finish. Wipe down wet surfaces and use good bathroom ventilation to manage moisture, which is the biggest long-term stressor on the coating.
Expect a quality, well-prepped job to last several years before it needs a touch-up or recoat. Keep a little leftover paint for repairs.
Cost and Value
A tile paint or epoxy kit typically runs $30 to $150 depending on type and coverage, plus minor supplies like sandpaper, rollers, and tape. Compared to the cost of retiling, which can run into the thousands, it is a dramatic savings and an ideal solution for renters, quick refreshes, or testing a color before a future remodel.
Painting Floor Tile Versus Wall Tile
Floor and wall tile place very different demands on a coating. Wall tile, backsplashes, and tub surrounds away from constant abrasion are the easiest to refinish successfully, since they see less foot traffic and wear. Bathroom floor tile is much harder on paint because of constant walking, grit, and water, so it needs the most durable system, typically a two-part epoxy designed for floors, plus thorough scuff-sanding and full curing.
For floors, add a fine anti-slip additive to the topcoat if the product allows, since painted tile can become slick when wet. Set realistic expectations: refinished floor tile is a budget bridge, not a forever solution, and high-traffic floors will need recoating sooner than walls.
Updating Grout at the Same Time
Refreshing the grout along with the tile makes the whole result look more intentional. You can use a grout pen or grout paint to recolor existing grout lines before or after painting the tile, which sharpens the finished look and covers staining. Clean the grout thoroughly first, apply the colorant carefully along the lines, and wipe any excess off the tile. If you are painting over the entire surface, the grout will simply take the same color as the tile, creating a seamless monolithic look that many homeowners prefer for a modern feel.
Final Thoughts
Bathroom tile paint is a high-impact, low-cost update when you choose the right system, prep obsessively, apply thin coats, and let it cure fully with proper ventilation. It will not fix structural problems, but on sound tile it can completely modernize a bathroom for a fraction of a remodel. Take your time on prep and safety, and the finish will reward you for years.
Prefer to explore on your own?
See how new flooring looks in your actual room in seconds — free, no signup.
Try the free Floor Studio →