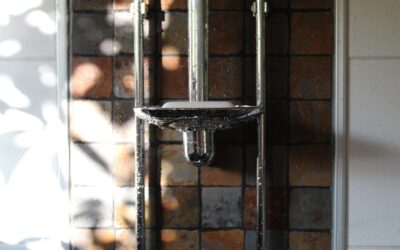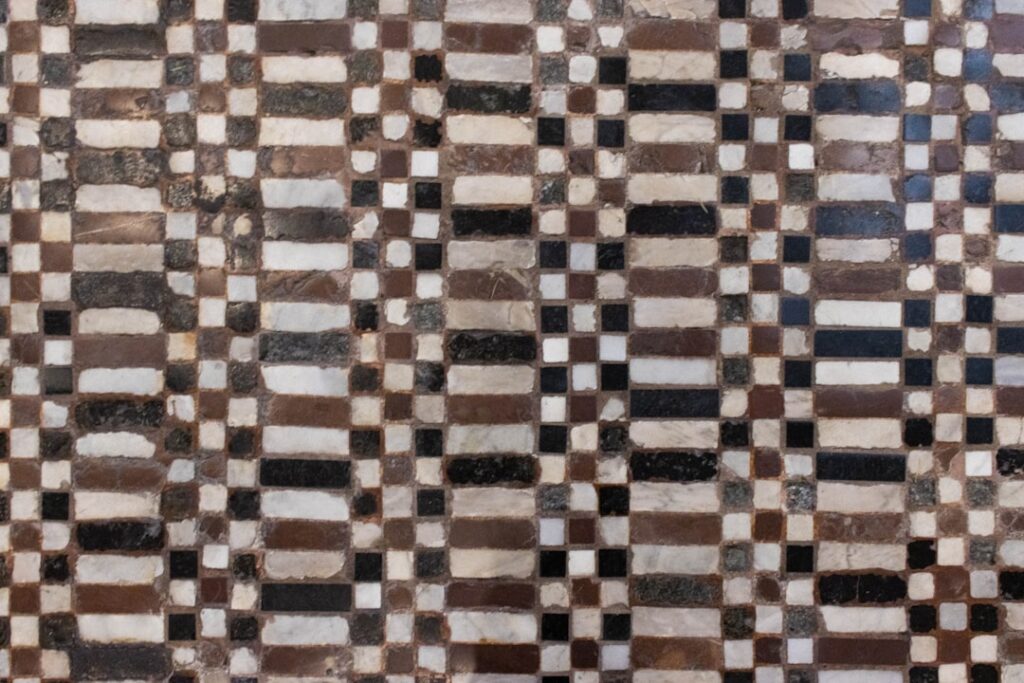
Few patterns feel as instantly welcoming as a checkerboard floor, and brown and white checkered tile softens the classic look into something warm, earthy, and endlessly versatile. Where black and white can read stark or formal, the brown-and-cream combination brings a cozy, lived-in charm that suits farmhouse kitchens, vintage bathrooms, and even modern mudrooms. This design has roots in centuries-old European interiors yet feels fresh in today’s homes. In this guide we will explore layouts, material choices, real costs, and styling ideas to help you bring this timeless motif into your own space.
Part of our Tile & Grout guide — explore the full guide →
Why Brown and White Checkered Tile Works
The magic of this pairing is its balance. White reflects light and keeps a room feeling open, while brown grounds the palette with natural warmth reminiscent of wood, leather, and stone. Together they create rhythm and movement across a floor without demanding attention the way brighter colors might. The pattern is graphic enough to be a focal point yet neutral enough to layer with almost any decor, from rustic country to refined traditional.
Brown also hides everyday wear better than pure white, which is a practical bonus in busy entryways and kitchens. Crumbs, footprints, and the occasional scuff simply blend into the darker squares, making the floor more forgiving between cleanings than an all-light surface would be.
Choosing the Right Shade of Brown
Brown is a broad family, and the exact tone you choose sets the entire mood of the room. Getting this right is the single most important design decision you will make.
- Chocolate and espresso: Deep, rich browns for high contrast and a dramatic, cozy feel.
- Terracotta and clay: Warm, reddish browns that lean Mediterranean or Southwestern.
- Taupe and mushroom: Soft, greige-leaning browns for a subtle, contemporary checker.
- Caramel and honey: Golden browns that pair beautifully with cream for a sunny, inviting look.
- Walnut with wood grain: Wood-look porcelain in a checker layout for organic texture.
Pair your chosen brown with a white that shares the same undertone. A creamy, warm white flatters caramel and terracotta, while a cooler bright white can sharpen the contrast against espresso. Bring samples home and view them in your own light before committing.
Material Options for a Checkered Look
The checkerboard effect comes from arranging two contrasting tiles, so almost any square tile can create it. Porcelain and ceramic are the most popular because they are durable, water-resistant, and available in endless finishes, including convincing marble and stone looks. Natural stone such as travertine or marble delivers authentic veining and a high-end feel but requires sealing and gentler care. Luxury vinyl tile offers a budget-friendly, softer-underfoot alternative that installs quickly and handles moisture well, ideal for a DIY checkerboard in a laundry room or kitchen.
For most homeowners, porcelain in a matte or honed finish strikes the best balance of realism, durability, and easy maintenance. It resists staining, needs no sealing, and stands up to the heavy traffic these floors typically see.
Layout Ideas and Patterns
The way you set the tiles dramatically changes the effect. A straight grid gives you the familiar checkerboard, but rotating the whole pattern forty-five degrees creates a diamond layout that feels more dynamic and can make a small room appear larger. Consider these approaches:
- Classic straight set: Squares aligned to the walls for a traditional, orderly look.
- Diagonal diamond: The grid turned on point to add energy and visual width.
- Border framed: A solid brown or white border wrapping the checker field like a rug.
- Scaled tiles: Large twelve-inch squares for open spaces, smaller four- or six-inch for cottage charm.
Smaller tiles read as busier and more vintage, while larger squares feel calmer and more modern. Match the scale to your room size and the era you are trying to evoke.
Brown and White Checkered Tile Costs
Budgeting depends heavily on material and installation complexity. Here are realistic ranges to plan around.
- Ceramic or porcelain tile: $3 to $12 per square foot for material.
- Natural stone (marble, travertine): $8 to $25 per square foot.
- Luxury vinyl tile: $2 to $7 per square foot.
- Professional installation: $7 to $15 per square foot, more for diagonal layouts.
A typical 100-square-foot kitchen floor in porcelain might run $1,500 to $2,500 installed. Diagonal patterns and borders add labor and waste, so budget an extra ten to fifteen percent for cuts. Luxury vinyl brings the total down considerably and is the most DIY-friendly route.
Where to Use the Pattern
This flexible motif shines almost anywhere, but some spaces suit it especially well. Kitchens are the classic home for a checkered floor, evoking bistro and farmhouse charm. Entryways and mudrooms benefit from the pattern’s forgiving nature and welcoming warmth. Bathrooms take on vintage character with a smaller-scale checker, and covered porches or sunrooms gain a cheerful, garden-room feel. You can even carry the idea onto a backsplash or accent wall for a subtle nod to the floor below, though on floors is where the pattern truly earns its keep.
Styling and Decorating Tips
Because the floor already carries strong pattern, keep surrounding elements calmer to avoid visual clutter. Solid cabinetry, simple countertops, and a mostly neutral palette let the checker be the star. Natural materials like wood, rattan, and brass complement the earthy brown beautifully and reinforce the warm, timeless feeling. If you crave a pop of color, a single accent such as a red kettle, a green plant, or a blue rug reads crisply against the neutral field. Wooden furniture with visible grain echoes the brown squares and ties the whole room together.
Installation and Grout Considerations
A checkerboard pattern lives or dies on precise alignment, so installation deserves careful attention. Because the eye instantly catches any drift in a grid of alternating colors, the layout must be planned from an accurate center point and worked outward so the squares stay perfectly aligned to the walls or the diagonal axis. Any wobble in the lines is far more noticeable than it would be in a single-color floor.
Grout choice strongly shapes the final look. A grout color that splits the difference between the brown and white, such as a soft greige, keeps the joints from competing with either tile and lets the pattern read cleanly. Alternatively, a darker grout emphasizes each square’s outline for a more graphic, vintage effect, while matching grout to the lighter tile softens the whole surface. Whatever you choose, consistency in grout line width is essential, since uneven spacing undermines the crisp geometry the pattern depends on.
A few practical pointers help ensure a professional result:
- Dry-lay several rows first to confirm alignment before spreading any mortar.
- Order ten to fifteen percent extra tile to cover cuts, especially for diagonal layouts.
- Use tile spacers and check your lines frequently as you go.
- Seal grout after installation to keep the light joints from staining.
- For natural stone versions, seal the tile itself before grouting.
Because the pattern is unforgiving of small errors, many homeowners hire an experienced tile setter for checkerboard floors, particularly in larger rooms or diagonal arrangements where precision matters most. The modest extra cost buys a crisp, lasting result that a rushed DIY job can rarely match.
Bringing It All Together
A well-chosen brown and white checkered tile floor delivers character that never goes out of style, wrapping your home in warmth while staying practical enough for daily life. Start by selecting a brown tone and matching white that flatter your light, pick a durable material suited to the room, and choose a layout scale that fits the space. Keep the rest of the room simple so the pattern can shine, and you will have created a floor that feels both classic and inviting. This is a design that has charmed homeowners for generations, and with the right choices it will do the same for yours.
Prefer to explore on your own?
See how new flooring looks in your actual room in seconds — free, no signup.
Try the free Floor Studio →