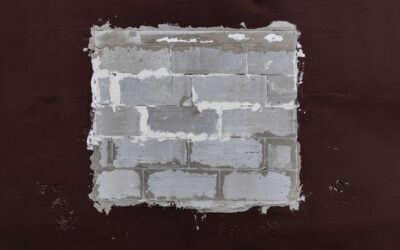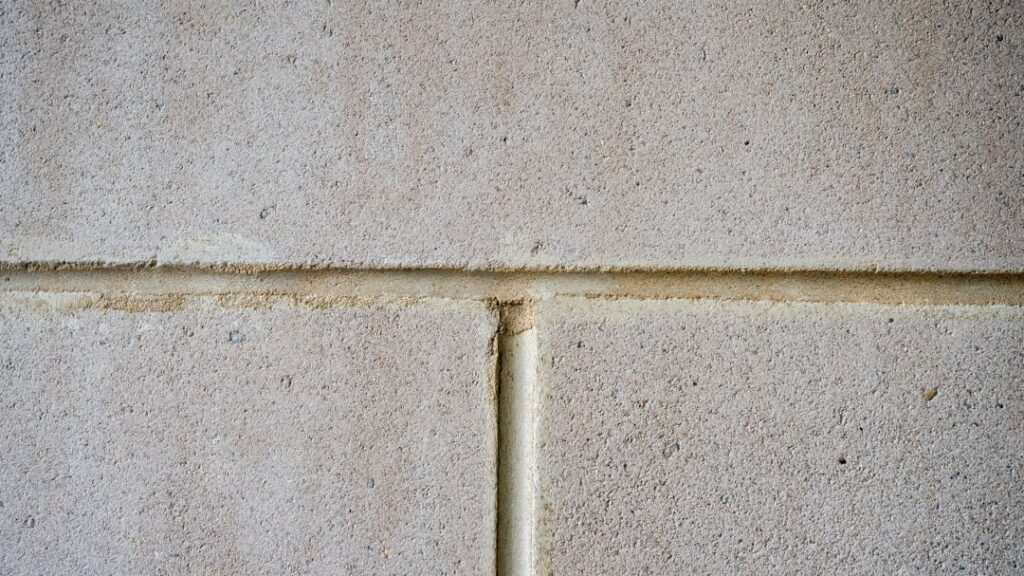
Short answer: yes, but only if you remove enough of the old grout first. So can you put grout over grout? New grout will bond to clean, sound, roughened old grout when it has at least 1/8 inch of depth to grab — ideally 2/3 the tile depth — but a thin skim coat smeared over intact old grout is the classic homeowner shortcut that flakes out within weeks or months. I have regrouted hundreds of showers and floors, and the difference between a regrout that lasts fifteen years and one that peels by Christmas is almost entirely how much of the old joint came out before the new grout went in. Here is exactly when over-grouting works, when it fails, and the middle-ground options like colorants that are honestly better for some situations.
Part of our Tile & Grout guide — explore the full guide →
Why a skim coat over old grout fails
Grout is not glue; it is a cement (or resin) mortar that gets its strength from mass and from mechanical keying into the joint. When you spread new grout over an existing full joint, three things go wrong at once. First, there is no depth — you are applying a layer 1/32 to 1/16 inch thick, which has almost no structural integrity and cracks from normal tile movement. Second, old grout surfaces are saturated with years of soap film, body oils, sealer, and cleaning residue, all of which act as bond breakers. Third, cured cement is far less absorbent than fresh joint walls, so the new grout’s cement paste cannot key in; it just sits on top. The result is the failure everyone recognizes: hairline crazing in the new layer, then flakes lifting at high-traffic joints, then the patchy two-tone joints that look worse than the original problem.
Epoxy grout over cement grout has slightly better adhesion, but reputable manufacturers still call for the same thing: remove to a real depth first.
The depth rule that makes regrouting work
Industry guidance and every grout manufacturer’s data sheet converge on the same target: remove old grout to a minimum of 1/8 inch, and preferably to about two-thirds of the tile thickness. On a standard 5/16 inch wall tile that means roughly 3/16 inch of removal. At that depth, the new grout has enough cross-section to develop strength, and the removal process itself exposes clean, raw joint faces for bonding. You do not need to chase every crumb of old grout out of the bottom of the joint — sound, well-bonded remnants at the base are fine to grout over, which is the sense in which the answer to the question is genuinely yes.
How do you know whether the remaining old grout is sound enough to grout over? Drag a flathead screwdriver tip firmly along the raked joint: sound grout resists and polishes; failed grout powders, flakes, or lifts in chunks. Any joint that crumbles under the screwdriver keeps getting raked until you reach material that fights back. I also tap suspect tiles around badly failed joints — a hollow drum sound means the tile bond itself is compromised, and no amount of new grout fixes a debonding tile. Ten minutes of this testing tells you honestly whether you are doing a regrout or discovering a retile.
When grouting over old grout is acceptable
- After proper raking: old grout removed to 1/8 inch or more, joints vacuumed and washed. This is standard regrouting, and it is a legitimate, durable repair.
- Low or recessed joints: if the original installer left joints noticeably under-filled (you can see tile edges), there is real depth available. Scarify the surface of the old grout with a grout saw to break the glaze of residue, clean, then grout.
- Small crack repairs: a single cracked joint can be raked and refilled locally. Match sanded/unsanded and expect a shade difference; new grout next to five-year-old grout never matches perfectly, even from the same bag.
- Epoxy over raked cement joints: a common upgrade in showers. Rake to depth, dry thoroughly, then apply epoxy. Excellent longevity.
When it is the wrong move entirely
- Full joints in decent shape but ugly color: do not over-grout — use a grout colorant/sealer (below). There is no depth to fill.
- Crumbling, powdery grout throughout: that grout failed from bad mixing or water intrusion; it all needs to come out, and you should investigate why before regrouting.
- Missing grout with tile movement: if joints keep cracking in the same lines, the substrate is flexing or a movement joint is missing. New grout over that cracks on schedule. Corners, tub lines, and plane changes should get silicone caulk, not grout, ever.
- Moldy shower joints: mold roots into porous grout. Entomb it under a skim coat and it returns through the new layer. Rake it out, treat the joint, then regrout.
How to regrout properly: the short course
- Remove: a carbide grout saw ($8 to $15) for small jobs, or an oscillating multi-tool with a carbide grout blade ($20 to $30 for the blade) for anything over a few square feet. Work the center of the joint, keep the blade off the tile edges, and take out 1/8 inch minimum. A shower surround takes 2 to 4 hours of removal; budget honestly.
- Clean: vacuum the joints, wipe with a damp sponge, and let everything dry. Any dust left in the joint becomes a bond breaker.
- Grout: mix to peanut-butter consistency (or use a quality premixed where appropriate), pack the joints hard with a rubber float at 45 degrees, tool, and sponge in the usual way. Damp-cure cement grout per the bag.
- Caulk the changes of plane: tub-to-tile, corners, and countertop junctions get matching silicone or siliconized caulk, not grout.
- Seal cement grout after 48 to 72 hours.
Total materials for a tub surround regrout run $40 to $80 DIY. Hiring it out typically costs $400 to $900 depending on region and tile size — still far cheaper than a retile.
The better answer for cosmetic problems: grout colorant
If your grout is structurally sound but stained, dark, or dated, the product you want is not more grout — it is a grout colorant, an epoxy- or urethane-based paint-and-sealer engineered specifically to bond to grout in a thin film. Unlike a skim coat of grout, colorants are designed for exactly this surface and thickness, they waterproof as they color, and a good application lasts 5 to 10 years on floors and longer on walls. A bottle runs $15 to $25 and covers a bathroom. Application is tedious — you paint every joint with a brush or applicator and wipe the tile clean — but it solves the “grout over grout” itch legitimately. I recommend it constantly for sound-but-stained floors, and it is the honest alternative the skim-coaters were looking for.
Common questions I get on this
Can I put a thin layer of new grout just to freshen the color? No — that is the failure mode this whole article warns about. Colorant is the freshening product.
Do I have to remove all the old grout? No. Sound grout at the bottom of the joint stays; you need 1/8 inch minimum of new depth, ideally 2/3 of the tile thickness.
Can I use premixed grout over raked joints? Quality premixed acrylic or urethane grout, yes, in the environments the label allows — check whether your product is rated for wet areas and floors, because some are wall-only in showers.
Same-day shower use? No. Cement grout wants 72 hours before regular shower exposure; premixed urethane often wants 7 days in wet areas. Rushing cure is the second most common regrout killer after insufficient depth.
The practical bottom line from a guy who fixes these: treat grout like the mortar it is, not like paint. Give new grout depth and a clean joint and it will bond to the old grout beneath it without complaint, and your regrout will outlast the fashion cycle of the tile. Skip the removal and you are scheduling the same weekend project again next year, except with a flaky, two-tone mess to strip first. And if the only problem is color, put the float down and buy colorant — it is the rare shortcut in this trade that actually works.
Prefer to explore on your own?
See how new flooring looks in your actual room in seconds — free, no signup.
Try the free Floor Studio →