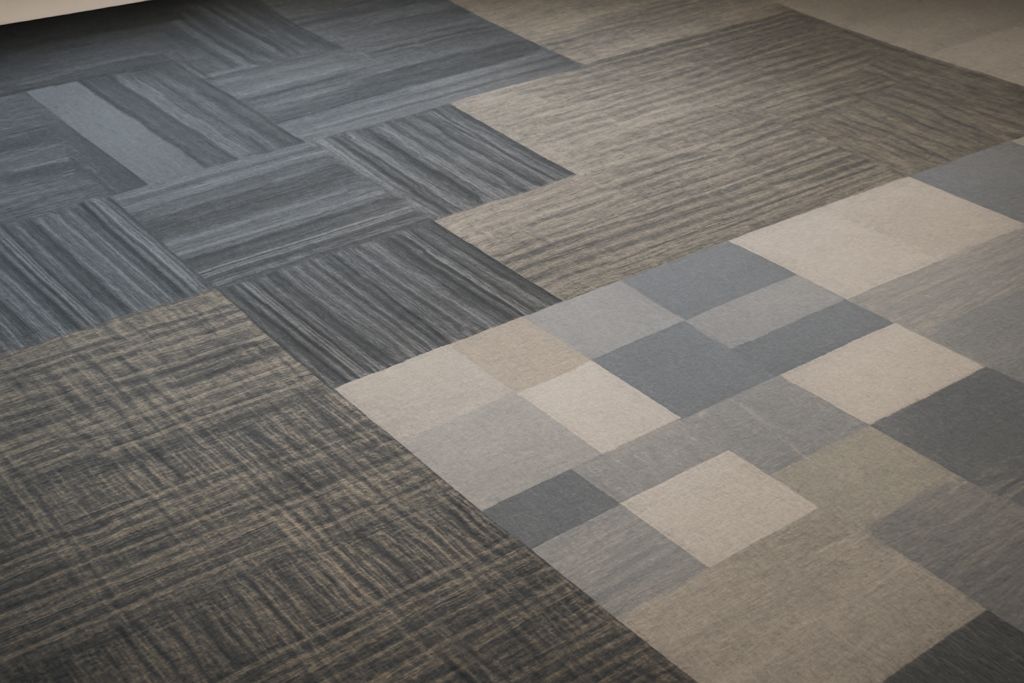
Carpet tiles let homeowners do something broadloom carpet cannot: mix textures, accent zones, and replace single damaged squares without redoing the entire floor. The key to a finished, professional look is choosing the right carpet tile patterns for the room and the product. The same Shaw or Interface tile installed monolithic looks like office carpet, installed quarter-turn looks like a textured area rug, and installed brick looks like wood plank. Pattern selection drives the entire visual impression, and it costs nothing extra to get right.
The Seven Main Carpet Tile Layouts
Manufacturers like Interface, Shaw Contract, and Mohawk Group publish installation guides with about a dozen recognized layouts. Seven of them cover 95 percent of residential applications.
- Monolithic: All tiles oriented the same direction. Cleanest, most uniform look.
- Quarter-turn (ashlar): Each tile rotated 90 degrees from neighbors. Hides shading.
- Brick or running bond: Tiles offset by half-width. Reads like brickwork.
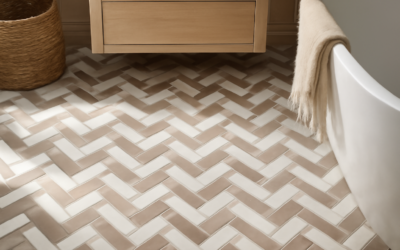
- Herringbone: Rectangular plank tiles at 90-degree zigzag. Modern look.
- Vertical ashlar: Plank tiles all running vertical, offset by 12 to 18 inches.
- Random: No fixed orientation pattern. Best for tile collections with significant face variation.
- Non-square / hexagonal: Specialty tiles in honeycomb layouts. Used as room accents.
Monolithic: Office Look or Modern Statement
The monolithic install has all tiles oriented with their backing arrows pointing the same direction. The pile lies in one direction, which creates a uniform appearance under all lighting conditions. This layout reads as corporate or commercial in light gray tones, and as modern and seamless in deeper colors.
The downside is that any shading difference between dye lots shows immediately. Order all tiles from the same lot, even if it means waiting two weeks for back-ordered stock. Check dye lot numbers on every carton before opening and acclimate the tiles in the install space for 24 to 48 hours.
Quarter-Turn (Ashlar): Most Forgiving Pattern
The quarter-turn or ashlar pattern rotates every other tile by 90 degrees. The visual result is a subtle basketweave that masks shading variation, slightly hides traffic patterns, and creates a textured area-rug feel. It is the default residential recommendation for solid-color and lightly patterned tiles.
To install a quarter-turn, draw two perpendicular center lines from the room’s exact center. Lay the first tile at the intersection with arrows pointing north. Lay the next tile with arrows pointing east. Alternate compass directions every tile, working outward in a diamond pattern from center.
Brick or Running Bond: Plank-Like
Brick patterns work especially well with carpet plank tiles in the 9.85×39.4 inch (25×100 cm) format like Interface Walk the Plank or Shaw Contract Stylish at $4 to $7 per sq ft. The offset between rows reads as wood plank flooring at a glance, and the soft texture differentiates it on closer inspection.
Use a 25 to 33 percent offset rather than the traditional 50 percent. Tile planks shrink and expand slightly under temperature and humidity changes, and the smaller offset reduces visible end joints when minor movement occurs over months.
Herringbone for Carpet Plank
The herringbone pattern with carpet plank tiles is a dramatic look popular in primary bedrooms and home offices. Plan on 15 to 20 percent waste because of the 45-degree cut angles required at every wall edge.
- Snap two perpendicular chalk lines through the center of the room.
- Cut a 45-degree template tile to use as your reference angle.
- Start at the wall opposite the entry door, working outward.
- Use carpet tile adhesive like TacTiles Connectors at $40 per 250-pack at every tile corner.
- Check pattern alignment with a 4-foot level every fourth row.
Vertical Ashlar for Hallways
For hallways and long narrow spaces, the vertical ashlar pattern places plank tiles all running with the long axis of the room. Each row offsets by one-third or one-half tile from the previous row. The result is a strong directional flow that visually elongates the space.
This pattern works particularly well with Interface Bertola or Mohawk Group Vibrant tiles. Avoid bold pattern variations in vertical ashlar layouts; subtle textural products read more naturally than high-contrast or pattern-heavy tiles.
Mixing Two Colors
Two-tone installs are an easy way to create zones and visual interest without expensive custom tiles. Common combinations include a 50/50 checkerboard, a 75/25 main color with accent, or a perimeter band of darker tiles around a lighter main field.
Pull the accent color from existing room elements. If the curtains have a navy stripe, an accent of navy carpet tiles ties the room together. Aim for two values (light and medium, or medium and dark) rather than three or four. More than two colors usually reads as busy.
Installation Tools You Need
Carpet tile installation requires fewer tools than broadloom carpet but the right ones still matter.
- Carpet knife: Roberts 10-100 Pro Knife at $14 with a box of 100 blades.
- T-square: 48-inch aluminum from Empire at $34 for accurate cross cuts.
- Chalk line: Tajima CR201BW at $19 with red and blue chalk for layout marks.
- Pressure-sensitive adhesive or tabs: Roberts Engineered Wood Flooring Glue at $35 for full glue-down, or Interface TacTiles at $40 per 250-pack for tab installations.
- Knee kicker (optional): Only needed if you are seaming carpet tiles to existing broadloom.
Calculating Tile Quantities
Order 10 percent overage for monolithic and quarter-turn layouts, 12 percent for brick patterns, 15 percent for vertical ashlar, and 18 to 22 percent for herringbone. The overage covers cuts, replacements, and future repairs. Keep at least 1 carton (typically 12 to 24 tiles) for matching when a future spill or burn requires a single-tile replacement.
Pricing for residential carpet tile runs $2.50 to $9 per sq ft for the tile itself. Installation, if you hire it out, adds $1 to $3 per sq ft. DIY install is realistic for a typical bedroom-sized room and saves the entire labor cost. Whichever carpet tile patterns you choose, take time on the centerline layout step. A square, well-aligned start point separates a professional-looking floor from a homemade one.