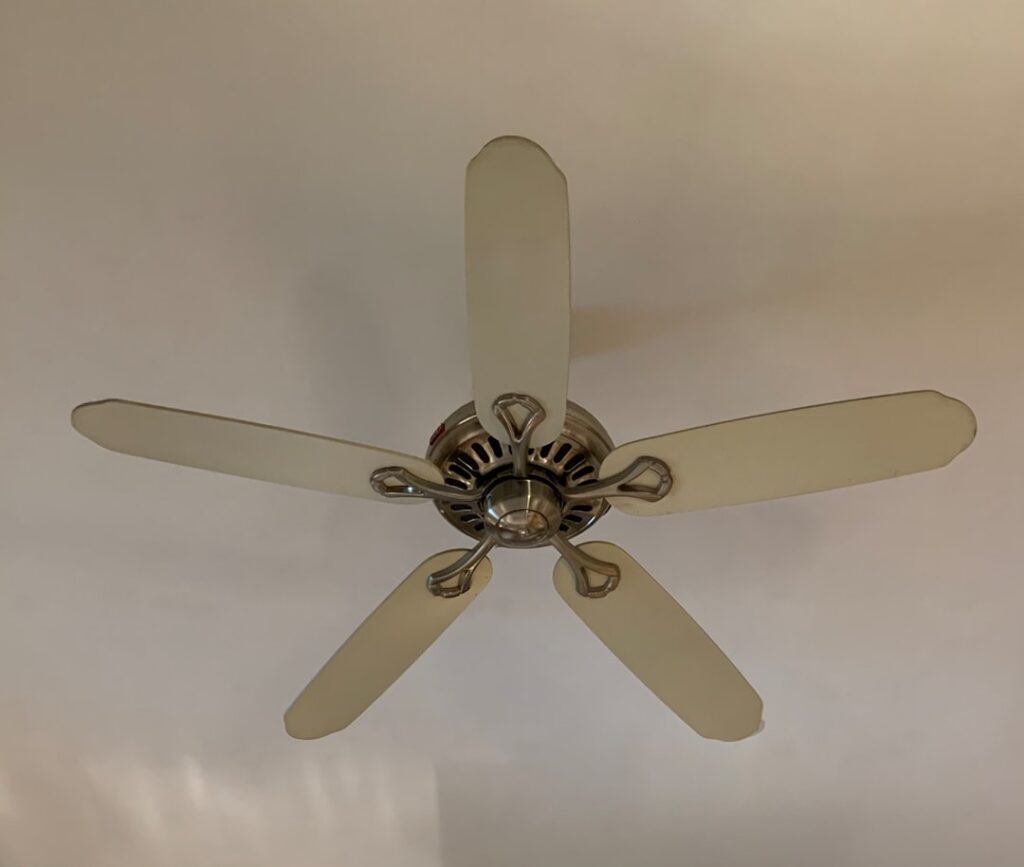
Getting the ceiling fan connection right is the difference between a fan that runs quietly for years and one that wobbles, hums, or, worse, falls. The wiring itself is straightforward once you understand the wire colors, but the mechanical connection to a fan-rated box is just as important, because a ceiling fan weighs far more than a light fixture and moves constantly. This guide covers both the electrical and structural sides of connecting a ceiling fan safely.
We will walk through the wiring colors, the critical fan-rated support box, switch and control options, a step-by-step connection sequence, common mistakes, and when to bring in an electrician. Because this involves 120-volt wiring overhead, always cut power at the breaker and verify the circuit is dead before you begin.
The Fan-Rated Box Comes First
Before any wire touches a terminal, the ceiling fan must hang from an electrical box rated to support a fan, and this is where many DIY installs go wrong. A standard lightweight lighting box is not built to carry the weight and constant vibration of a fan and can pull loose over time. A fan-rated box, marked as such, is metal, anchored either directly to a ceiling joist or to an adjustable brace bar that spans between two joists, and is rated to hold at least 35 pounds, or more for heavy fans. If you are replacing a light fixture with a fan, you almost always need to swap the box for a fan-rated one.
Understanding the Wire Colors
Ceiling fan wiring uses a standard color scheme in the United States, and knowing it removes the mystery.
- Black (from the ceiling): The hot wire supplying power, usually switched.
- White: The neutral wire, which completes the circuit.
- Green or bare copper: The ground wire, for safety.
- Red (if present): A second hot wire, typically used to control the light separately from the fan when the box was wired for it.
On the fan side, the leads are usually black for the motor, blue for the light kit, white for neutral, and green for ground. Matching fan leads to ceiling wires by color and function is the heart of the connection.
Switch and Control Options
How you want to control the fan determines the wiring. There are three common setups. With a single switch, the black and blue fan leads are joined together and connected to the one switched hot, so the wall switch controls fan and light together, and you use the pull chains for independent control. With two switches (a two-wire or three-wire cable providing a red conductor), the fan motor connects to one switched hot and the light to the other, giving separate wall control of each. With a fan-and-light remote or smart control, a receiver mounts in the canopy and the wall switch simply supplies constant power. Decide which you want before wiring, because it dictates how you join the leads.
Step-by-Step Connection
With power off and verified dead, the connection follows a logical order.
- Confirm or install a fan-rated box securely anchored to framing or a brace bar.
- Assemble the fan’s mounting bracket and hang the motor from the bracket hook so your hands are free to wire.
- Connect ground to ground: the green fan lead and the bare or green ceiling wire to the box’s ground screw, all joined together.
- Connect white to white: the fan neutral to the ceiling neutral with a wire nut.
- Connect the hot leads per your control setup: black-to-black for the motor, blue to red or black for the light, depending on single or dual switching.
- Tuck the connections neatly into the box, raise the canopy, and secure it.
- Attach the blades and light kit, restore power, and test all speeds and the light.
Neat, fully seated wire nuts and no exposed copper are the marks of a safe connection. Give each connection a gentle tug to confirm it holds.
Balancing and Wobble
A common post-connection complaint is wobble, which is usually mechanical, not electrical. First confirm the box is truly fan-rated and tightly anchored, because a loose box is the most dangerous cause. Then check that all blades are screwed on evenly and that no blade is bent or warped. Most fans include a small balancing kit with a clip and weights to fine-tune any remaining wobble. A properly connected and balanced fan should run with almost no visible movement even on high speed.
Common Mistakes to Avoid
Several errors recur with ceiling fan connections. Hanging a fan from a non-rated light box is the most serious and can lead to the fan falling. Failing to connect the ground leaves the fan unsafe in a fault. Joining the fan and light leads when you wanted separate switch control forces you to use pull chains instead. Overlooking the blue light lead entirely leaves the light dead. And skipping the downrod safety cable or the canopy set screws can allow the fan to loosen. Working methodically by color and function avoids all of these.
When to Call an Electrician
Many homeowners can handle a ceiling fan connection when a rated box and clearly colored wires are already in place. Call a licensed electrician when there is no existing ceiling box or wiring at the location, when you find aluminum wiring or a tangle of unlabeled conductors, when the ceiling is high and requires special access, or when you want to add separate switch legs that mean running new cable. New wiring, box installation in a finished ceiling, and switch-leg additions often require a permit and are worth doing right.
Downrod, Flush, and Sloped Ceiling Mounts
How the fan attaches to the ceiling affects both the connection and the airflow, and the right mounting method depends on your ceiling height and shape. On a standard eight-foot ceiling, a short downrod that places the blades about seven feet off the floor gives good clearance and airflow. On high or vaulted ceilings, a longer downrod lowers the fan into the living zone where you actually feel the breeze, since a fan mounted too high does little to cool people below. Downrod mounting also lets the fan hang plumb and reduces wobble.
For low ceilings under eight feet, a flush or hugger mount attaches the fan directly to the ceiling to preserve headroom, though it moves slightly less air than a downrod-hung fan. Sloped and vaulted ceilings require a canopy rated for the slope angle and often a longer downrod with a compatible ball-and-socket hanger so the fan hangs level despite the angled ceiling. Confirm your mounting kit matches your ceiling before wiring, because the mount determines how the canopy and safety cable are connected.
Testing and Troubleshooting After Connection
Once everything is wired and the canopy is up, a careful test confirms the connection is sound. Restore power and run the fan through every speed and both the fan and light functions. A fan that does not start may have a loose hot connection or a light-limiter that needs the pull chain set correctly. A light that stays dark usually means the blue lead was missed or not fully seated in its wire nut.
- No power at all: recheck the breaker, the wall switch, and that the black leads are joined to the switched hot.
- Fan works but light does not: verify the blue light lead is connected to the correct hot.
- Humming or buzzing: often a dimmer incorrectly used on the fan motor, which needs a fan-rated control instead.
- Wobble on high: confirm the box is rated and tight, then balance the blades.
Methodical testing right after the install catches a loose or misplaced lead while the canopy is still easy to open, saving you from taking the whole fan down later.
A Safe, Solid Result
A good ceiling fan connection rests on two pillars: a properly rated and anchored support box, and correct color-matched wiring for the control setup you want. Kill the breaker, verify dead, ground everything, match the leads, and balance the blades, and your fan will run smoothly and safely for its full service life. When the box or wiring is not there to begin with, a licensed electrician is the smart call, ensuring both the electrical and structural sides of the connection meet code.