
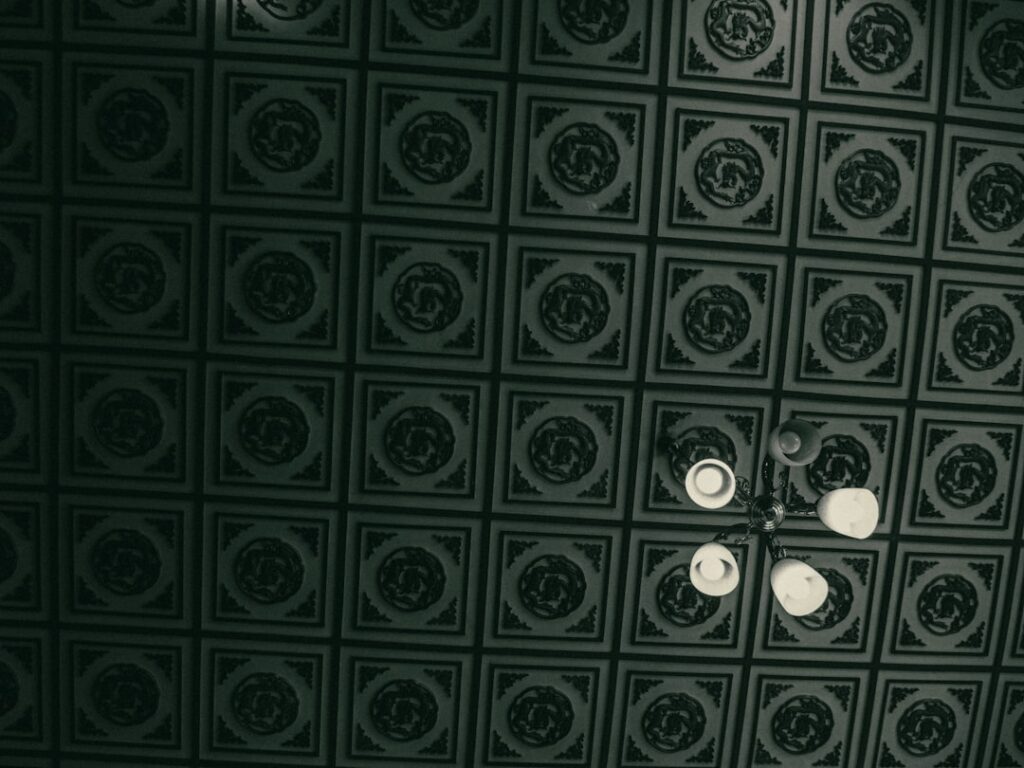
Tired, yellowed drop-ceiling tiles can drag down an entire room, and repainting them is one of the cheapest facelifts going. Using ceiling tile spray paint is the method I reach for on textured acoustic tiles because a sprayer lays down an even mist that a roller simply can’t match on that pitted, perforated surface. Done right, you get a fresh, uniform finish without roller marks and without smothering the very texture that makes the tiles work acoustically.
Part of our Tile & Grout guide — explore the full guide →
But spraying ceiling tiles has real pitfalls. These mineral-fiber panels are thirsty and floppy, so they’ll drink your paint, warp under a heavy wet coat, and lose their sound-absorbing ability if you flood the surface. In this guide I’ll cover why spray beats brush and roller here, the right paint to buy, how to handle the absorption and sagging problems, how to protect acoustic performance, and a step-by-step approach that gives clean results.
Why Spray Beats Brush and Roller
Acoustic ceiling tiles have a rough, stippled face full of tiny fissures and pinholes, and that topography is exactly what a brush or roller struggles with. A roller skips across the high spots and leaves the recesses untouched, so you get an uneven, patchy result and visible lap marks. Push harder to fill the low spots and you start crushing the texture and clogging the perforations that let sound pass into the tile.
Spray paint, by contrast, floats a fine mist that settles evenly into the peaks and valleys without dragging across the surface. There’s no mechanical pressure crushing the texture, no lap lines, and far better coverage of the irregular face. You get a consistent, factory-like finish across the whole grid, which is why spraying is the professional choice for acoustic tile. The catch is that the mist must go on light, which brings us to the paint itself.
Choosing the Best Paint
For ceiling tiles you want a flat or matte latex, or better yet a specialty acoustic ceiling paint formulated for exactly this job. A flat sheen hides imperfections and the tile texture beautifully, while any gloss would highlight every bump and look wrong overhead. Specialty ceiling paints are engineered to go on thin and preserve sound absorption, which is a genuine advantage on acoustic panels.
Skip oil-based paints. They’re heavier bodied, add more weight to a lightweight tile, off-gas strongly, and offer no real benefit up on a ceiling. If you’re loading a spray gun rather than using aerosol cans, thin a quality flat latex slightly so it atomizes into a fine mist instead of blobbing. Water-based flat latex or purpose-made acoustic ceiling paint, applied light, is the reliable combination.
The Absorption Problem: Two Light Coats
The first thing that surprises people is how much paint a bare acoustic tile soaks up. The porous mineral fiber acts like a sponge, so your first pass can look thin and blotchy no matter how carefully you spray. The instinct to fix that with a heavy, wet coat is exactly wrong, because a soaked tile warps.
The right answer is two light coats. Lay down a thin, even mist, let it dry fully, then come back with a second light coat to build uniform coverage. If you’re painting particularly thirsty or stained tiles, a light coat of a stain-blocking primer first seals the surface so the color coat sits on top instead of disappearing into the fiber, and it stretches your finish paint further. Patience between coats is what gives you a clean, consistent color without drowning the tile.
The Sag and Warp Problem
Warping is the number one way ceiling tile painting goes wrong, and it comes down to moisture. Pile on a heavy wet coat and the water in the paint soaks into the fiber unevenly, the tile swells, and it dries in a curl or a droop that no amount of coaxing will flatten. Once a tile warps in the grid, your only real fix is replacement.
Two habits prevent it. First, keep every coat light, as covered above, so you’re never dumping moisture into the panel. Second, and this is the pro move, pop the tiles out of the grid and lay them flat on sawhorses or a covered table to paint them horizontally. Painted flat, any slight swelling relieves itself evenly and the tile dries true, and you also avoid overspray drifting onto walls, the grid rails, and everything below. It’s more setup, but it’s how you get a warp-free ceiling.
Preserving Acoustic Performance
Acoustic tiles earn their name because sound waves pass through tiny perforations and fissures into the soft fiber, where the energy is absorbed. That’s measured as the tile’s noise reduction coefficient, or NRC. The danger with any paint is that a heavy build bridges over those openings and seals the surface, turning a sound-absorbing panel into a hard reflective one and killing the acoustics.
Spraying light coats is precisely what protects that performance. A fine mist coats the surface without filling the perforations, so air and sound can still enter the fiber. Over-coating is the enemy: every extra heavy pass fills more holes and drops the NRC further. If the room’s quietness matters, resist the urge to keep spraying for a deeper color and stop as soon as coverage is uniform. Specialty acoustic ceiling paints are specifically designed to minimize this loss, which is another reason to consider them.
Prep, Color, and Cost
Good prep makes the whole job easier. Start by dusting the tiles thoroughly, because spraying over cobwebs and grime just locks the dirt into the finish. Mask off or drape the walls and floor with drop cloths, and if you’re painting tiles in place, tent the room since overspray drifts everywhere. If a tile shows a brown water stain, hit it first with a shellac or oil-based stain-blocking spray primer, or the stain will bleed straight through your topcoat.
On color, flat white is the classic and it makes a ceiling recede and feel taller, but a soft gray or even a deep charcoal can look striking in the right space, especially with an industrial exposed look. Cost is modest: a few cans of specialty spray for a small area, or a gallon or two of flat latex run through an airless or HVLP gun for a whole ceiling, typically totals well under a couple hundred dollars in materials. Given the transformation, ceiling tile spray paint is one of the highest-return, lowest-cost updates you can tackle in an afternoon.
Aerosol Cans vs. a Spray Gun
Your choice of sprayer depends mostly on how much ceiling you’re covering. Aerosol cans are perfect for a handful of tiles, a quick refresh, or touching up replacements to match, and they require no cleanup or equipment. The downside is cost per square foot and hand fatigue; painting a whole basement ceiling from rattle cans gets expensive and tiring fast, and it’s easy to lay coats down unevenly when your finger’s cramping.
For anything beyond a small area, a real sprayer pays off. An HVLP unit gives you fine control and a soft, even mist that’s ideal for the light coats these tiles demand, while an airless gun covers a big ceiling quickly if you keep the pressure moderate and the passes fast. Whichever you use, practice your distance and speed on a scrap tile first. Holding the nozzle too close or lingering builds a heavy wet spot that will warp the panel, so you want to keep the gun moving in smooth, overlapping passes about a foot off the surface.
Drop Ceiling vs. Glued-Up Tiles
Not all ceiling tiles come out of the ceiling, and that changes your approach. Suspended drop-ceiling tiles simply lift out of their grid, which is a gift, because painting them flat on sawhorses is the single best way to get a warp-free, even finish while sparing your walls and floor from overspray. Take a moment to number the back of each tile if they’ve settled into slightly different positions, so they go back exactly where they came from.
Tiles that are stapled or glued directly to the ceiling, common in older homes, have to be painted in place. Here your only real defense against warping is discipline with light coats, since you can’t lay them flat. Mask everything thoroughly, ventilate the room well, and accept that you may need an extra thin coat rather than one heavy pass to build coverage. It’s slower and messier than the drop-ceiling route, but the same core rules, light mist, full dry time between coats, and don’t flood the tile, still deliver a clean result.
Prefer to explore on your own?
See how new flooring looks in your actual room in seconds — free, no signup.
Try the free Floor Studio →

