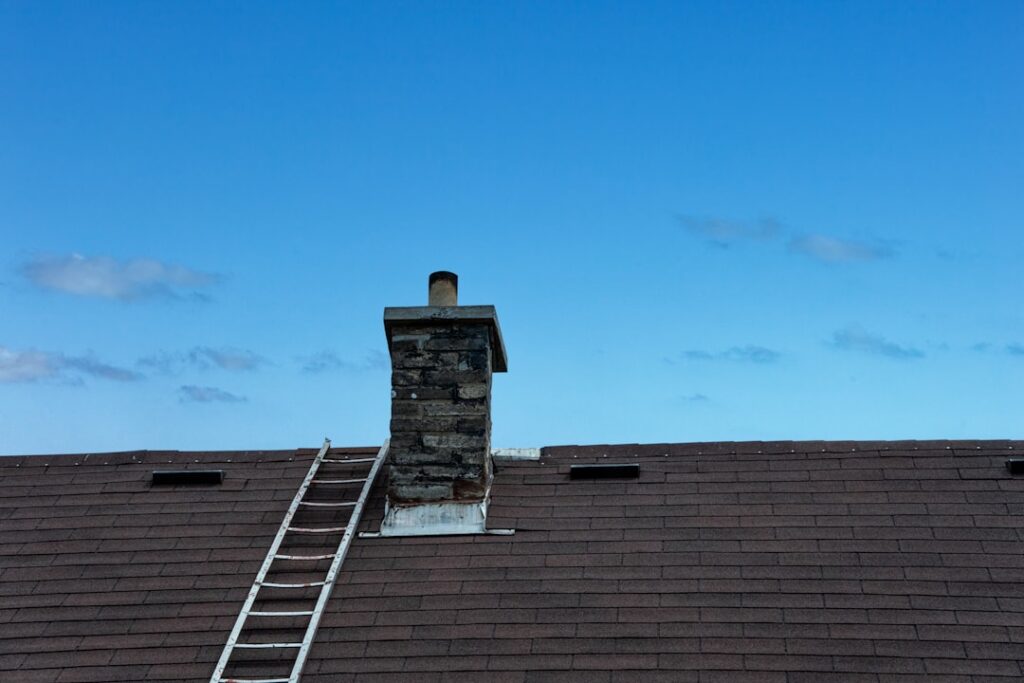
A chimney cap replacement is one of the highest-value small repairs a homeowner can make. That little metal cover keeps rain, snow, birds, squirrels, and wind-driven debris out of your flue while stopping burning embers from landing on your roof. When it rusts through, blows off, or clogs, water and animals get in and damage follows. Because the job happens on a roof, safety comes first — read the safety section before you climb.
- What a Chimney Cap Does
- Signs You Need a Chimney Cap Replacement
- Types of Chimney Caps
- Choosing a Material
- How to Measure for the Right Cap
- Safety First — This Is Roof Work
- Step-by-Step Installation (Outside-Mount)
- Cost: DIY vs. Professional
- Maintenance After Replacement
- What Happens If You Skip It
- Hiring a Chimney Professional
- The Bottom Line
What a Chimney Cap Does
The chimney cap sits on top of the flue and does four jobs at once:
- Keeps water out. Rain and snow entering an open flue rust the damper, crack the liner through freeze-thaw cycles, and rot the firebox and surrounding masonry — the most expensive damage on this list.
- Blocks animals. Birds, squirrels, raccoons, and bats love an open flue for nesting. A capped chimney keeps them out and prevents the blockages and odors nests cause.
- Stops embers. The spark-arrestor screen catches burning embers that would otherwise land on your roof or nearby brush — a real fire risk in dry climates.
- Blocks downdrafts. A cap helps prevent wind from pushing smoke and cold air back down the flue into the house.
Signs You Need a Chimney Cap Replacement
Watch for these, ideally during your annual chimney inspection:
- Rust stains on the cap or streaking down the chimney crown and masonry.
- A bent, crushed, or missing cap after a storm.
- A torn or clogged spark-arrestor screen packed with soot or debris.
- Water in the firebox or a musty, damp smell from the fireplace.
- Animal noises or nesting material in the flue.
- A cap that wobbles or lifts in the wind.
Any of these means it is time. A $50 to $300 cap is far cheaper than the water and liner damage a failed one lets in.
Types of Chimney Caps
Match the cap to your flue configuration:
- Single-flue caps: Cover one flue tile, the most common on residential chimneys. Slip over or clamp onto the flue tile.
- Multi-flue caps: One large cap covering several flues on a big chimney; typically bolted to the crown.
- Outside-mount caps: Slide over the outside of the flue tile and tighten with set screws.
- Inside-mount caps: Wedge inside the flue with expansion bands, used where the tile protrudes.
- Top-mount / full-coverage caps: Cover the entire chimney crown, protecting the crown itself from water.
Choosing a Material
Material determines how long the cap lasts:
- Stainless steel — the sweet spot for most homes. Rust-resistant, strong, and usually carries a lifetime warranty. $50 to $200 for a single flue.
- Copper — the premium choice, beautiful and long-lasting, but $150 to $500+.
- Galvanized steel — cheapest at $30 to $80, but it rusts in 3 to 5 years. Skip it unless budget is tight.
- Aluminum — light and rust-proof but less durable in high wind.
For nearly everyone, a stainless single-flue cap is the right buy: durable, affordable, and warrantied.
How to Measure for the Right Cap
Getting the size right is what makes installation easy. Measure the flue tile that sticks up above the crown:
- Measure the outside length and width of the flue tile (for an outside-mount cap).
- Measure the inside opening if you are buying an inside-mount cap.
- Measure how far the tile protrudes above the crown — you need at least a few inches for an outside-mount clamp.
- For a round flue, measure the outside diameter.
Order a cap sized to those numbers. Outside-mount caps come in standard sizes like 8×8, 8×13, 13×13, and 13×18 inches to match common flue tiles.
Safety First — This Is Roof Work
Chimney cap replacement means working at the highest, most exposed point of your house. Take it seriously:
- Only do this on a dry day with no wind; wet or icy roofs are extremely dangerous.
- Use a stable extension ladder tied off at the top, and have a helper foot it.
- Wear a roof harness with a rope anchor on any pitched roof — a fall from a two-story roof is often fatal.
- Wear soft-soled shoes for grip and work gloves.
- Never work alone. Have someone on the ground.
- If your roof is steep, high, or slick, hire a professional. No cap is worth a fall.
Step-by-Step Installation (Outside-Mount)
For a straightforward single-flue outside-mount cap on a low, walkable roof:
- Remove the old cap. Loosen its set screws or clamps and lift it off. If it is mortared on, gently break the mortar with a chisel.
- Clean the flue tile. Wire-brush away rust, soot, and old mortar so the new cap seats flat.
- Inspect the crown. If the concrete crown is cracked, seal it with crown sealant now while you are up there.
- Fit the new cap. Slide the outside-mount cap over the flue tile until it sits square.
- Tighten the set screws evenly against the tile so the cap grips firmly. Do not overtighten and crack the tile.
- Add a bead of high-temp sealant around the base if the manufacturer recommends it, for extra hold in high wind.
- Tug-test it to confirm it will not lift, then climb down carefully.
Cost: DIY vs. Professional
The numbers make the decision for many people:
- DIY: just the cap, $50 to $300 for a stainless single-flue, plus a tube of sealant.
- Professional install: $150 to $600 total for a single flue, including the cap and labor.
- Multi-flue or copper caps: $300 to $1,000+ installed.
Given that professional installation includes a safe crew, a crown inspection, and often a warranty, paying $150 to $300 in labor is money well spent for anyone uneasy on a roof or with a tall/steep house.
Maintenance After Replacement
Once the new cap is on, keep it working:
- Include the cap in your annual chimney inspection — a sweep can check it while cleaning the flue.
- Clear soot buildup from the spark-arrestor screen so smoke draws properly.
- Check that set screws stay tight after big storms.
- Watch for new rust or animal activity and address it early.
What Happens If You Skip It
Putting off a chimney cap replacement is a false economy, because the damage a missing or failed cap allows is far more expensive than the cap:
- Water damage. Rain pouring down an open flue rusts the damper, deteriorates the mortar joints, and cracks the clay liner through freeze-thaw cycles. A relined chimney runs $2,500 to $7,000.
- Animal infestation. Birds, squirrels, and raccoons nest in open flues, and removing them plus cleaning the mess can cost $300 to $600 — more if a trapped animal dies inside.
- Blockages and CO risk. Nests and debris block the flue, which can push smoke and carbon monoxide back into the house when you light a fire.
- Crown and masonry decay. Water that gets past a missing top-mount cap erodes the concrete crown, leading to costly masonry repair.
A $50 to $300 cap prevents all of it. This is one of the best return-on-investment repairs on a house.
Hiring a Chimney Professional
If your roof is steep, tall, or slick, or you simply want the job done safely, hire a certified chimney sweep or roofer. Look for CSIA (Chimney Safety Institute of America) certification, ask for proof of insurance, and get the cap size and material in writing. A good pro will inspect the crown and flue while they’re up there and often bundle the cap with your annual chimney cleaning. Expect $150 to $600 installed for a single flue. Many companies warranty both the stainless cap (often lifetime) and their labor, which is worth the modest premium over a bare DIY cap for anyone uneasy on a roof.
The Bottom Line
A chimney cap replacement is a small, affordable job that prevents big-ticket water and animal damage to your flue, liner, and firebox. Choose a stainless single-flue cap for most homes, measure your flue tile carefully, and either install it on a calm dry day with a harness and a helper — or hire a pro if the roof is at all risky. Either way, capping your chimney properly protects the whole system for a fraction of what repairs would cost.