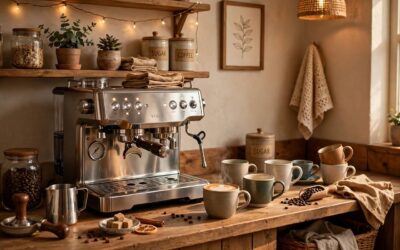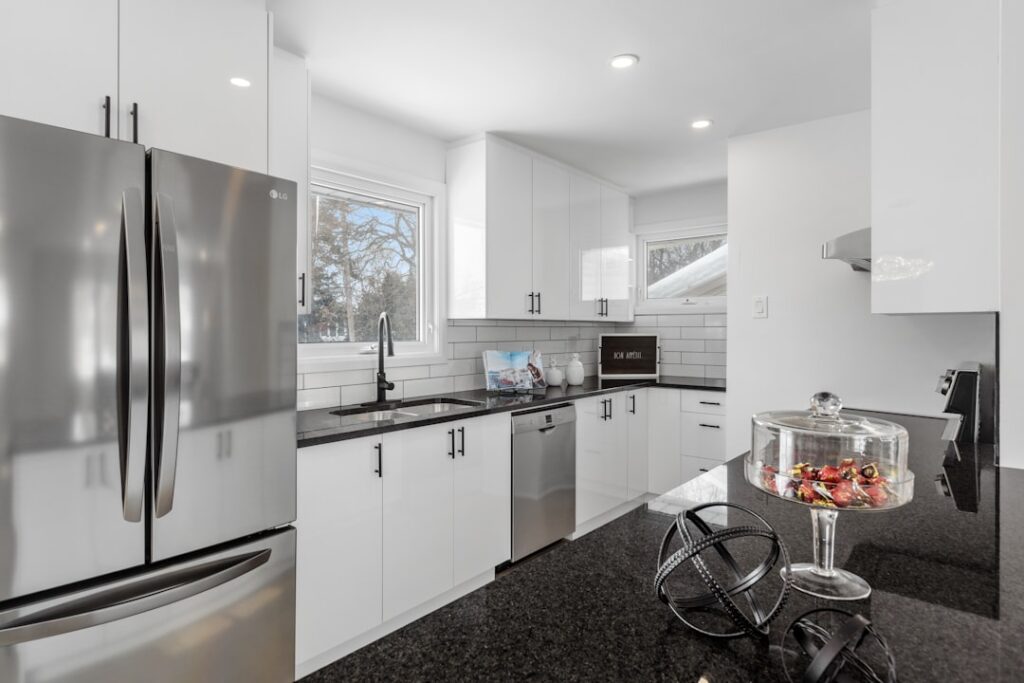
A coffee bar that looks great on Pinterest fails fast in real life if the espresso machine sits two feet from the nearest outlet or the grinder vibrates a glass jar off the edge every morning. A great countertop coffee station balances daily workflow, electrical capacity, surface durability, and storage — not just aesthetics. Plan it correctly and you reclaim 20 minutes of morning chaos every day.
Part of our Countertops guide — explore the full guide →
Pick the Right Location
The ideal spot sits within six feet of the sink and within reach of two grounded outlets on a 20-amp circuit. Espresso machines pull 1,200 to 1,500 watts, grinders pull another 200 to 400, and a kettle pulls 1,500. Run those simultaneously on a 15-amp circuit shared with the microwave and you trip the breaker by 7:15 a.m.
If your existing kitchen has no good spot, a base cabinet conversion in a butler’s pantry or hallway nook works well. Aim for at least 24 inches of linear counter space, ideally 36 inches, with 18 inches of clearance above for upper cabinets or open shelves.
Surface Material Matters
Coffee is acidic. Espresso pH runs 4.85 to 5.10, drip about 4.85 to 5.50. Spilled and left overnight, it etches polished marble and stains light grouts. Quartz is the safest pick for a coffee station — non-porous, stain-resistant, and runs $50 to $90 per square foot installed.
Butcher block looks gorgeous but needs monthly mineral oil and stains permanently from a single ignored drip. Granite handles coffee fine if sealed annually. Soapstone hides drips beautifully and develops a patina that absorbs scratches. Skip honed marble unless you accept that the surface will tell stories.
Layout for Real Workflow
Lay out your station like a small assembly line. Beans and grinder on the left (for right-handers), brew device in the middle, mug pickup zone on the right. The exact distance between machines should match your reach without stretching — about 18 to 24 inches between centers.
Behind the brew zone, a 4-inch backsplash of the same surface material catches splatters and protects drywall from steam. Some homeowners install a tiled backsplash with a small ledge to hold a French press or pour-over carafe.
Storage That Earns Its Square Footage
- One pull-out drawer for filters, frothing pitchers, and tampers
- Open shelving for mugs — 12 inches above the surface keeps them within reach
- An airtight bean container in the 1 to 2 pound range; whole beans go stale 2 weeks after roast date
- A small drawer or cabinet for syrups and sweeteners, kept out of light
- A pull-out trash or compost bin for puck disposal
Avoid storing beans in the freezer despite the popular advice. Freezer condensation hits the beans every time you open the bag and ruins the oils. Sealed canister at room temperature, used within 14 to 21 days of roast, beats freezer storage every time.
Plumbed vs. Manual Fill
If your station includes a high-end espresso machine like a Rocket R58 or a La Marzocco Linea Mini, consider plumbing it directly to the cold water line. A 3/8-inch braided supply line tees off the kitchen sink valve, runs through the cabinet, and ends at the machine. You skip the daily reservoir fill and gain consistent pressure.
For most homes a manual reservoir setup is plenty. Just make sure the machine sits where you can lift the tank without bumping cabinet doors.
Lighting That Helps You See What You’re Doing
Pulling espresso at 5 a.m. under one ceiling can light is miserable. Add under-cabinet LED strips rated 3,000K to 4,000K, around 800 lumens for a 36-inch run. Hardwired versions cost $40 to $80 and a half-hour of installation. Plug-in versions stick to the cabinet underside in 5 minutes for $25.
A small puck light over the brew zone helps too. You want enough light to see crema color and milk texture clearly.
Common Mistakes to Avoid
The most expensive mistake is putting the station too close to the stove. Grease aerosol from cooking lands on every exposed surface within 4 feet of a range, and on a coffee setup that means oily film on beans, machine, and mugs. Keep at least 5 feet of separation or install a dedicated range hood with strong capture.
The second is forgetting drainage. A drip tray that overflows once a week stains the counter, swells particle board cabinet bases, and grows mold underneath. Empty it daily, even if it’s only half full. The third is overestimating how much equipment you actually want on display — a clean station with two appliances and a mug shelf reads more inviting than one cluttered with five gadgets.
Budget by Tier
Basic setup with a drip brewer, electric kettle, and burr grinder on existing counter: $250 to $500 in equipment, no construction. Mid-range with a semi-auto espresso machine and dedicated cabinet conversion: $1,800 to $3,500 including new countertop slab and electrical upgrade. High-end station with prosumer espresso, plumbed water line, custom cabinetry, and integrated lighting: $5,000 to $12,000.
Whichever tier you target, spend the planning time before the demolition. A countertop coffee station that respects how you actually move in the morning is the kind of small kitchen upgrade that earns daily compliments — from yourself, mostly, before anyone else is awake.
Maintenance Habits That Extend Equipment Life
Espresso machines need daily, weekly, and monthly attention. Daily: backflush the group head with water, wipe the steam wand immediately after each milk pour, and empty the drip tray. Weekly: backflush with espresso machine cleaner like Cafiza, descale the kettle if you have hard water, and wipe down the bean hopper to remove oil residue. Monthly: descale the espresso machine, replace the water filter if your model uses one, and lubricate the portafilter gasket if it shows compression marks.
Bean grinder maintenance is the most overlooked habit. Old coffee oils inside the grinder turn rancid and ruin the taste of fresh beans within weeks. Brush out the burr chamber weekly and run a few tablespoons of grinder cleaner (Grindz or Urnex) through monthly. The cleaning takes 5 minutes and dramatically extends the life of $500 to $1,500 grinders.
A station that looks great on day one but becomes a sticky, oil-coated mess by month six fails the test of daily ritual. Build cleaning into the morning routine — 90 seconds of wipe-down before the first sip — and the equipment thanks you for years.