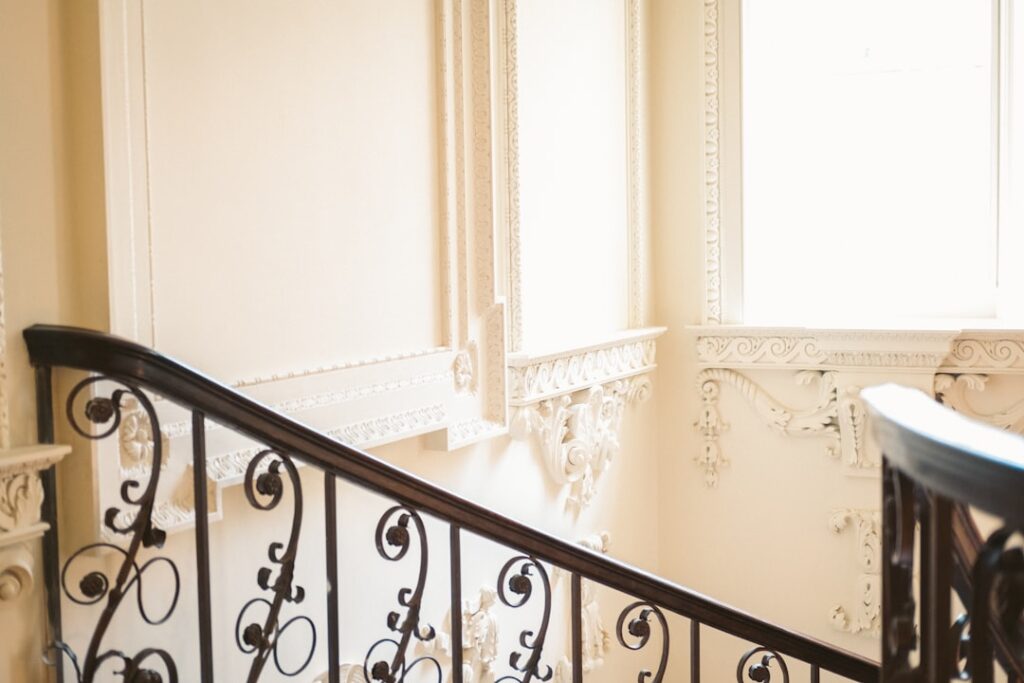
If the thought of cutting compound miters for crown molding makes you nervous, crown molding corner blocks may be the solution you have been looking for. These decorative pre-made blocks install at the inside and outside corners of a room, letting your crown molding butt squarely into them with simple straight cuts, no tricky angles required. For DIY homeowners, corner blocks can turn one of the most intimidating trim jobs into a manageable weekend project. This guide covers what corner blocks are, the types available, how to install them, costs, and the trade-offs to consider.
- What Are Crown Molding Corner Blocks?
- Types of Corner Blocks
- Why Homeowners Choose Corner Blocks
- How to Install Crown Molding with Corner Blocks
- Getting a Clean Joint at the Block
- Crown Molding Corner Block Costs
- The Aesthetic Trade-Off
- When Corner Blocks Make the Most Sense
- Common Mistakes to Avoid
- Corner Blocks for Casings, Too
- Painting and Finishing Corner Blocks
- Are Corner Blocks Right for You?
What Are Crown Molding Corner Blocks?
Crown molding corner blocks are decorative fittings, usually a few inches tall and wide, that mount at the junction where two walls meet the ceiling. Instead of joining two lengths of crown molding with a mitered or coped corner, you install a block at the corner and simply cut each run of molding with a straight 90-degree cut to meet the block’s flat sides. The block bridges the transition, hiding the corner joint entirely.
Historically, corner blocks and their vertical cousins (plinth blocks and rosettes for door and window casings) were a hallmark of Victorian and traditional millwork. Today they are marketed heavily as a DIY-friendly shortcut around compound miter cuts.
Types of Corner Blocks
Corner blocks come in several materials and styles to match different budgets and looks:
- Polyurethane blocks — lightweight, moisture-resistant, and pre-primed. The most popular DIY choice because they are easy to cut, glue, and paint.
- MDF blocks — inexpensive and paintable, but heavier and vulnerable to moisture, best for dry interior rooms.
- Wood blocks — solid pine, poplar, or hardwood for a traditional, stainable finish and premium feel.
- Plaster or resin blocks — ornate options for high-end or historic restorations.
Blocks are made specifically for either inside corners (where walls meet at a concave 90 degrees) or outside corners (convex, like around a bump-out or column). Make sure you buy the correct type for each corner in your room.
Why Homeowners Choose Corner Blocks
The number one reason is simplicity. Standard crown molding sits at an angle to both the wall and ceiling, which means corners require compound miter cuts or the even trickier coping technique. Getting those cuts right demands practice, a good miter saw, and patience, and mistakes waste expensive molding. Corner blocks eliminate all of that. You measure the straight runs between blocks, cut both ends at a simple 90 degrees (or slightly back-beveled), and the blocks handle the corners. For someone doing their first crown molding project, this dramatically lowers the skill barrier.
How to Install Crown Molding with Corner Blocks
The installation sequence is straightforward:
- Install the corner blocks first. Position each block tight into or around the corner, level and plumb, and attach it to the wall with construction adhesive and finish nails into the framing where possible.
- Measure between the blocks. Measure the straight distance from the edge of one corner block to the edge of the next along each wall.
- Cut the molding square. Cut each length of crown molding to that measurement with straight 90-degree cuts on both ends. Some installers add a slight back-bevel so the molding tucks cleanly against the block.
- Install the runs. Apply adhesive to the back of the molding, set it against the wall and ceiling at its spring angle, and nail it into the wall studs and ceiling joists or blocking.
- Fill and finish. Fill nail holes and any small gaps between molding and block with paintable caulk or wood filler, then prime and paint.
Getting a Clean Joint at the Block
The one detail that separates a professional-looking corner block job from an obvious one is the fit where the molding meets the block. Because the block is flat and the crown molding has a profile, there may be a small gap. Choose corner blocks that are slightly larger in profile than your crown molding so the molding tucks entirely against the block’s face. A thin bead of paintable caulk fills any hairline gap, and once painted, the transition looks intentional and seamless. If the block is smaller than the molding profile, the molding edges will stick out awkwardly, so always match block size to your crown.
Crown Molding Corner Block Costs
Corner blocks are inexpensive relative to the labor they save:
- Polyurethane blocks — roughly $6 to $20 each depending on size and detail.
- MDF blocks — roughly $4 to $12 each.
- Solid wood blocks — roughly $10 to $30 each.
- Ornate resin or plaster — $25 to $60+ each.
A typical rectangular room has four inside corners, so budget for four blocks at minimum, plus more for any outside corners or bump-outs. Even at premium prices, the total block cost for a room is modest, and you save on wasted molding from botched miter cuts.
The Aesthetic Trade-Off
Corner blocks are polarizing. Some homeowners and designers love the decorative, traditional look they add, especially in Victorian, Craftsman, and formal interiors. Others feel corner blocks interrupt the clean, continuous flow of crown molding and read as a shortcut. Mitered and coped corners create an unbroken line of molding that wraps the room, which many consider more elegant and contemporary. Before committing, look at photos of both approaches and decide which suits your home’s style. Corner blocks make the most sense in traditional decor or when a flawless miter is genuinely beyond your skill and budget.
When Corner Blocks Make the Most Sense
- DIY first-timers who lack the tools or confidence for compound miters.
- Rooms with out-of-square corners, where blocks forgive irregular angles that would ruin a miter.
- Traditional or Victorian interiors where the decorative block suits the style.
- Wide, ornate crown profiles that are especially hard to miter accurately.
Common Mistakes to Avoid
- Buying blocks smaller than your crown profile, leaving the molding edges protruding.
- Mixing up inside and outside corner blocks, which do not interchange.
- Failing to anchor blocks to framing, so they loosen over time; use adhesive plus fasteners into studs.
- Skipping caulk at the joints, which leaves visible gaps between block and molding.
- Ignoring room style, and adding ornate blocks to a sleek modern room where they look out of place.
Corner Blocks for Casings, Too
While this guide focuses on crown molding corner blocks at the ceiling, the same decorative-block concept extends to door and window casings, and understanding the family helps you plan a cohesive room. Rosette blocks (also called corner blocks for casing) sit at the top corners of a door or window, letting the vertical and horizontal casing pieces butt into them with simple square cuts, exactly like crown corner blocks eliminate miters at the ceiling. Plinth blocks do the same job at the base, where vertical casing meets the baseboard. If you use decorative corner blocks on your crown molding, consider carrying matching rosette and plinth blocks to your door and window trim for a unified, traditional millwork look throughout the room. Mixing block-style crown with mitered casing, or vice versa, can look inconsistent, so decide on one language and apply it.
Painting and Finishing Corner Blocks
Because corner blocks are often a different material than your molding, polyurethane or MDF blocks paired with wood crown, take care to finish them uniformly. Prime any bare or unprimed blocks before painting so the topcoat color and sheen match the molding exactly. If you are painting the whole assembly, a single coat of primer followed by two coats of semi-gloss enamel over both blocks and molding hides the material differences completely. For stained wood installations, matching stain across a wood block and wood molding is achievable, but foam and MDF blocks cannot be stained, so choose solid wood blocks if you want a natural finish. Caulk the seam between block and molding before painting for the seamless, intentional look that separates a polished job from an obvious shortcut.
Are Corner Blocks Right for You?
Crown molding corner blocks are a genuinely useful tool for making crown molding accessible to homeowners who would otherwise be defeated by compound miter cuts. They install with simple straight cuts, forgive out-of-square corners, and suit traditional decor beautifully. The trade-off is aesthetic: purists prefer the uninterrupted line of a coped or mitered corner. Weigh your skill level, your tools, your budget, and your home’s style. If you value ease and like the traditional look, corner blocks will get crown molding on your walls this weekend, no protractor required.