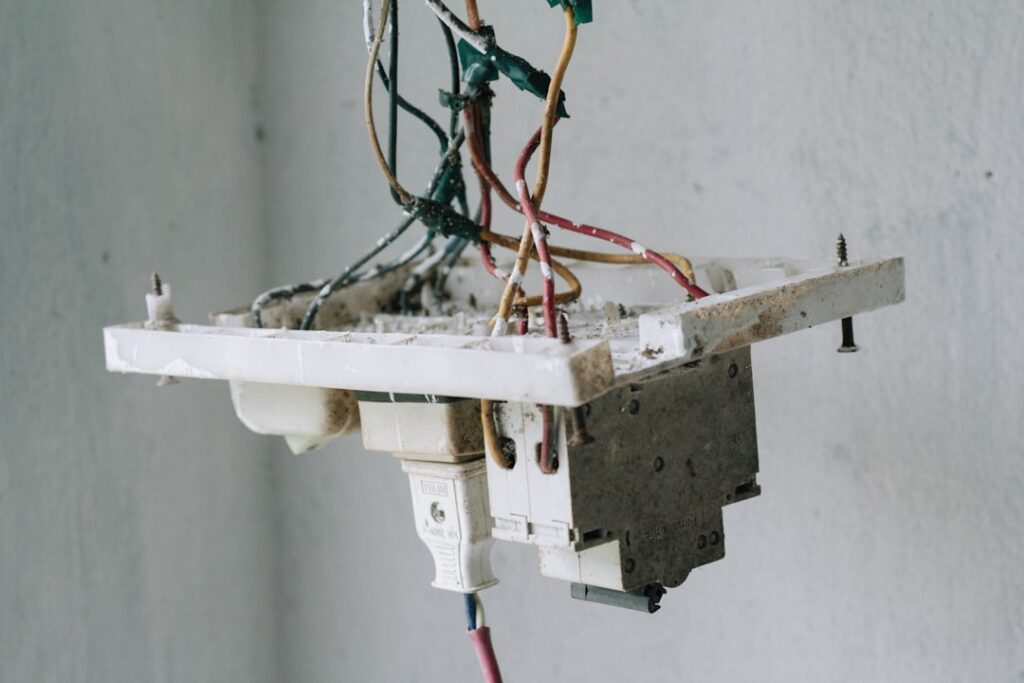
Adding a dimmer is one of the highest-impact, lowest-cost upgrades you can make to a room, and the job is well within reach for a careful DIYer. Getting dimmer light switch wiring right mostly comes down to turning off the power, identifying a few wires, and matching them to the dimmer’s leads. Most single-pole swaps take about 20 minutes with basic tools. This guide covers the wiring for standard and three-way setups, the safety steps you must not skip, and when to hand the job to a licensed electrician.
- Before You Start: Safety First
- Know Your Wires
- Single-Pole Dimmer Wiring (One Switch)
- Three-Way Dimmer Wiring (Two Switches)
- Tools and Materials You Will Need
- Common Mistakes to Avoid
- Troubleshooting After Installation
- When to Call a Licensed Electrician
- Choosing the Right Type of Dimmer
- Frequently Asked Questions
Before You Start: Safety First
Electricity is not forgiving, so treat every step with respect. Turn off the circuit breaker feeding the switch, then confirm the power is off at the switch itself with a non-contact voltage tester, about $15 to $25. Never rely on the wall switch alone. Work with dry hands, do not stand on a wet floor, and keep the breaker off until the job is fully buttoned up. If your home has aluminum wiring or you find scorched, brittle, or unfamiliar wiring, stop and call an electrician.
Know Your Wires
Open the switch box and you will typically see these conductors. Understanding them is the whole key to a clean install:
- Line (hot): The black wire bringing power from the panel. It is live when the breaker is on.
- Load: The wire, often also black, carrying power up to the light fixture.
- Neutral: The white wire that completes the circuit. Many modern dimmers require a neutral connection.
- Ground: The bare copper or green wire that provides a safe fault path.
- Traveler: In three-way setups only, a wire (often red) that runs between the two switches.
Before removing the old switch, take a photo of the existing connections with your phone. That picture is a lifesaver if you lose track of which wire went where.
Single-Pole Dimmer Wiring (One Switch)
A single-pole dimmer controls a light from one location and is the most common install. Here is the sequence:
- Shut off the breaker and verify no voltage with your tester.
- Unscrew and pull out the old switch, noting the two hot wires and the ground.
- Connect the dimmer’s green or bare lead to the box ground.
- Connect the dimmer’s two hot leads to the two wires that were on the old switch. On a single-pole dimmer these are interchangeable, so line and load can go to either lead.
- If your dimmer has a white neutral lead, connect it to the bundle of neutral (white) wires in the box using a wire nut.
- Fold the wires neatly, push the dimmer into the box, screw it in, and add the cover plate.
- Restore power and test the dimming range from low to high.
Three-Way Dimmer Wiring (Two Switches)
A three-way setup lets you control one light from two locations, like the top and bottom of a staircase. Wiring is a bit more involved. You install a special three-way dimmer at one location and keep a standard three-way toggle at the other. The dimmer will have a “common” terminal, usually marked and often a black lead, plus two traveler leads. Connect the common lead to the single wire that was on the dark or common screw of the old three-way switch, then connect the two traveler leads to the remaining two wires. Match the ground and any required neutral as before. If you buy a smart dimmer, follow its diagram exactly, because some use only one traveler.
Tools and Materials You Will Need
- Non-contact voltage tester: $15 to $25
- Insulated screwdrivers (flathead and Phillips): $10 to $20
- Wire strippers: $10 to $20
- Wire nuts (usually included with the dimmer): a few dollars
- The dimmer switch itself: $15 to $45 for standard, $40 to $70 for smart models
Choosing the right dimmer matters. If you have LED bulbs, buy a dimmer rated for LED and CFL loads, and check that your bulbs are labeled “dimmable.” Mismatched LED bulbs and dimmers cause flicker and buzzing.
Common Mistakes to Avoid
The biggest error is skipping the voltage test and trusting the wall switch. Always verify with a tester. Another common problem is buying a dimmer that needs a neutral wire when your older box has none, so check the box first or buy a no-neutral-required model. People also overload dimmers by exceeding their wattage rating, or they cram too many wires into a small box. Finally, using a standard incandescent dimmer with LED bulbs causes buzzing and flicker, so always match the dimmer to your bulb type.
Troubleshooting After Installation
If the light does not come on, kill the breaker and recheck your connections against your photo. Flickering usually means the bulbs are not truly dimmable or the dimmer is not LED-rated. Buzzing can come from the dimmer, the bulbs, or an overloaded circuit; try compatible bulbs first. If the dimmer feels warm, that can be normal within its rating, but hot to the touch signals an overload or a wiring fault that needs attention.
When to Call a Licensed Electrician
Wire a simple single-pole dimmer with confidence, but bring in a licensed electrician when you encounter aluminum wiring, an ungrounded box, no neutral where the dimmer requires one, or any signs of overheating, scorching, or damaged insulation. Also call a pro if the box is overcrowded, if you are adding a circuit rather than replacing a switch, or if your local code requires permitted work. When in doubt about the wiring configuration, an electrician’s visit of $100 to $250 is cheap insurance against a fire risk.
Choosing the Right Type of Dimmer
Not all dimmers work the same way, and picking the correct type affects both performance and looks. The common styles include:
- Rotary dimmers: A simple knob you turn to adjust brightness, often with a push on/off. Inexpensive and reliable.
- Slide dimmers: A sliding lever, sometimes with a separate on/off switch, giving precise control.
- Toggle dimmers: Look like a standard switch but include a small slider for level.
- Smart dimmers: Wi-Fi or app-controlled, allowing scheduling, voice control, and remote operation. These almost always require a neutral wire.
Match the dimmer to your load type as well. LED and CFL bulbs need a dimmer specifically rated for them, often called a CL or LED/CFL dimmer, to avoid buzzing and flicker. Check the minimum and maximum wattage on the dimmer package and add up the wattage of all bulbs on the circuit to stay within range. A dimmer rated for a lower load than your fixture draws will run hot and fail early, while one rated far above a small LED load can cause the lights to drop out at low settings.
Frequently Asked Questions
Do all dimmer switches need a neutral wire?
No. Many standard dimmers work without a neutral, but most smart and some LED-optimized dimmers require one. Check the packaging and inspect your box before buying.
Can I replace any light switch with a dimmer?
Most single-pole and three-way switches can be replaced with a matching dimmer, as long as the fixture and bulbs are dimmable and the load is within the dimmer’s wattage rating.
Why do my LED lights flicker with a dimmer?
Flickering usually means the bulbs are not dimmable or the dimmer is not rated for LEDs. Use dimmable LED bulbs and an LED-compatible dimmer to fix it.
Does it matter which wire goes where on a single-pole dimmer?
For a single-pole dimmer, the two hot leads are interchangeable, so line and load can connect to either. The ground and any neutral must go to their proper connections.
Dimmer light switch wiring is a satisfying, budget-friendly upgrade when you respect the safety steps. Kill the power, verify it is off, match the wires to the dimmer’s leads, and choose an LED-rated model for modern bulbs. For anything beyond a straightforward swap, a licensed electrician is always the right call.