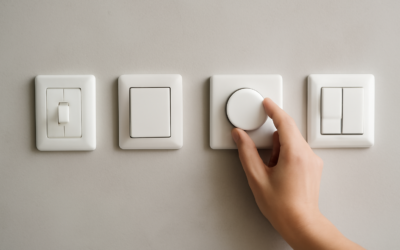
Replacing a worn-out switch is one of the most common electrical jobs homeowners tackle, and done correctly it is genuinely safe and satisfying. Light switch installation comes down to shutting off power, matching wire to terminal, and making solid connections, which most people can handle in about twenty minutes. That said, light switch installation involves live electricity, so understanding the wiring and the safety steps is essential before you touch a single screw. This guide walks through the tools, the process for both single-pole and three-way switches, costs, and the situations where you should call a licensed electrician instead.
Safety First: Kill the Power
Nothing else in this article matters if you skip this step. Before doing anything, go to your electrical panel and switch off the breaker that feeds the circuit you are working on. Then confirm the power is truly off using a non-contact voltage tester held near the wires, not just the switch you flipped. Circuits are sometimes mislabeled, so testing is non-negotiable.
Never rely on turning the wall switch off; that only interrupts the load, not the incoming hot wire, which stays live in the box. If you cannot positively verify the power is dead, stop and call an electrician. Work on a dry surface, use insulated-handle tools, and never assume a wire is safe because it looks like the others.
Tools and Materials You Need
Gather everything before you start so you are not walking away from an open box. A basic kit includes:
- Non-contact voltage tester (the most important tool here)
- Insulated flathead and Phillips screwdrivers
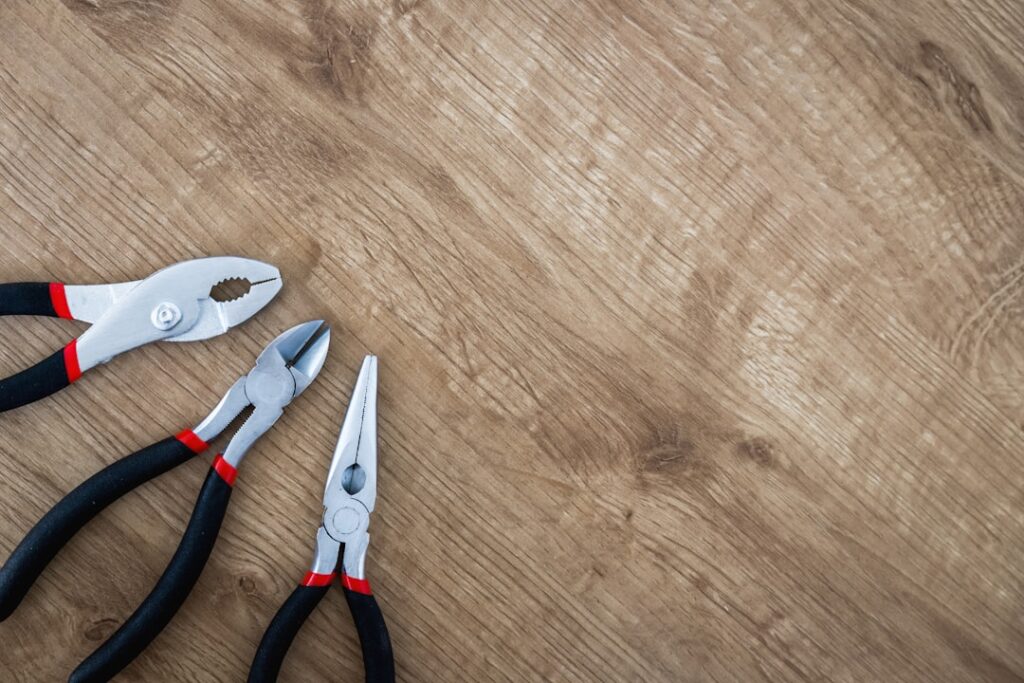
- Needle-nose pliers and wire strippers
- The replacement switch (single-pole, three-way, dimmer, or smart)
- Wire nuts or push-in connectors, if needed
- Electrical tape
- A phone camera to photograph the existing wiring before disconnecting
That last item is a pro habit worth adopting. A clear photo of how the old switch was wired is your reference if anything gets confusing, and it prevents mistakes when you connect the new device.
Understanding the Wiring
A standard single-pole switch, the kind that controls one light from one location, has two brass terminal screws plus a green ground screw. One brass screw connects to the incoming hot wire (usually black) and the other to the wire running to the light. The bare copper or green wire connects to the ground screw. White neutral wires typically pass through the box and are not connected to a basic switch, though smart switches often require a neutral.
Because a single-pole switch is not polarity-sensitive, either black wire can go on either brass screw. What matters is a tight, secure connection and a proper ground. Modern switches also often include a small toggle marking, and installing it right-side up (on is up) is the American convention.
Step-by-Step: Single-Pole Switch
With the power confirmed off, the replacement is straightforward:
- Remove the cover plate, then unscrew the switch from the box and pull it out gently.
- Test again with your voltage tester to confirm the wires are dead.
- Photograph the wiring, then loosen the terminal screws and disconnect the wires.
- Inspect the wire ends; if the exposed copper is nicked or short, snip and strip a fresh 3/4-inch of insulation.
- Connect the two hot wires to the two brass screws, bending each into a clockwise hook so it tightens as you drive the screw.
- Attach the ground wire to the green screw.
- Gently fold the wires back into the box and screw the switch to the box.
- Install the cover plate, restore power at the breaker, and test the switch.
Tug each wire lightly after tightening to confirm it is locked in. Loose connections are the leading cause of switch failure and, worse, arcing that can start a fire.
Three-Way and Dimmer Switches
Three-way switches, which control one light from two locations such as the top and bottom of a staircase, add a wrinkle. Each three-way switch has three terminals plus ground: one darker common (COM) screw and two brass traveler screws. The trick is identifying the common wire before disconnecting, because it must return to the COM terminal on the new switch. This is exactly where your before photo pays off. Mark the common wire with tape before removing the old switch.
Dimmer switches install much like single-pole switches but often have wire leads instead of screw terminals, connecting to the house wires with wire nuts. Make sure any dimmer is rated for your bulb type; LED bulbs require an LED-compatible dimmer, or you will get flicker and buzz. Smart switches usually require a neutral wire in the box, so check for a bundle of white wires before buying one.
What Light Switch Installation Costs
DIY, the cost is just the switch: $1 to $5 for a basic single-pole, $8 to $20 for a dimmer, and $20 to $60 for a smart switch. If you hire an electrician, expect $100 to $250 for a simple swap, since most charge a minimum service call of $75 to $150 plus roughly $40 to $100 per hour. Adding a new switch where none existed, which requires running cable and cutting in a box, runs $150 to $350 or more per location.
The math favors DIY for a straightforward replacement, but the electrician’s fee buys code compliance and peace of mind for anything involving new wiring or unfamiliar configurations.
When to Call an Electrician
Some situations call for a professional every time. Call an electrician if you find aluminum wiring (dull gray rather than copper), if the box is overcrowded or the wiring is scorched or brittle, if you cannot identify the wires or there is no ground, or if the switch controls a circuit you cannot confidently isolate. Older homes with knob-and-tube or ungrounded wiring especially warrant expert eyes.
Also call a pro for anything beyond a like-for-like swap, such as adding a switch, converting to a three-way, or installing switches near water. Electricity is unforgiving of mistakes, and the cost of a service call is small compared with the risk of a fire or shock.
Troubleshooting a Newly Installed Switch
If the light does not work after you restore power, resist the urge to panic and go back to basics. First, confirm the breaker is fully on; breakers that have tripped sometimes need to be pushed firmly to off before they will reset to on. If the breaker is fine, kill the power again and recheck your connections, since a loose wire under a terminal screw is the most common culprit. Give each wire a gentle tug to confirm it is locked in.
A switch that feels hot to the touch or crackles is a serious warning sign of a loose or undersized connection, and you should shut off power and address it immediately. Flickering lights after a dimmer install usually mean the dimmer is not compatible with your LED bulbs; swap in an LED-rated dimmer or bulbs designed for dimming. If a three-way switch works from one location but not the other, the common wire is almost certainly on the wrong terminal, so shut off power, consult your before photo, and move the common wire to the COM screw.
Should the light stay on regardless of the switch position, the switch may be wired to the neutral instead of the hot leg, or the fixture may be miswired. When troubleshooting drags on or anything smells scorched, stop and bring in an electrician rather than guessing with live wires.
For a basic replacement, though, light switch installation is well within reach of a careful homeowner. Kill the power, verify it is off, photograph the wiring, make tight connections, and test before you close up. Respect the electricity, follow the steps in order, and you will have a solid, safe switch in less time than it took to read this guide.