A blank wall above your bed is an invitation, not a problem. Creating DIY wall art for bedroom spaces lets you fill that emptiness with color, texture, and personality for a fraction of what store-bought art costs — often under $50 for a piece that would run $300 in a boutique. Better still, you end up with something nobody else has. This guide walks you through approachable projects, smart layouts, and the hanging techniques that make everything look intentional instead of accidental.
Start With a Plan, Not a Hammer
Before you buy a single supply, figure out what the wall needs. Measure the open space and the furniture below it. A good rule: art above a bed or dresser should span roughly two-thirds the width of the furniture. So a 60-inch queen headboard wants an arrangement around 40 inches wide.
Decide on a mood that matches your room. Calming bedrooms favor soft neutrals, abstract washes, and natural textures. Bold bedrooms can handle saturated color, graphic patterns, and high contrast. Cut kraft paper or newspaper to the size of your planned pieces and tape them to the wall first — this free mock-up shows you scale and spacing before you commit.
Easy Projects for Beginners
You do not need to be an artist to make great wall art. These projects rely on materials and process rather than drawing skill.
Abstract Canvas Painting
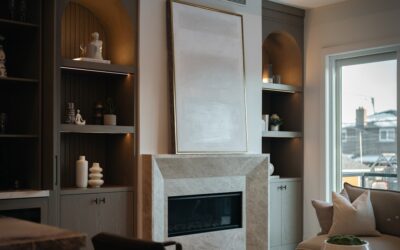
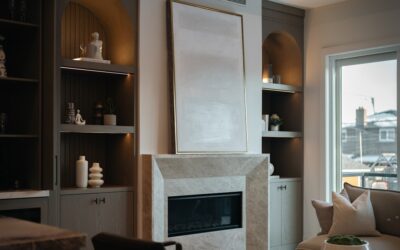
Grab a 16-by-20-inch or 24-by-36-inch stretched canvas, two or three acrylic paint colors that match your bedding, and a wide brush or palette knife. Block in big shapes, let them dry, then layer. Imperfection is the point. A large abstract canvas reads as expensive even when the materials cost $25.
Pressed or Faux Botanicals
Press leaves and flowers between book pages for two weeks, then mount them on cardstock inside simple frames. For a no-wait version, use faux stems or printed botanical illustrations. A row of three matching frames makes an instant gallery.
Fabric and Textile Hangings
Stretch a yard of bold fabric over a canvas frame, or clip a woven textile to a wooden dowel for a soft, warm focal point above the bed. Macrame and yarn weavings add the texture that flat art cannot.
Gallery Walls That Look Curated
A gallery wall mixes sizes and subjects but holds together through one unifying thread — matching frames, a single color palette, or a consistent mat width. Keep 2 to 3 inches of space between frames so the group reads as one composition rather than scattered pieces.
- Anchor with one large piece, then build outward with smaller ones.
- Mix orientations: pair verticals with horizontals for rhythm.
- Include non-photo elements like a small mirror, a clock, or a 3D object.
- Lay the whole arrangement on the floor first and rearrange until it clicks.
For a renter-friendly twist, run two thin wooden picture ledges across the wall and lean art on them. You can swap pieces in seconds with zero new holes.
Budget-Friendly Material Sources
Great DIY wall art for bedroom walls rarely requires a craft-store splurge. Check thrift stores for $3 frames you can spray-paint a uniform color. Download free high-resolution art from museum open-access collections and print it at a local shop for a few dollars. Repurpose fabric scraps, old maps, sheet music, wallpaper samples, and even your own phone photos printed large. Floating an inexpensive print inside an oversized mat and frame instantly elevates it.
Hanging It Right
Placement and hardware separate polished rooms from crooked ones. Center the visual weight of your art about 57 to 60 inches from the floor, which is standard gallery eye level. Above furniture, leave 6 to 8 inches between the top of the headboard or dresser and the bottom of the frame so they feel connected.
Match the hardware to the weight and your wall type:
- Lightweight pieces under 5 pounds: a sawtooth hanger or adhesive strips on drywall.
- Medium frames 5 to 20 pounds: a drywall anchor rated for the load.
- Heavy or oversized art: drive screws into a stud, or use a French cleat for big canvases.
Always use a level, and mark pilot holes with a pencil. For galleries, the trick is measuring from the hanging hardware on the back of each frame, not the top edge, so everything lines up the way you planned it on the floor.
Adding Texture and Dimension
Flat prints are easy, but bedrooms feel cozier with dimension. Consider a cluster of woven baskets, a carved wooden panel, a salvaged window frame, or a string of warm fairy lights woven through a wire grid where you clip photos. A single large statement piece — say a 36-inch round mirror with a rattan frame — can do as much as an entire gallery while keeping the look minimal.
Finishing Touches and Maintenance
Once everything is up, step back from across the room and check the overall balance. Adjust until nothing feels lopsided. Dust framed art monthly with a microfiber cloth, and keep canvases out of direct, prolonged sunlight to prevent fading. If you used adhesive strips, reseat any that loosen as humidity changes through the seasons.
Matching Art to Your Bedroom Style
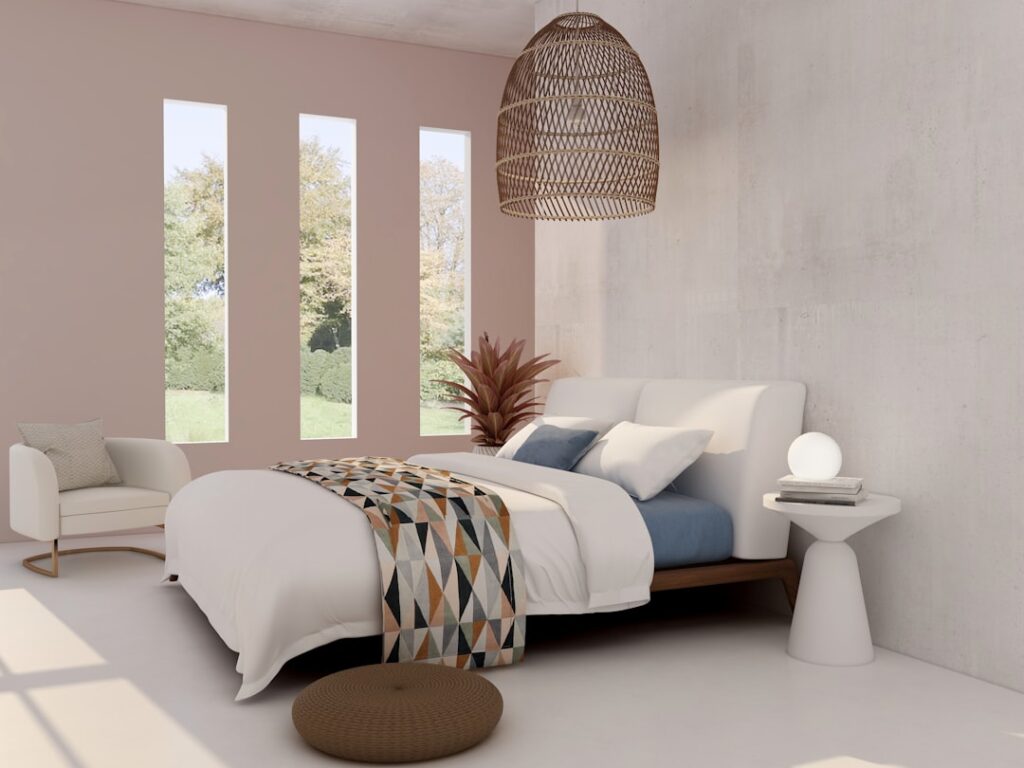
The art should speak the same language as the rest of the room. In a modern minimalist bedroom, lean on a single oversized abstract canvas, black-and-white line drawings, or one large piece with lots of negative space. A farmhouse or rustic room loves reclaimed-wood frames, pressed botanicals, and muted earthy tones. Boho bedrooms come alive with macrame, woven textiles, and layered, eclectic galleries. For a coastal feel, think soft blues, framed prints of shorelines, and natural rope or driftwood accents. Pull two or three colors from your bedding, rug, or curtains and repeat them in your art so the whole room reads as one cohesive design rather than a collection of unrelated pieces.
Mistakes to Avoid
A few common slip-ups undercut otherwise great DIY art. Hanging pieces too high is the biggest — art floating near the ceiling looks disconnected from the furniture below it. Going too small is another; a tiny frame stranded on a large wall looks lonely, so size up or group several pieces. Avoid cramming a gallery wall edge to edge with no breathing room, and resist mixing too many competing colors. Skipping the paper mock-up almost always leads to extra nail holes. And never hang heavy art on adhesive strips alone — use anchors or a stud so nothing crashes down in the night.
The beauty of DIY wall art for bedroom decor is that nothing is permanent. Swap pieces with the seasons, rotate in new photos, or repaint a tired canvas. With a clear plan, a small budget, and a level, you can turn a bare wall into the most personal feature in your home — and have fun doing it.