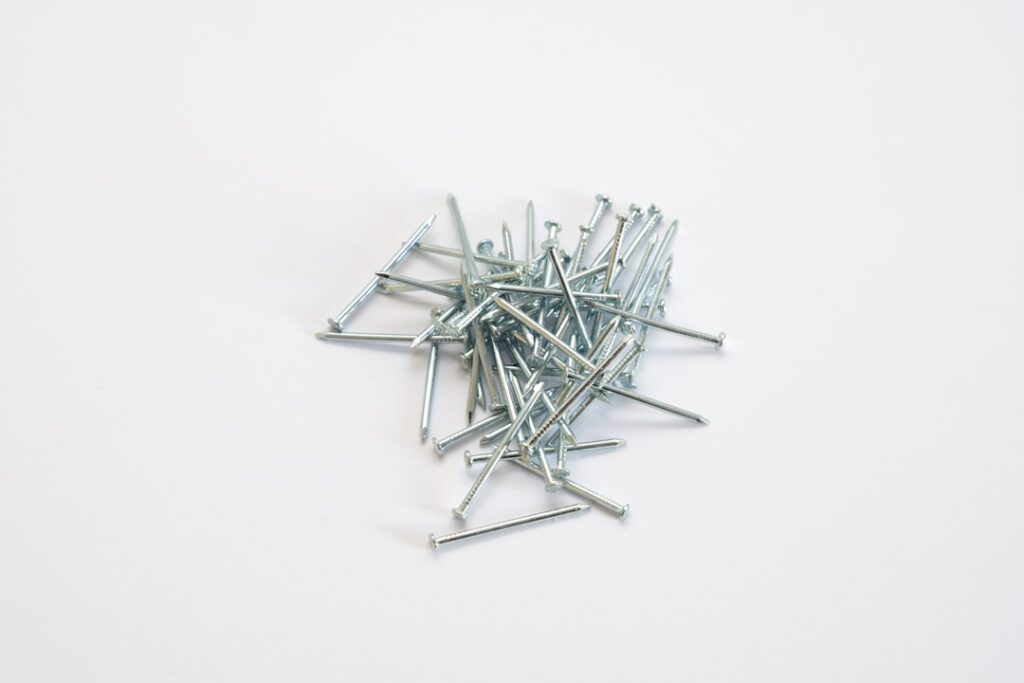
Screws conquered the drywall trade decades ago, yet every lumberyard still stocks bins of drywall nails — and not out of nostalgia. Nails remain code-legal for hanging gypsum board on wood framing, they’re faster than screws for tacking a sheet in place, and a ring-shank drywall nail set properly holds better than most people credit. The trick is knowing which nail, where nails still earn their spot, and why the dreaded nail pop happens so you can prevent it instead of patching it every spring.
Part of our Paint & Walls guide — explore the full guide →
What a Drywall Nail Actually Is
A proper drywall nail is a purpose-built fastener, not a sinker from the framing box. Three features define it. The shank is ring-shank (annular rings along its length) so wood fibers lock into the grooves and resist withdrawal — a ring-shank nail has roughly double the pull-out resistance of a smooth-shank nail of the same size. The head is thin, slightly cupped, and about 1/4 to 19/64 inch across, designed to seat in a shallow dimple that joint compound fills cleanly. And the point is a long diamond taper that parts wood fibers instead of splitting narrow stud edges. Most are bright or phosphate-coated steel; galvanized versions exist for moisture-prone areas behind tile backer transitions.
You’ll also see the older cupped-head smooth-shank drywall nail and the cement-coated cooler nail, a holdover name from the days of nailing gypsum lath. Both still hang board; both pop more than ring-shanks. If you’re buying nails in 2026, buy ring-shank and skip the history lesson in your walls.
Sizes and Which One to Use
- 1-1/4 in (3d) ring-shank: the standard for 1/2-inch drywall on wood studs — penetrates the required 3/4 inch minimum into framing with margin
- 1-3/8 in: the common pick for 5/8-inch board, including Type X fire-rated ceilings (many fire assemblies specify nail length — check the listing)
- 1-1/2 in (4d): for double-layer work or board over 1/4-inch foam sheathing
- 1-5/8 in and up: resurfacing over old plaster or paneling where the nail must reach through to solid framing
Longer is not better. Code minimum penetration into wood framing is about 3/4 inch for nails; beyond an inch of penetration you gain nothing but add more shank for the stud to move against — and stud movement is what causes pops. A 5-pound box of 1-1/4 inch ring-shanks runs $8-$12 and hangs roughly 15-20 sheets.
Where Nails Still Beat Screws
Real-world cases where pros still reach for the nail pouch:
- Tacking sheets: the fastest workflow on wood framing is four to six nails to pin the sheet exactly where you want it, then run screws for the field. One hand holds the board, one swings the hammer — no fumbling a driver and collated strip overhead.
- Perimeter fastening under adhesive: with construction adhesive on the studs, codes allow drastically reduced fastening; nails at the perimeter do the temporary clamping while the adhesive becomes the permanent hold.
- Repairs and small patches: a couple of ring-shanks set a patch faster than finding the screw gun, and there’s no risk of the driver tearing the patch’s paper face.
- Corner bead: traditional metal bead still nails on beautifully at 9-inch spacing; nails let you fine-tune bead alignment tap by tap.
- No-power situations: detached garages, remote cabins, and the day the battery charger stayed home.
What nails cannot do: steel studs. Nails have zero hold in metal framing — that world is screws only, driven with a proper drywall screw gun that clutches out at consistent depth. Ceilings are also screw territory in any modern spec; gravity works full-time on ceiling board, and screws’ superior withdrawal resistance is why most codes and manufacturers require closer nail spacing on ceilings if nails are used at all.
Code Spacing and Proper Technique
Standard single-nailing per IRC and gypsum association guidance: nails every 7 inches on ceilings and 8 inches on walls, into every framing member, with fasteners at least 3/8 inch from board edges. Compare screws at 12 inches on ceilings and 16 on walls — the wider spacing is half of why screws won the trade. There’s also the older double-nailing method: pairs of nails 2 inches apart every 12 inches in the field, which nearly eliminates loose-board pops at the cost of more nails to coat.
Technique determines whether nails behave. Drive the nail home, then add one controlled final blow that sets the head in a shallow dimple — the surface dents inward maybe 1/32 inch without breaking the paper face. Broken paper equals a fastener holding gypsum dust instead of board; it will fail. A drywall hammer’s crowned, checkered face makes the dimple naturally, but an ordinary 16 oz smooth-face hammer works with care. Snug the board tight to the stud with your palm as you nail; a gap behind the board is a pop waiting for its first humid summer.
Nail Pops: Why They Happen and the Real Fix
A nail pop is that little crater or pimple that appears on a wall or ceiling, usually in the first year or two of a new house. The nail didn’t back out — the wood moved. Framing lumber often installs at 15-19% moisture content and dries in service to 8-10%; as the stud shrinks across its width, it slides down the nail shank, pushing the board out and leaving the nail head proud. Smooth-shank nails, over-long nails, board not snugged tight, and wet lumber all make it worse. Seasonal humidity keeps the cycle going, which is why pops reappear over the same studs.
The fix that lasts: don’t just hammer it back. Drive a drywall screw 1-1/2 inches above and below the popped nail to re-clamp the board to the stud, then either reset the nail with a dimple or pull it, and coat all three spots with two passes of joint compound. Prime before paint or the patch flashes. If a whole ceiling line is popping, the cause is usually truss uplift or a wet-lumber winter build — screw-and-skim the run rather than chasing pops one by one for a decade.
Buying Guide: What to Put in the Pouch
Keep the shopping list short. For general hanging on wood framing: a 5-pound box of 1-1/4 inch ring-shank drywall nails (Grip-Rite and Maze are the common quality brands; Maze’s Stormguard line adds double hot-dip galvanizing for damp locations), a 1-pound box of 1-3/8 inch for any 5/8-inch board, and 1-1/2 inch galvanized ring-shanks if you’re setting metal corner bead. A drywall hammer ($25-$40, with the crowned face and hatchet-style handle) is a nice-to-have, not a must — its curved face dimples cleanly and its blade end lifts and wedges sheets, but a smooth-face 16 oz finish hammer does honest work. Skip anything sold as a generic “wallboard nail” without ring shanks, and skip electroplated bright nails anywhere near moisture; rust spots bleeding through paint are the cheapest problem to avoid and one of the ugliest to fix. Figure roughly 60-80 nails per 4×8 sheet at single-nail spacing if you’re fastening entirely with nails, or a couple dozen per sheet in the tack-then-screw workflow most DIYers should use.
Bottom Line
A note on mixed fastening for anyone finishing behind their own hanging: nails and screws take joint compound identically once properly set, so a wall tacked with nails and fielded with screws finishes as one surface. What finishers notice is depth consistency — a screw gun’s clutch sets every screw to the same 1/32-inch dimple automatically, while nail dimples vary with your hammer control. If your dimples run deep, budget an extra spot coat; three thin passes over every fastener is the standard that keeps them invisible under flat paint.
Drywall nails aren’t obsolete; they’re specialized. Use 1-1/4 inch ring-shanks to tack and trim on wood framing, respect the 7/8-inch spacing rules, dimple without breaking paper, and let screws do the ceilings, the fields, and every inch of steel framing. Do that and the nails in your walls will stay invisible — which is the entire job description of a fastener behind paint.