If a lamp goes dead, a fuse looks suspect, or a switch feels unreliable, you do not need to guess. An electric continuity tester is one of the cheapest, most useful tools in any homeowner’s electrical kit, and it answers a single yes-or-no question: is there an unbroken path for current to flow? Basic models cost as little as $6 to $15, take seconds to use, and can save you from replacing a perfectly good part. Understanding how the tool works, and when it is the wrong tool, keeps your repairs both accurate and safe.
What a Continuity Tester Actually Does
A continuity tester sends a small voltage from its own internal battery through whatever component you connect it to. If electricity can travel from one probe to the other without interruption, the circuit is “continuous,” and the tester signals a complete path by lighting an LED or sounding a beep. If the path is broken — a blown fuse, a snapped wire, a failed switch contact — nothing happens.
This is fundamentally a test on de-energized equipment. The tester supplies its own power, so the circuit you are checking must be dead. That is the single most important rule: continuity testing is always done with the power off and the component disconnected or isolated.
The Two Common Types
Most homeowners encounter one of two designs, and they cover different situations.
- Simple probe-style testers — a pen body with a battery, a bulb or LED, and an alligator-clip lead. You clip one end to a contact and touch the probe to the other. These cost $6 to $20 and are perfect for fuses, switches, and short wire runs.
- Audible (beeper) testers — same idea but with a buzzer, so you can keep your eyes on the probes instead of glancing at a light. Many electricians prefer these for speed.
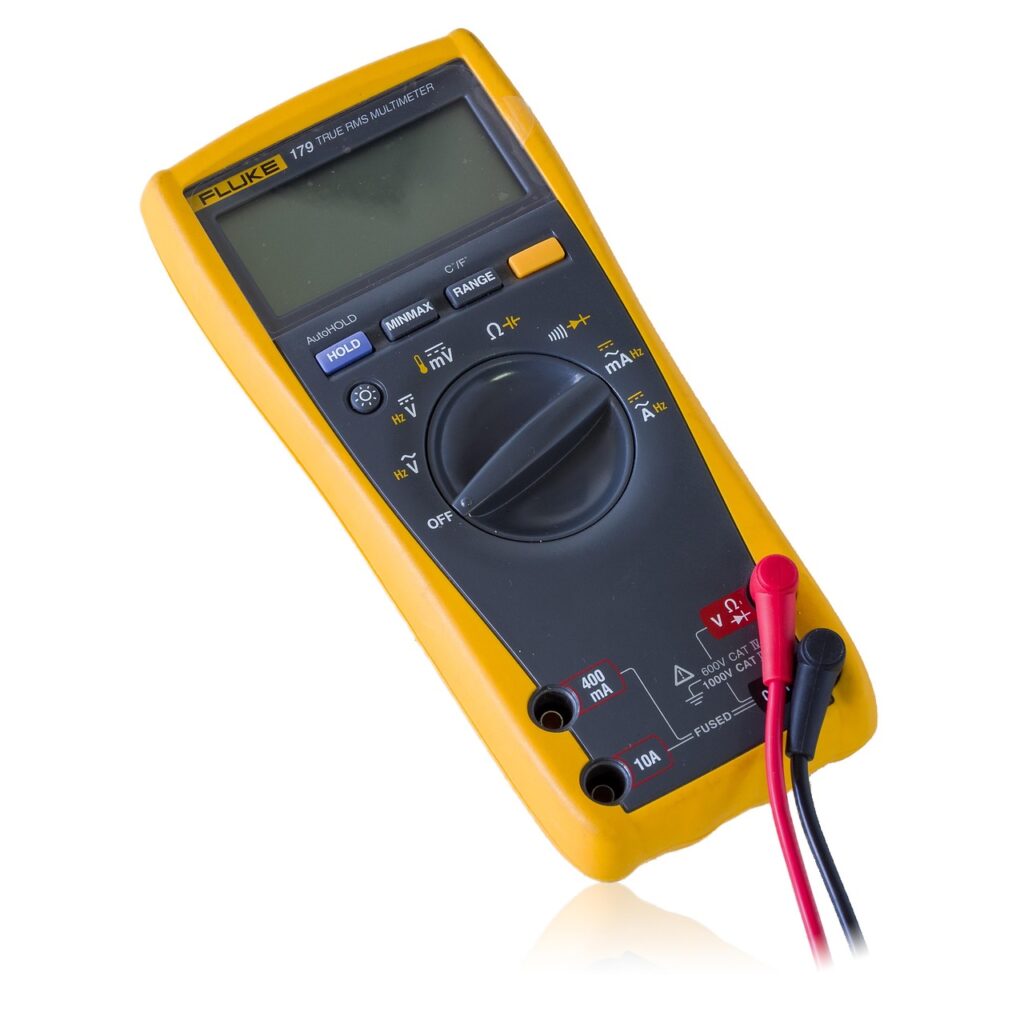
A digital multimeter set to its continuity mode does the same job and far more, which is why a multimeter is the more versatile long-term purchase.
Continuity Tester vs. Multimeter
People often ask whether they need a dedicated continuity tester or a multimeter. A standalone tester gives you a fast pass/fail answer and nothing else. It is small, cheap, and foolproof. A multimeter, which runs $25 to $80 for a decent home model like a Klein MM400 or a Fluke 101, measures voltage, resistance, and current in addition to continuity.
For a homeowner who occasionally troubleshoots a dead outlet or a bad appliance cord, a multimeter is the smarter buy because it grows with your skills. The dedicated tester still earns its place for quick checks where you do not want to spin a dial or read a number — you just want to know if a fuse is good.
How to Use an Electric Continuity Tester Safely
Safety comes from sequence. Do these steps in order every time and the job is genuinely low-risk.
- Kill the power. Switch off the breaker and verify the circuit is dead with a separate non-contact voltage tester. Never test continuity on a live circuit.
- Isolate the component. Remove the fuse, disconnect the wire, or take out the switch so you are testing only that part, not the whole circuit.
- Verify the tester works. Touch the two probes together first. The light or beeper should activate, confirming the battery is good.
- Connect across the component. Clip one lead to one terminal, touch the probe to the other.
- Read the result. A light or beep means continuity (good path). No response means an open circuit (broken or failed part).
If you skip the verification step in number three, a dead battery can fool you into thinking a good part is broken.
Common Jobs Where It Shines
Once you own one, you will reach for a continuity tester constantly. Checking a cartridge or blade fuse is the classic use: a good fuse beeps, a blown one stays silent. You can test a wall switch by clipping across its terminals and flipping it — continuity should appear in one position and disappear in the other.
It also confirms whether an extension cord or appliance power cord has a broken internal conductor, identifies which wire is which in a multi-conductor cable, and verifies that a light socket’s contacts are intact. For under $15, that is a remarkable amount of diagnostic reach.
Mistakes and Limitations to Know
The biggest error is testing a live circuit, which can damage the tester and, with some designs, create a shock or arc hazard. Always confirm the power is off first. The second common mistake is forgetting to isolate the part, which lets current sneak through a parallel path and gives a false “good” reading.
Also understand what the tool cannot tell you. A continuity tester confirms a path exists, but it does not measure how good that path is. A corroded connection with high resistance may still beep while performing poorly under load. When resistance matters, switch to a multimeter and read the actual ohms.
Choosing and Maintaining Your Tester
Buy a model with insulated probes, a sturdy alligator clip, and a replaceable battery. Audible versions from brands like Gardner Bender or Klein run $8 to $20 and last for years. Store it somewhere dry, and replace the button-cell or AAA battery when the test-touch confirmation grows dim.
Used correctly, an electric continuity tester turns guesswork into a clear answer. Kill the power, isolate the part, verify the battery, then test — follow that order and you will diagnose dead fuses, failed switches, and broken cords in seconds, with confidence and without risk.
Reading Resistance for a Better Diagnosis
A simple tester only tells you “open” or “closed,” but a multimeter in continuity mode usually shows a resistance value too, and that number is worth understanding. A perfect connection reads near zero ohms, while a few ohms suggests a slightly degraded but workable path. Readings climbing into the tens or hundreds of ohms on what should be a solid wire point to corrosion, a loose crimp, or a partially broken conductor.
This matters for connections that carry real current. A switch that beeps but reads 15 ohms may still cause a motor to run hot or a heating element to underperform. When a circuit works intermittently or runs weak, do not stop at the beep — note the resistance and clean or replace any connection that reads higher than it should. That extra detail is exactly why many homeowners eventually graduate from a basic tester to a $30 multimeter.