That small chip in your bathtub is not just an eyesore. Once the glossy enamel surface breaks, water reaches the metal or substrate underneath, and a chip can turn into a rust stain or spreading crack. An enamel tub repair kit is an inexpensive, DIY-friendly way to seal these flaws using a two-part epoxy or filler that bonds to porcelain, enamel, and fiberglass. It will not make a damaged tub brand new, but for cosmetic chips and small cracks, it stops the damage and restores a smooth, sealed finish for around $15 to $30.
What These Kits Actually Repair
Most enamel tub repair kits are designed for surface-level damage: chips where the enamel has flaked off, hairline cracks in the glaze, small gouges, and worn spots that have lost their shine. They typically include a two-part epoxy or polyester filler, a tint or color base (usually white, sometimes with a few shades to mix), fine sandpaper, and an applicator. Some premium kits add a clear topcoat for added gloss.
Be honest with yourself about the damage before you start. These kits are a cosmetic and protective fix, not a structural repair. A chip the size of a coin, a worn anti-slip area, or a hairline crack is a great candidate. A tub that is cracked clear through, flexing underfoot, or leaking water into the floor below needs professional refinishing or replacement, not a $20 kit.
Tools and Materials You’ll Need
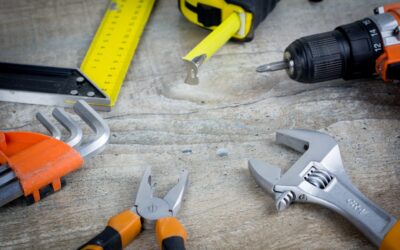
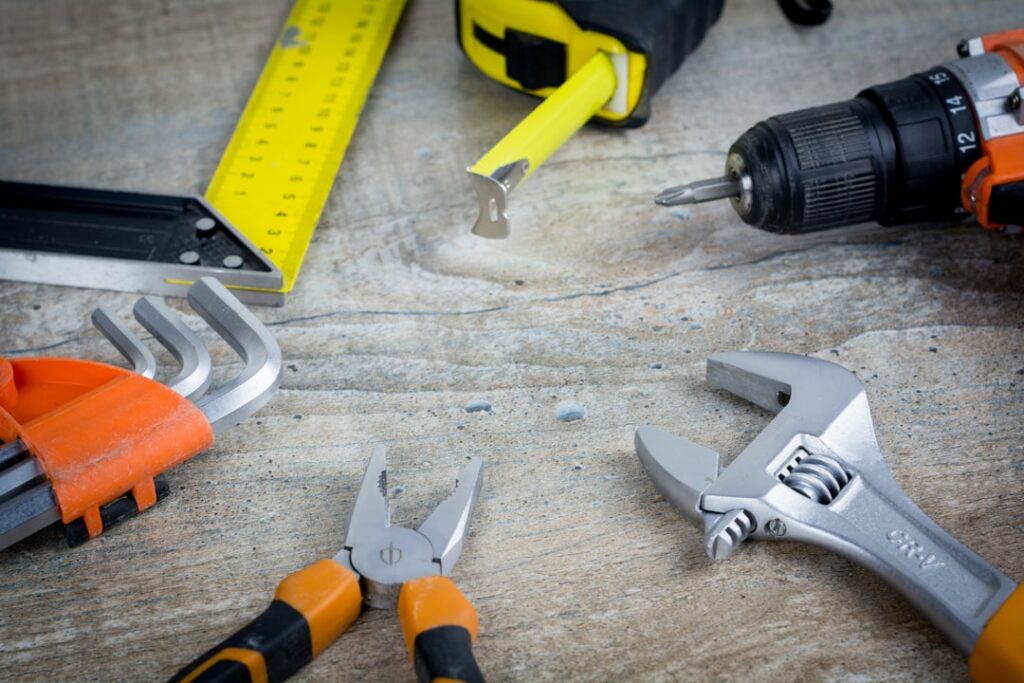
The kit covers the repair compound, but gather a few extras to do the job cleanly:
- The repair kit (epoxy filler, hardener, tint, and applicator)
- Rubbing alcohol or acetone for degreasing
- Fine-grit sandpaper, 400 to 600 grit, plus 1,000 grit or higher for finishing
- A clean lint-free cloth and a small plastic mixing surface
- Painter’s tape to mask the area
- Good ventilation; epoxy and acetone fumes are strong
Step-by-Step: How to Use an Enamel Tub Repair Kit
Patience and a clean surface make the difference between an invisible repair and an obvious patch. Work through these steps without rushing the cure times.
- Clean thoroughly. Scrub the area with a non-abrasive cleaner, rinse, and dry completely. Then wipe with rubbing alcohol or acetone to remove every trace of soap film and oil. Epoxy will not bond to a greasy surface.
- Sand the chip. Lightly sand the damaged spot and a small margin around it with 400 to 600 grit paper to give the epoxy something to grip and to remove any loose enamel. Wipe away dust.
- Mix the filler. Combine the epoxy and hardener in the exact ratio the kit specifies, and add tint a little at a time to match your tub. Mix only what you can use within the working time, often 5 to 15 minutes.
- Fill the chip. Apply thin layers with the applicator, slightly overfilling so the patch sits just above the surface. For deep chips, build up in layers, letting each set before adding the next.
- Cure fully. Let the repair cure for the full time on the label, often 24 hours, before sanding or using water. Rushing this step ruins the bond.
- Sand smooth and polish. Once cured, wet-sand the patch flush with 1,000-grit or finer paper, then buff. Apply the clear topcoat if your kit includes one.
Getting a Good Color and Texture Match
The hardest part of any tub repair is blending the patch so it disappears. Pure white kits rarely match an older tub exactly, because enamel yellows and shifts over the years. Mix tints slowly and test the color on a piece of paper, then on an inconspicuous edge, before filling the visible chip. Aim for slightly off-white rather than bright white if your tub has aged.
Feathering the edges with fine sandpaper is what hides the repair. A patch that is perfectly color-matched but sits proud of the surface will still catch the light and show. Take your time wet-sanding the boundary until you cannot feel a ridge with your fingertip.
Common Mistakes to Avoid
Most failed tub repairs trace back to a handful of avoidable errors. Skipping the degreasing step is the biggest one; even invisible soap film keeps the epoxy from bonding, and the patch pops out within weeks. Mixing too much filler at once is another, since the working time is short and a large batch hardens on your mixing surface before you can use it.
Other pitfalls worth dodging:
- Rushing the cure. Running water over a patch that has not fully hardened ruins the bond and the finish. Wait the full 24 hours or whatever the label states.
- Overfilling without sanding. A patch that stands proud of the surface catches light and looks obvious. Slightly overfill, then wet-sand flush.
- Ignoring color aging. Matching to bright white when your tub has yellowed leaves a glaring patch. Tint to the tub’s actual current shade.
- Repairing in a cold, humid room. Epoxy cures best in a warm, dry space; cold slows curing and can cloud the finish.
The Honest Limits of DIY Tub Repair
Set realistic expectations. An enamel tub repair kit will seal the damage, stop rust and water intrusion, and make a chip far less noticeable, often nearly invisible on small repairs. What it will not do is perfectly replicate the factory glaze across a large area or restore a tub with widespread crazing, deep staining, or structural cracks.
For large or numerous flaws, professional reglazing (also called refinishing) is the better path. A pro chemically bonds and sprays a new coating over the entire tub for roughly $350 to $600, lasting many years. Full replacement runs higher still. The repair kit shines for spot fixes; once damage spreads, the math tips toward refinishing.
Making the Repair Last
After the patch fully cures, treat it gently. Avoid abrasive cleaners and stiff scrub pads on the repaired area, since they can dull or wear the epoxy faster than the surrounding enamel. Stick to mild liquid cleaners and a soft cloth. Wipe the tub dry after heavy use in the early weeks while the repair finishes hardening.
Done carefully, a kit repair on a small chip can hold for years. Keep any leftover tint and a note of your color mix, so if a new chip appears you can match the first repair without guesswork. For a low-cost, weekend-friendly fix that protects your tub and your floor below, an enamel tub repair kit is hard to beat, as long as you respect what it can and cannot do.