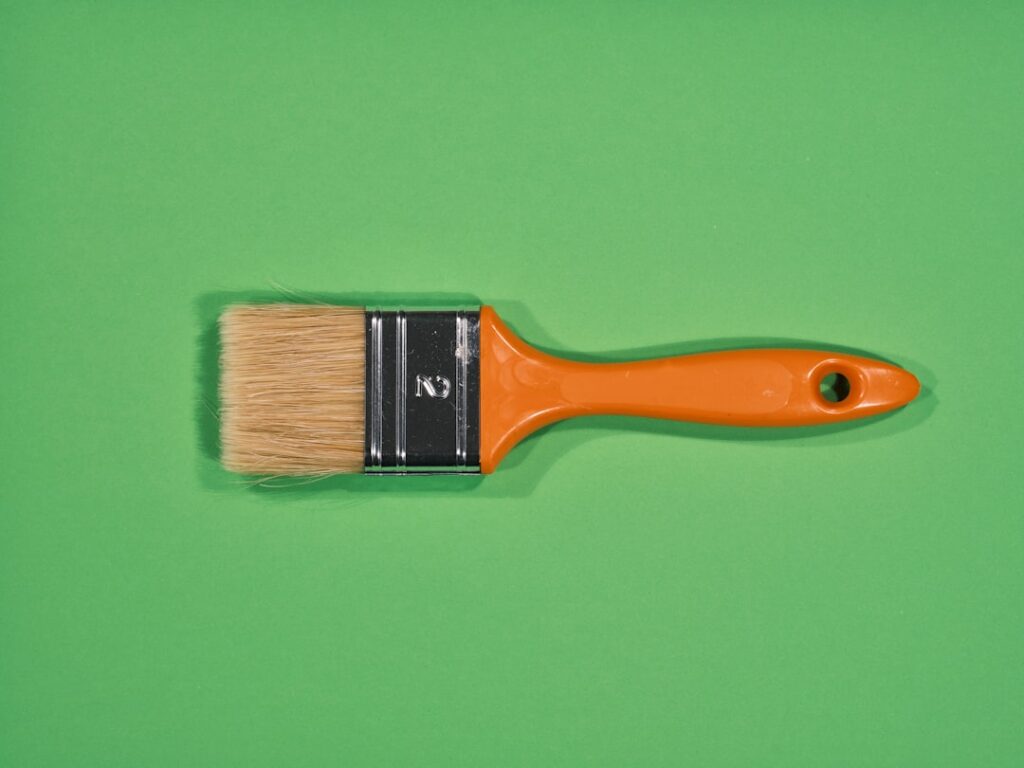
It seems like a minor detail, but the right epoxy brush can make the difference between a glossy, streak-free finish and a project riddled with bristles, bubbles, and drag marks. Epoxy is thick, sticky, and unforgiving of the wrong tools, so the brush you reach for matters more than beginners expect. Whether you are coating a river table, sealing a garage floor, wetting out fiberglass, or spreading a thin seal coat on artwork, choosing and using the correct brush saves you frustration and gives you a professional result. This guide covers the brush types that work with epoxy, how to pick the right one for your job, application technique, and whether cleanup is even worth the effort.
Part of our Epoxy, Concrete & Garage Floors guide — explore the full guide →
- Why the Right Brush Matters With Epoxy
- Types of Brushes That Work With Epoxy
- Disposable vs Reusable: Which Should You Buy
- How to Prepare a Brush Before Using It
- Application Technique for a Flawless Finish
- Cleaning and Reusing an Epoxy Brush
- Matching the Brush to the Project
- Common Mistakes to Avoid
- Brush Size and Shape for Different Jobs
- How Many Brushes Should You Keep on Hand
- Final Thoughts on Choosing an Epoxy Brush
Why the Right Brush Matters With Epoxy
Epoxy resin behaves nothing like paint. It is viscous, it cures into a rock-hard plastic, and it grabs onto everything it touches. A cheap brush with loosely glued bristles will shed hairs directly into your finish, where they cure in place permanently. A brush that is too stiff drags and leaves streaks; one that holds too much product creates drips and uneven film thickness. The correct brush lays down a smooth, controlled coat, releases the resin evenly, and does not contaminate the surface. Getting this choice right is the quiet secret behind clean epoxy work.
Types of Brushes That Work With Epoxy
Several brush styles suit resin work, each with strengths:
- Disposable chip brushes: inexpensive natural-bristle brushes, great for one-time use on seal coats and fiberglass wet-out. Their weakness is bristle shedding, so buy quality and pre-clean them.
- Foam brushes: smooth, bubble-free application for thin coats and small areas; they leave no bristles but can crush under heavy use.
- Synthetic bristle brushes: nylon or polyester bristles resist the solvents in epoxy and shed less, ideal if you want a reusable option.
- Silicone brushes: flexible, non-stick, and fully reusable; cured epoxy peels right off, making them a favorite for repeat projects.
- Bristle-free spreaders and squeegees: for large flat surfaces like floors, these move resin fast without any shedding at all.
Disposable vs Reusable: Which Should You Buy
This is the central decision, and it comes down to how often you work with resin:
- Choose disposable (chip or foam brushes) if you make occasional projects and do not want to deal with solvent cleanup. Bought in bulk, they cost pennies and you simply toss them.
- Choose reusable (synthetic bristle or silicone) if you pour resin regularly. Silicone brushes in particular pay for themselves quickly because cured epoxy flakes off and they last for years.
Many experienced resin artists keep both: a stack of cheap chip brushes for wet-out and messy jobs, and a couple of quality silicone brushes for detail work and finish coats.
How to Prepare a Brush Before Using It
Even a good brush needs a moment of prep. Before dipping into resin:
- De-fuzz chip brushes. Run your fingers or a piece of tape over new natural bristles to pull out loose hairs that would otherwise end up in your finish.
- Check for stray bristles and trim any that stick out unevenly.
- Keep it dry. Water or leftover solvent in the bristles can cloud or contaminate the resin, so make sure the brush is completely dry.
Application Technique for a Flawless Finish
How you handle the epoxy brush is just as important as the brush itself. Work with these habits:
- Load lightly. Dip only the tip and let excess drip back into the cup. Overloading causes runs and puddles.
- Spread thin and even. Epoxy self-levels, so you do not need to build a thick coat. Thin, uniform layers cure clearer and stronger.
- Use long, gentle strokes in one direction to minimize brush marks, then tip off lightly to smooth the surface.
- Work within the pot life. Once mixed, you have a limited window before the resin thickens; spread promptly.
- Pop bubbles after brushing with a heat gun or torch passed quickly over the surface.
- Feather the edges to avoid ridges where one pass meets the next.
Cleaning and Reusing an Epoxy Brush
If you invested in a reusable brush, proper cleanup keeps it alive for many projects:
- Wipe off excess resin immediately with a paper towel while it is still wet.
- Rinse in a solvent such as denatured alcohol or acetone to break down uncured epoxy, working the bristles until clean.
- Wash with soap and warm water, reshape the bristles, and hang to dry.
- For silicone brushes, simply let any missed resin cure fully, then peel it off, no solvent needed.
Never let epoxy cure inside natural bristles; once hardened, the brush is ruined. That is exactly why silicone and disposables are so popular, they sidestep the messy solvent routine entirely.
Matching the Brush to the Project
A quick reference for common jobs:
- Seal coats on wood and art: foam or quality chip brush for a thin, even layer.
- Fiberglass wet-out: chip brush or bristle brush to work resin into the cloth.
- River tables and deep pours: silicone brush for edges plus a spreader for the flood coat.
- Garage and floor coatings: a squeegee or roller for the field, brush for cutting in edges.
- Detailed craft work: small silicone or synthetic brush for precision.
Common Mistakes to Avoid
- Buying the cheapest chip brush without de-fuzzing it, then finding bristles cured into the finish.
- Overloading the brush, which causes runs and uneven thickness.
- Reusing a brush with dried resin in it, which drags flakes across fresh work.
- Skipping the bubble pass, leaving a pockmarked surface.
- Working too slowly and fighting resin that has already begun to gel.
Brush Size and Shape for Different Jobs
Beyond bristle material, the size and shape of the brush matter more than beginners expect. A brush that is too large for a small project wastes resin and makes control difficult, while a tiny brush on a big surface leaves you fighting the pot life as the resin gels. General guidance:
- Small (1 inch or less): detail work, edges, corners, jewelry, and touch-ups where precision matters.
- Medium (1.5 to 2 inches): the workhorse size for coasters, small tabletops, and seal coats.
- Large (3 inches or wider) or a spreader: big flat surfaces, floors, and flood coats where speed keeps you ahead of the cure.
- Angled brushes: useful for getting resin cleanly into corners and along raised edges.
Keeping a small range of sizes on hand means you always have the right tool for the surface area, which translates directly into a smoother, more even finish.
How Many Brushes Should You Keep on Hand
For occasional projects, a small stack of disposable chip and foam brushes plus one reusable silicone brush covers almost everything. Frequent resin workers do well to build a modest kit: a couple of silicone brushes in different sizes for finish work, a spreader for large pours, and a bulk pack of chip brushes for messy wet-out and jobs where cleanup is not worth the trouble. Having the right brush ready before you mix means you never have to scramble mid-pour while the resin is ticking toward its pot life, and that preparedness is half the battle in getting clean results.
Final Thoughts on Choosing an Epoxy Brush
The humble epoxy brush deserves more thought than most beginners give it, because it directly shapes the quality of your finish. Match the brush to the job: disposable chip and foam brushes for occasional or messy work, reusable synthetic or silicone brushes if you pour resin often. Prep natural bristles to stop shedding, load lightly, spread thin, and pop your bubbles, and you will get the glossy, glass-clear result that makes epoxy projects so satisfying. Keep a few types on hand, treat cleanup as part of the process, and the right brush will quietly become one of the most reliable tools in your resin kit.