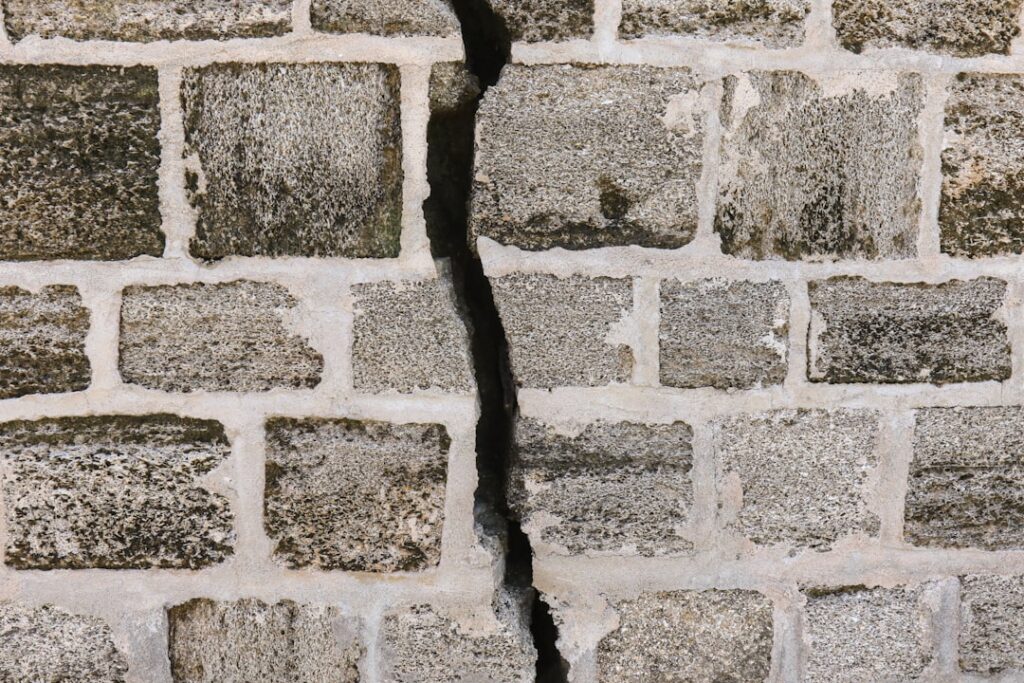
A crack in your garage floor or basement wall isn’t just ugly, it’s a doorway for water, and the patching product you choose decides whether it’s gone for good or back next season. Epoxy crack filler is the heavy-duty option that doesn’t just fill a concrete crack but chemically bonds the two sides back together, restoring much of the slab’s original strength. For structural cracks in floors, walls, and foundations, epoxy outperforms quick caulk-style fillers. This guide explains when to reach for epoxy, how to prep the crack, and how to apply it so the repair lasts.
Part of our Epoxy, Concrete & Garage Floors guide — explore the full guide →
- What Epoxy Crack Filler Does Differently
- Epoxy vs. Polyurethane: Choosing Right
- Reading the Crack Before You Fill
- Surface Preparation
- Application Methods
- Curing and Finishing
- Mistakes to Avoid
- Repairing Garage and Basement Floor Cracks
- When to Call a Professional
- Maintaining the Repair Over Time
- Final Thoughts
What Epoxy Crack Filler Does Differently
Most crack fillers simply occupy the gap. Epoxy goes further. It’s a two-part resin-and-hardener system that penetrates deep into the crack, then cures into a rigid material that’s often stronger than the surrounding concrete. Because it actually bonds the crack faces together, a properly injected epoxy repair can restore structural integrity, not just hide the line.
That rigidity is both its strength and its limitation. Epoxy creates a permanent, load-bearing bond, which is exactly what you want for a stable crack but not what you want for a crack that’s still moving.
Epoxy vs. Polyurethane: Choosing Right
This is the most important decision, and getting it wrong means a failed repair. The two products serve different cracks:
- Epoxy: Rigid and structural. Best for stable, non-moving cracks where you want to restore strength, like dormant foundation cracks and garage floor cracks.
- Polyurethane: Flexible and water-reactive. Best for active cracks that move with temperature and moisture, or where stopping water flow is the priority over structural bonding.
The rule of thumb: if the crack needs strength and isn’t moving, use epoxy. If the crack flexes or you’re mainly chasing a leak, use polyurethane. Forcing rigid epoxy into a moving crack just cracks the repair right alongside the concrete.
Reading the Crack Before You Fill
Diagnose before you buy. Hairline surface cracks are usually cosmetic and easy. Wider cracks, cracks that have shifted vertically (one side higher than the other), or cracks that keep growing can signal structural or foundation problems that need a professional engineer’s eyes. Horizontal cracks in a foundation wall in particular can indicate pressure issues and shouldn’t simply be filled and forgotten. Monitor a suspect crack over a few weeks, mark the ends with a pencil and date, to see whether it’s stable or active before deciding on a product.
Surface Preparation
Epoxy’s bond is only as good as the surface you apply it to. Proper prep is non-negotiable:
- Clean the crack thoroughly. Remove loose concrete, dust, and debris with a wire brush and a vacuum or compressed air.
- Make sure the crack is dry. Standard epoxy doesn’t bond well to wet concrete; let it dry or use a moisture-tolerant formula for damp conditions.
- For wider cracks, slightly widen and deepen the channel with a chisel or grinder to give the filler something to grab, a technique called chasing the crack.
- Remove any old filler, paint, or sealer from the crack faces so epoxy bonds to bare concrete.
Skipping the cleaning step is the most common reason epoxy repairs fail. The resin needs clean, sound concrete to grip.
Application Methods
How you apply epoxy depends on the crack. For surface cracks in floors, a self-leveling epoxy or a trowel-applied paste works well, you mix the two parts, pour or spread it into the crack, and smooth it flush. For deeper structural cracks in walls, injection is the method: surface ports are set along the crack, the face is sealed, and low-pressure epoxy is injected through the ports to fill the crack to its full depth. Injection kits are available for homeowners, but deep structural injection is often best left to professionals who can confirm the fill reaches all the way through.
Curing and Finishing
Respect the cure time. Epoxy typically needs several hours to handle and up to 24 to 72 hours to reach full strength, depending on the formula and temperature. Warmer conditions speed curing; cold slows it dramatically, and most epoxies have a minimum application temperature, often around 40°F to 50°F. Don’t drive on a repaired garage floor or stress a wall repair until full cure. Once cured, epoxy can be sanded flush and, on floors, coated or painted over for a seamless finish.
Mistakes to Avoid
Beyond using epoxy on a moving crack, watch for a few errors. Mixing the two parts incorrectly, off-ratio or under-stirred, leaves you with epoxy that never fully cures. Applying to a damp or dirty crack ruins the bond. Working past the product’s pot life, the window before mixed epoxy starts to harden in the container, wastes material and leaves a weak repair. And ignoring a structural warning sign, treating a growing foundation crack as a simple cosmetic fill, can mask a serious problem. When in doubt about a foundation crack, get a professional assessment first.
Repairing Garage and Basement Floor Cracks
Concrete floor cracks are one of the most common epoxy jobs, and the approach is straightforward for stable cracks. For a typical garage floor crack, clean it out thoroughly, removing all loose debris and dust, then apply a self-leveling or paste-grade epoxy that flows into the crack and cures flush with the surface. Because epoxy bonds the crack faces and cures harder than concrete, it stands up to vehicle traffic once fully cured. For very fine hairline cracks, a thin self-leveling epoxy wicks in nicely; for wider cracks, a thicker paste or a sand-filled epoxy mix fills the volume without sinking. Just confirm the slab crack isn’t actively moving with seasonal shifts before committing rigid epoxy.
When to Call a Professional
Some cracks are beyond a DIY epoxy patch and signal something a homeowner shouldn’t tackle alone. Wide foundation cracks, horizontal cracks in a basement wall, cracks accompanied by bowing or leaning walls, and cracks that keep growing despite repair can all point to structural or soil-pressure problems. In these cases, a structural engineer or foundation specialist should assess the situation before any filler goes in, because sealing a symptom while ignoring the cause can hide a serious and worsening issue. Likewise, deep wall-injection repairs where you can’t confirm the epoxy reached full depth are often better entrusted to a pro with proper injection equipment.
Maintaining the Repair Over Time
A well-done epoxy repair is permanent for a stable crack, but ongoing attention protects your work. Keep an eye on the repaired area over the following months for any new cracking nearby, which could indicate continued movement or a fresh source of stress. On garage and basement floors, controlling moisture, good drainage, sealed slabs, and managing humidity, reduces the conditions that lead to new cracks. If you repaired a crack caused by water intrusion, fix the drainage or leak that fed it, or new cracks and moisture problems will simply return alongside your patched one. The repair is only as durable as your handling of the conditions around it.
Final Thoughts
Epoxy crack filler is the right tool when a concrete crack is stable and you want to restore real structural strength, garage floors, dormant foundation cracks, and similar repairs. Match it to the job by ruling out moving cracks, where flexible polyurethane belongs, and never skip the cleaning and drying prep that makes the bond hold. Read the crack honestly, get a pro’s opinion on anything that’s growing or shifting, and respect the full cure time. Done right, an epoxy repair seals the crack permanently and puts the slab back to work.