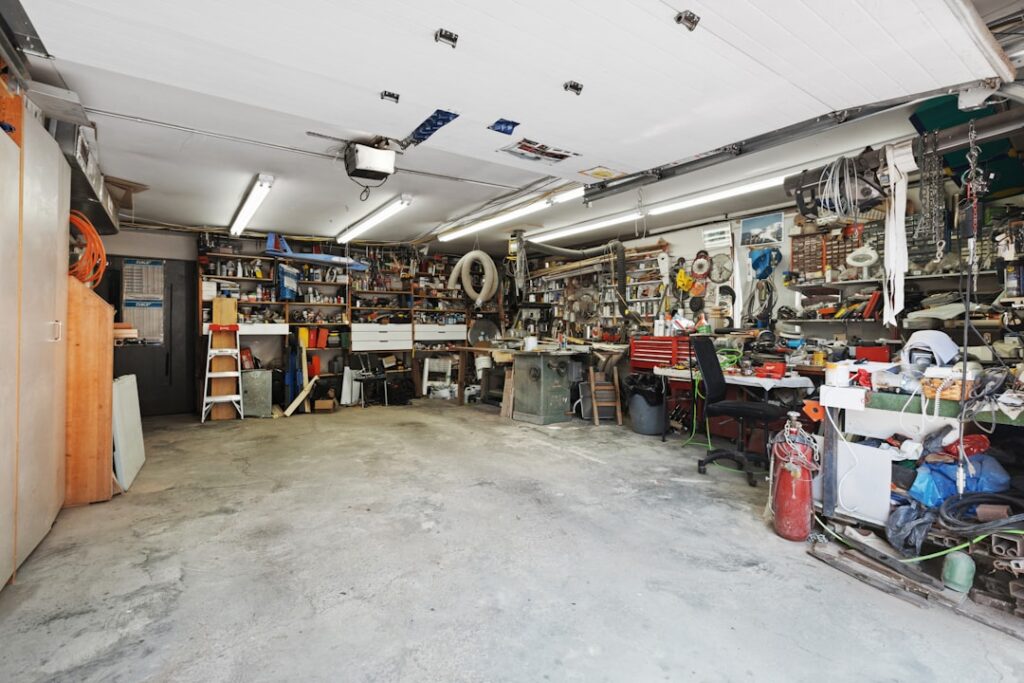
Epoxy flake flooring transforms dull, stained concrete into a stunning, durable surface that looks like natural granite or terrazzo. The decorative vinyl chips broadcast into wet epoxy coating create a multi-colored, textured finish that hides imperfections, provides slip resistance, and delivers showroom-quality aesthetics.
- What Is Epoxy Flake Flooring?
- How Epoxy Flake Flooring Works
- Installation Process
- Day 1: Surface Preparation
- Day 1: Primer Application
- Day 2: Base Coat and Flake Broadcast
- Day 3: Clear Topcoat
- Color Options and Design
- Cost of Epoxy Flake Flooring
- Pros and Cons of Epoxy Flake Flooring
- Maintenance and Care
- Epoxy Flake vs Other Garage Floor Options
- Final Thoughts
This guide covers everything about epoxy flake flooring in 2026 — how it is installed, what it costs, the color options available, and how to maintain the finish for lasting beauty and performance.
What Is Epoxy Flake Flooring?
Epoxy flake flooring is a multi-layer coating system applied to concrete floors. The system consists of a primer, a pigmented epoxy base coat, decorative vinyl flakes (also called chips or flecks) broadcast into the wet base coat, and one or more clear topcoats that seal and protect the finished surface.
The vinyl flakes come in hundreds of color combinations and sizes, from small quarter-inch chips to larger one-inch pieces. When broadcast densely, they create a fully covered, multi-dimensional surface that resembles natural stone. Partial coverage creates a speckled appearance that shows the base coat color between the flakes.
How Epoxy Flake Flooring Works
The Layer System
A complete epoxy flake system consists of four to five layers, each serving a specific function:
- Primer: Penetrates concrete pores and creates a chemical bond to the substrate
- Base coat: Provides the primary color and the adhesive surface for flake broadcast
- Vinyl flakes: Decorative chips broadcast into the wet base coat for color, texture, and pattern
- Scrape and vacuum: Excess flakes removed and the surface leveled before topcoat
- Clear topcoat: One or two layers of clear epoxy or polyurethane that seal, protect, and add gloss
Full Broadcast vs Partial Broadcast
Full broadcast (also called full-chip or full-flake) means flakes are tossed into the wet epoxy until the surface is completely covered with no base coat visible. This creates the dense, granite-like appearance most people associate with professional garage floors.
Partial broadcast sprinkles flakes more sparingly, leaving portions of the base coat visible. This creates a speckled effect that is simpler to achieve but less dramatic. Full broadcast is the professional standard for the best appearance and performance.
Installation Process
Day 1: Surface Preparation
Surface prep accounts for 80 percent of the installation’s success or failure. The concrete floor must be mechanically profiled using diamond grinding, shot blasting, or acid etching to create a rough surface texture that the primer can grip.
All cracks, divots, and expansion joints are repaired with appropriate fillers. Oil stains, paint, and previous coatings are completely removed. The concrete must be dry — moisture testing confirms levels are within acceptable limits for the coating system.
Day 1: Primer Application
After preparation, a penetrating epoxy or polyurea primer is rolled or sprayed onto the concrete. The primer soaks into the concrete pores and begins the chemical bonding process. It typically needs 4 to 12 hours to cure before the next coat.
Day 2: Base Coat and Flake Broadcast
The pigmented epoxy base coat is mixed and rolled onto the primed surface in manageable sections. While the base coat is still wet, the installer broadcasts vinyl flakes by tossing them upward and allowing them to fall randomly into the wet surface.
For full broadcast, flakes are applied heavily and repeatedly until the entire surface is covered. The technique requires even distribution to avoid bare spots and clumps. Professional installers develop a rhythm of roll-and-broadcast that creates consistent coverage.
After the base coat and flakes cure (typically overnight), the excess loose flakes are scraped with a floor scraper and vacuumed clean. This levels the surface and removes any flakes that did not bond to the epoxy.
Day 3: Clear Topcoat
One or two clear topcoats are applied over the scraped flake surface. The topcoat can be epoxy, polyurethane, or polyaspartic, each offering different properties. Polyurethane and polyaspartic topcoats provide superior UV resistance and abrasion resistance compared to clear epoxy.
Anti-slip additives can be mixed into the topcoat for wet-area safety. The topcoat cures in 12 to 24 hours for foot traffic and 48 to 72 hours for vehicle traffic.
Color Options and Design
Popular Color Blends
Epoxy flake color blends are available from multiple manufacturers. Popular choices include:
- Saddle tan: Warm browns and tans for a natural stone appearance
- Domino: Black and white blend for a classic look
- Outback: Earth tones blending browns, reds, and tans
- Nightfall: Dark grays and blacks for a sleek, modern aesthetic
- Glacier: Cool grays, whites, and blues for a clean, contemporary feel
- Mocha: Warm chocolate browns with cream accents
Custom Color Mixing
Many suppliers offer custom flake blends where you choose the individual flake colors and their proportions. This allows you to match your garage floor to your home’s color scheme, a sports team, or any other design preference.
Flake Size
Standard flake sizes include 1/4 inch, 1/2 inch, and 1 inch. Smaller flakes create a more refined, granite-like appearance. Larger flakes produce a bolder, terrazzo-like look. Some designers mix sizes for added visual depth and texture.
Cost of Epoxy Flake Flooring
Professional Installation
- Basic system (single topcoat): $4–$8 per square foot
- Standard system (double topcoat): $6–$10 per square foot
- Premium system (polyaspartic topcoat): $8–$14 per square foot
A two-car garage of 400 to 500 square feet typically costs $2,000 to $5,000 for a professional full-broadcast epoxy flake system. Premium polyaspartic topcoat systems for the same area run $3,500 to $7,000.
DIY Installation
DIY epoxy flake kits range from $1.50 to $4.00 per square foot for materials. A two-car garage kit costs $600 to $2,000. DIY is feasible for epoxy flake systems because epoxy’s slower cure time gives you more working time compared to polyaspartic. However, surface preparation — the most critical step — requires equipment rental (diamond grinder or shot blaster) and significant physical labor.
Pros and Cons of Epoxy Flake Flooring
Advantages
- Dramatic visual transformation of plain concrete
- Hides concrete imperfections, stains, and minor cracks
- Slip-resistant texture from the flake surface
- Chemical resistant against oil, gasoline, and household chemicals
- Easy to clean — non-porous surface wipes clean
- Extremely durable with proper installation and topcoat
- Hundreds of color combinations available
Disadvantages
- Requires extensive concrete surface preparation
- Multi-day installation process (3 to 5 days typical)
- Standard epoxy topcoats yellow in UV light
- Hot tire pickup possible with standard epoxy topcoats
- Professional installation is recommended for best results
- Cannot be applied over moisture-problem concrete
Maintenance and Care
Epoxy flake floors require minimal maintenance. Sweep or dust mop regularly to remove abrasive particles. Mop with a mild detergent solution for routine cleaning. The non-porous surface resists staining, so most spills wipe up easily.
For garage floors, clean up oil and chemical spills promptly even though the coating resists them. Prolonged exposure to harsh chemicals can eventually degrade the topcoat. Place protective mats under vehicles if hot tire pickup is a concern with standard epoxy topcoats.
Expect to apply a maintenance topcoat every 7 to 10 years for residential garages or every 3 to 5 years for high-traffic commercial floors. A fresh topcoat restores the gloss and extends the system’s life significantly.
Epoxy Flake vs Other Garage Floor Options
Epoxy flake competes with several other garage flooring options. Rubber flooring rolls provide impact absorption but lack the premium appearance of epoxy flake. Interlocking garage tiles are easier to install but show seams and are not seamless. Polished concrete offers a modern minimalist look but provides no color customization or imperfection hiding.
Vinyl flooring tiles designed for garages are removable and replaceable but do not match the durability or seamless beauty of a properly applied epoxy flake system. For pure performance and aesthetics, epoxy flake remains the most popular garage floor coating system.
Final Thoughts
Epoxy flake flooring delivers a stunning combination of beauty, durability, and practicality for garage floors, basements, and commercial spaces. The multi-layer system creates a surface that looks like natural stone while resisting chemicals, impacts, and daily wear for years.
Invest in thorough surface preparation — whether you hire a professional or DIY — because the coating is only as strong as its bond to the concrete. Choose your flake colors carefully, opt for a UV-stable topcoat if sunlight reaches your floor, and maintain the surface with simple sweeping and occasional mopping. An epoxy flake floor is an investment that transforms your space and delivers value for over a decade.
Prefer to explore on your own?
See how new flooring looks in your actual room in seconds — free, no signup.
Try the free Floor Studio →