Homeowners who want the look of pressed tin, tile, or beadboard without the mess of mortar and grout keep circling back to one product line, and a fasade backsplash is often the answer they land on. These lightweight thermoplastic panels snap or glue onto the wall in an afternoon, delivering dimensional texture and metallic finishes that would take a tiler days to replicate. For renters, weekend warriors, and anyone remodeling on a tight timeline, they occupy a genuinely useful middle ground between peel-and-stick vinyl and full ceramic tile.
Part of our Kitchen Remodeling guide — explore the full guide →
Understanding what these panels are, where they shine, and where they fall short helps you decide whether they belong in your kitchen or bath before you commit to the aesthetic.
What Fasade Panels Actually Are
Fasade is a brand of decorative wall panels molded from PVC or a similar rigid thermoplastic, then finished to mimic materials like hammered copper, brushed nickel, oil-rubbed bronze, and classic pressed-tin patterns. Each panel is thin, typically around 0.013 to 0.025 inches of material formed into a deep relief pattern, and remarkably light, so a single person can handle a full sheet without help.
The panels come in large formats, commonly 18 by 24 inches for backsplash sizes and larger 4-by-8-foot wall panels, which means far fewer pieces to align than individual tiles. That format is the core of their speed advantage and the reason they appeal so strongly to DIYers.
Styles and Finishes Available
The catalog leans heavily into pattern and metallic sheen, giving you a range of looks from a single product family:
- Pressed-tin patterns such as fleur-de-lis, quilted, and Art Deco motifs for vintage character.
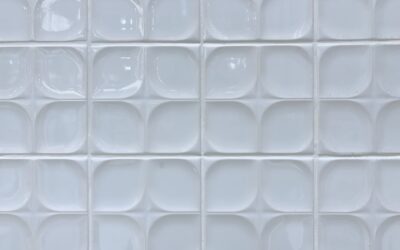
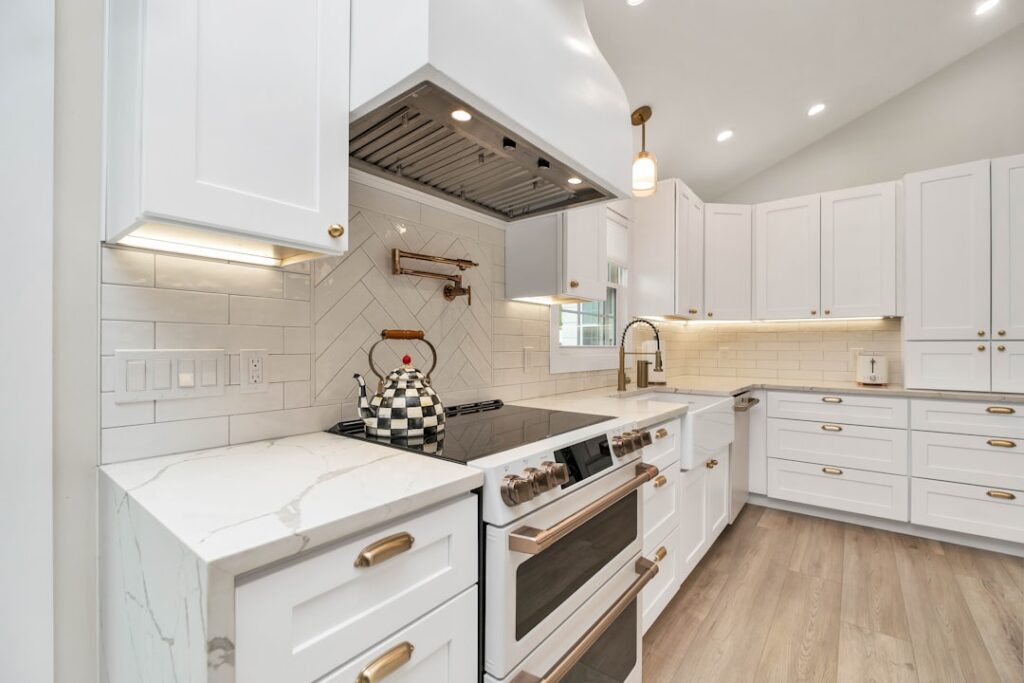
- Subway and tile mimics that read as ceramic from a few feet away.
- Metallic finishes including brushed aluminum, crosshatch silver, bronze, copper, and matte white.
- Beadboard and plank profiles for cottage and farmhouse styling.
Because the finish is molded and coated rather than painted on flat, the panels catch light the way real embossed metal does, which is what sells the illusion at normal viewing distance.
Advantages Over Traditional Tile
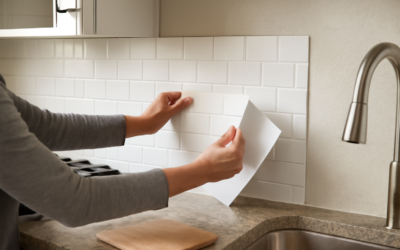
The reasons people choose these panels come down to speed, cost, and reversibility. Installation takes a fraction of the time of tile because there is no thinset curing, no grouting, and no wet saw. A full kitchen backsplash can go up in two to four hours rather than the two to three days a tile job spans once you count cure times.
They are also forgiving. Panels cut with tin snips, a utility knife, or standard scissors, so intricate cuts around outlets are far less intimidating than scoring ceramic. For renters, panels installed with adhesive can sometimes be removed with minimal wall damage, and they weigh little enough to mount over existing surfaces including old tile in many cases.
Where the Limits Are
No product is perfect, and honesty about the trade-offs prevents disappointment. Thermoplastic panels do not have the depth, coolness, or unmistakable authenticity of real stone or fired ceramic; a discerning eye will spot the difference up close. They can also be susceptible to heat, so panels installed directly behind a gas range should be kept away from open flame, and manufacturer clearance guidance around cooktops must be followed.
Durability is good for a wall product but not equal to tile. Sharp impacts can dent or crack a panel, and heavily scratched finishes cannot be refinished the way a chip in grout can be regrouted. For most backsplash duty, though, these are minor concerns.
Installation Basics
A successful panel installation follows a predictable sequence:
- Measure the area and buy roughly 10 percent extra to cover cuts and mistakes.
- Clean and dry the wall; panels bond best to a smooth, grease-free surface.
- Dry-lay the panels to plan seams and outlet cutouts before committing adhesive.
- Cut around outlets and edges with snips or a utility knife, then remove outlet covers and loosen receptacles so panel edges tuck behind them.
- Apply a construction-grade panel adhesive in a serpentine bead, press the panel firmly, and use trim pieces to finish exposed edges.
Matching J-trim, inside and outside corner pieces, and edge molding from the same product line give the job a factory-finished look and hide the raw cut edges that would otherwise reveal the panel’s thickness.
Cost Expectations
Panels typically run about $20 to $40 per 18-by-24-inch sheet, which works out to roughly $8 to $15 per square foot in materials, plus adhesive and trim. For a standard 30-square-foot kitchen backsplash, expect to spend $250 to $450 on materials for a DIY project. That is competitive with mid-range ceramic tile before you even factor in the labor you save by skipping a professional installer.
Because most homeowners install these themselves, the all-in cost usually stays well below a professionally tiled backsplash, which can reach $1,000 or more once labor is included. The value proposition is strongest for anyone comfortable with basic hand tools.
Care and Maintenance
Cleaning could hardly be simpler. Wipe the panels with a soft cloth and mild soapy water; the nonporous surface resists grease and does not have grout lines to scrub or reseal. Avoid abrasive scrubbers and harsh solvents, which can dull or scratch the metallic finish over time.
With gentle care, a fasade backsplash holds its appearance for many years, and if you ever tire of the look, the panels come down far more easily than chiseling out set tile. For homeowners who value fast, affordable, and reversible over maximum authenticity, these panels remain one of the smartest shortcuts to a finished-looking kitchen wall.
Best Rooms and Situations for Panels
These panels shine in specific scenarios. Rental kitchens top the list, because a tenant can add real dimensional style with landlord-friendly adhesive and remove it at move-out. Laundry rooms, mudrooms, basement wet bars, and RV or camper interiors are natural fits where the budget and speed matter more than showroom authenticity. Homeowners staging a house for sale also lean on panels to freshen a dated wall quickly without a full tile budget.
They are less ideal directly behind a professional-grade gas range where sustained high heat and flame proximity become a concern, and in high-end kitchens where buyers expect genuine stone or ceramic. Knowing where the product plays to its strengths keeps expectations realistic.
Comparing Panels to Peel-and-Stick and Tile
It helps to place these panels on the spectrum of backsplash options. Peel-and-stick vinyl is cheaper and even faster but looks flatter and less convincing up close, with no real dimension. Thermoplastic panels sit a clear step above, offering genuine relief texture and metallic sheen at a modest premium. Real ceramic or stone tile occupies the top tier for authenticity and durability, at several times the cost and days of labor.
For a homeowner deciding among the three, the choice usually comes down to how long the surface must last and how close people will scrutinize it. A short-term refresh or a low-traffic secondary space favors panels; a forever kitchen that anchors a home’s value still argues for tile. Weigh the timeline, the budget, and the resale expectations honestly, and the right tier becomes obvious.