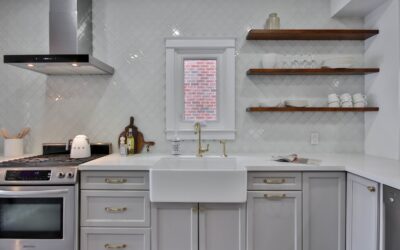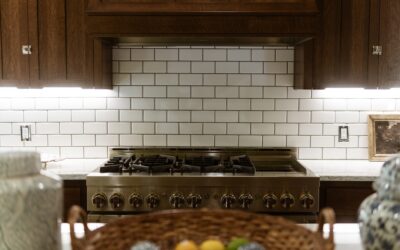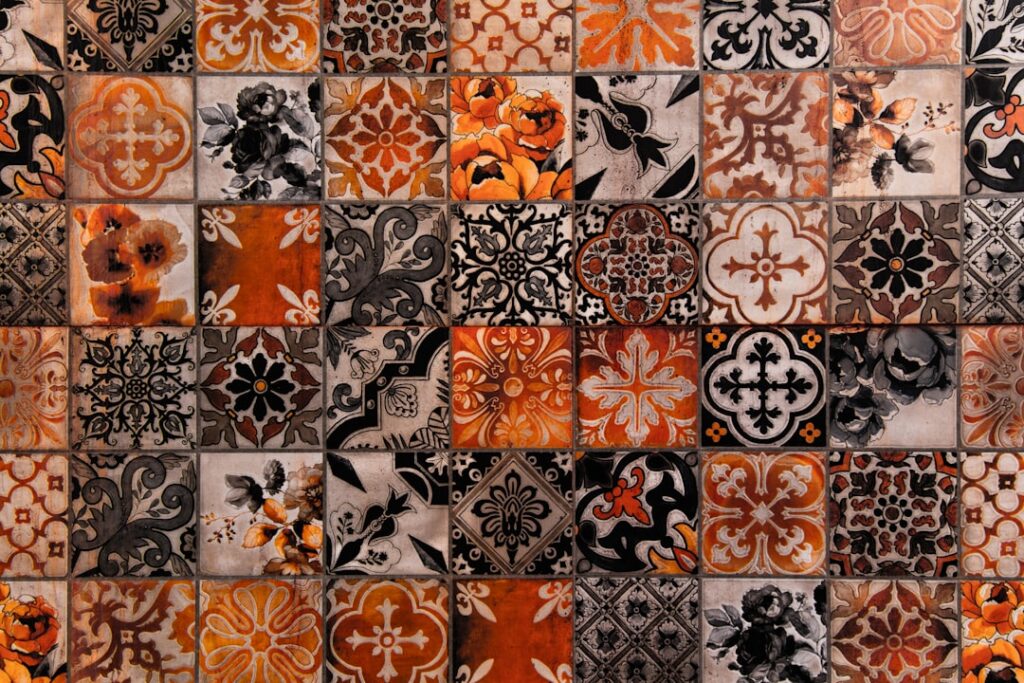
You can transform the wall behind your stove this weekend without owning a single trowel. An adhesive backsplash, also called peel-and-stick tile, skips the thinset, grout, and wet saw entirely, sticking directly to your wall with a built-in adhesive backing. Most products run $5 to $15 per square foot and install in an afternoon. The look ranges from convincing faux subway tile to real metal and glass mosaics, and for renters or anyone dreading a multi-day tile job, it’s the easiest backsplash upgrade going.
What an Adhesive Backsplash Actually Is
These are tile sheets or panels with a pressure-sensitive adhesive on the back, protected by a peel-away film. You measure, cut to fit, peel the backing, and press the sheet onto a clean wall. The grout lines are usually printed or molded right into the material, so a finished wall reads as tile from a few feet away.
The category covers a wide quality range. Bargain vinyl decals look flat and obviously fake up close. Better products use gel-coated 3D surfaces, real aluminum, or glass mosaics on a flexible mesh that genuinely passes for traditional tile. You get what you pay for here.
Types of Peel-and-Stick Backsplash
Knowing the material helps you set expectations for both looks and durability.
- Vinyl/PVC sheets: the cheapest at $5 to $8 per sq ft, lightweight and easy to cut with scissors, but the most prone to looking flat.
- Gel-coat 3D tiles: a raised epoxy surface over printed designs, very convincing and heat-resistant to a point, around $7 to $12 per sq ft.
- Metal (aluminum) mosaics: real brushed or polished metal tiles, durable and modern, $10 to $15 per sq ft.
- Glass mosaic sheets: genuine glass tiles on adhesive mesh, the closest to real tile in look and feel, at the top of the price range.
What It Costs and How It Compares
For a standard kitchen backsplash of about 30 square feet, expect to spend $150 to $450 on materials and almost nothing on tools. Compare that to traditional tile, where materials might be similar but you add thinset, grout, backer prep, and either a weekend of your own labor or $400 to $900 in installation.
The trade-off is lifespan and resale value. Real tile lasts decades and adds to a home’s value. Adhesive backsplash is best thought of as a 5 to 10 year solution, a fast refresh, a rental-friendly fix, or a budget update between bigger remodels. For the cost and effort, that’s a fair deal for a lot of homeowners.
Surface Prep Makes or Breaks It
The adhesive is only as good as the wall behind it, and prep is where most failures start. Skip these steps and you’ll watch corners peel within weeks.
- Clean the wall thoroughly with a degreaser. Kitchen walls hold a thin film of cooking grease that wrecks adhesion.
- Wipe with rubbing alcohol and let it dry fully.
- Fill and sand any nail holes or dents so the tile lies flat.
- Make sure the surface is smooth and non-porous. Glossy paint, existing tile, and primed drywall work well. Raw, textured, or flat-matte walls hold poorly.
If your walls have a heavy texture like knockdown or orange peel, the tile won’t bond evenly. Skim-coat them smooth first or reconsider whether peel-and-stick is right for that wall.
How to Install an Adhesive Backsplash
The process is forgiving, but a little planning keeps your lines straight and your outlets clean.
- Dry-fit your sheets across the wall to plan the layout and minimize awkward cuts at the ends.
- Snap a level line as a guide for your first row, don’t trust the countertop to be level.
- Turn off power and remove outlet and switch cover plates. Cut openings with a sharp utility knife and a straightedge.
- Start at a bottom corner. Peel a few inches of backing, align the sheet, and press as you slowly remove the rest of the film.
- Smooth each sheet from the center outward with a plastic squeegee or your hand to push out air bubbles.
- Overlap or butt seams per the product’s instructions, and trim the top edge to meet your cabinets cleanly.
Where It Works and Where It Fails
Adhesive backsplash shines on dry, vertical kitchen and bathroom walls away from direct, constant heat. It’s perfect behind a counter, around a coffee station, or above a bathroom vanity. Most products handle normal kitchen humidity and the occasional splash without trouble.
Where it struggles: directly behind a gas cooktop where high heat can soften adhesive over time, inside a shower or tub surround where standing water gets behind the seams, and on any wall that stays damp. For those zones, traditional waterproof tile is still the right call. Keep the cooktop area at least a few inches clear of the burners, or choose a heat-rated metal product there.
Maintenance and Removal
Cleaning is simple, just wipe with a damp cloth and mild dish soap. Skip abrasive scrubbers and harsh solvents, which can dull or lift the surface. Grease near the stove wipes off easily before it bakes on, so don’t let it sit.
Removal is the renter’s favorite feature. Warm the tiles with a hair dryer to soften the adhesive, then peel slowly from a corner. Go gently and you’ll lift most of it cleanly, with any leftover residue coming off with an adhesive remover and a soft cloth. Test a hidden corner first, since aggressive removal can pull paint off drywall. Done carefully, you can refresh a kitchen and return it to original condition with no permanent marks, which is exactly why adhesive backsplash keeps gaining fans.
Design Tips for a Convincing Result
The gap between a cheap-looking peel-and-stick job and one that fools visitors usually comes down to small choices. Pick a 3D or gel-coat product over a flat printed decal whenever your budget allows, because the raised grout lines and dimension are what sell the illusion of real tile. Up close, a flat photo of tile never quite lands.
Plan your layout so full tiles land where the eye goes first, the center of the wall and the area behind the range, and push your cut pieces to the ends and corners where they’re less noticeable. Keep your rows dead level, since a backsplash that drifts uphill against your upper cabinets gives the whole project away. Finally, finish the exposed edges cleanly with a matching trim piece or a thin bead of color-matched caulk, which hides the cut edge and keeps moisture from creeping behind the sheets. Those few details are what separate a weekend hack from a wall that genuinely looks tiled.