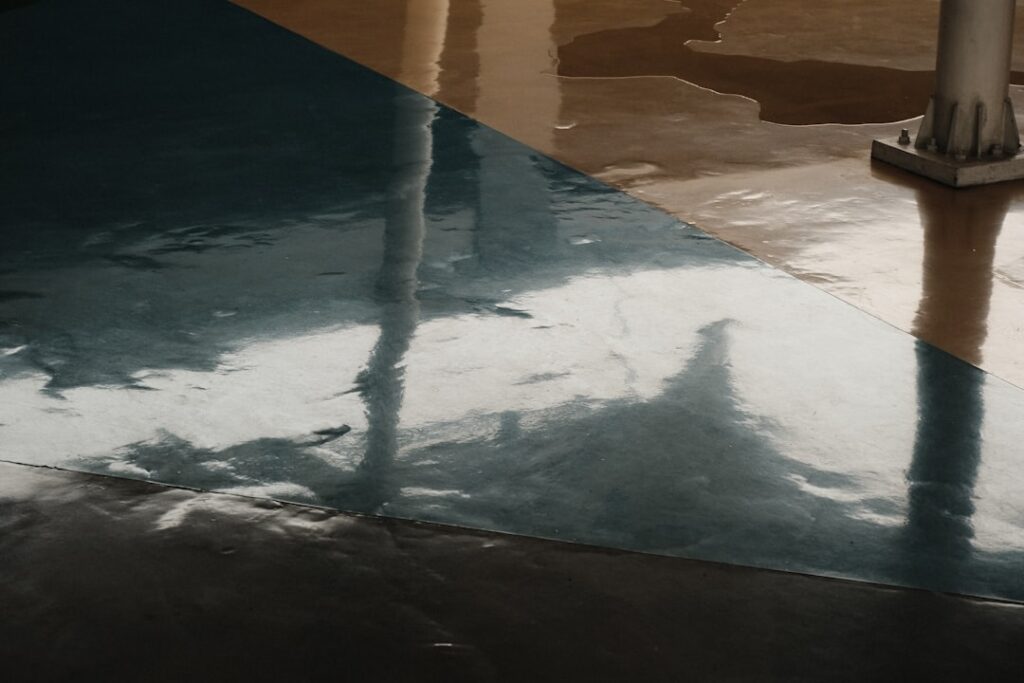
A bare concrete floor stains, dusts, and shows every oil drip, but a proper epoxy coating turns it into a glossy, wipe-clean surface that shrugs off chemicals and tires. Floor epoxy paint is the go-to finish for garages, basements, workshops, and utility rooms, and while the results look professional, the project is well within reach of a determined DIYer. The catch, and it’s a big one, is that success lives or dies by surface preparation.
Part of our Epoxy, Concrete & Garage Floors guide — explore the full guide →
In this guide I’ll explain the real differences between epoxy products sold as “paint,” how to prep concrete so the coating actually bonds, the step-by-step application process, and what the whole job should cost. Skip the prep and even the best product will peel within a year, so read the prep section twice.
What Epoxy Floor Paint Really Is
True epoxy is a two-part system: a resin and a hardener that you mix just before application. When combined, they chemically cure into a hard, thick plastic-like film bonded to the concrete. This is fundamentally different from “epoxy paint,” a latex or acrylic paint with a small amount of epoxy added for durability. The one-part paints are easier to apply but far less tough.
For a garage floor that sees car tires, dropped tools, and the occasional gasoline spill, invest in a genuine two-part epoxy kit. The single-part epoxy-fortified paints are fine for low-traffic basement floors or a quick refresh, but they won’t survive hot-tire pickup, where warm tires grab and lift a thin coating.
Types of Epoxy Coatings
Not all two-part epoxies are equal. Understanding the categories helps you match the product to the job:
- Water-based epoxy: Thinner build, easier cleanup, lower fumes. Good for basements and light-duty garages. Typically needs two coats.
- Solvent-based epoxy: Higher solids, thicker film, strong fumes. Excellent adhesion but requires good ventilation and a respirator.
- 100% solids epoxy: The thickest, toughest, professional-grade option. No solvent to evaporate, so it builds a heavy film in one coat but sets fast and is less forgiving to apply.
Most homeowner kits are water-based and include decorative color flakes plus a clear topcoat. For a hardworking garage, look for a kit advertising high solids content, since that number correlates directly with how thick and durable the cured film will be.
The Critical Step: Surface Preparation
I can’t overstate this. Roughly 90 percent of failed epoxy jobs trace back to poor prep. Concrete must be clean, dry, and profiled so the epoxy can grip.
Clean and Degrease
Sweep, then scrub the floor with a concrete degreaser to lift oil and grease. Old stains may need repeated treatment. Any oil left behind creates a spot where the epoxy simply won’t stick.
Etch or Grind
Smooth, sealed concrete won’t bond with epoxy. You need to open the surface. Chemical etching with a muriatic acid or citric acid solution works for most DIY jobs, leaving a texture like fine sandpaper. For the best results, rent a floor grinder with a diamond disc, which mechanically profiles the surface and removes old coatings in one pass.
Test for Moisture
Concrete on grade can wick moisture from below, and that vapor pressure will blister an epoxy coating. Before you coat, tape a 2-by-2-foot square of plastic sheeting to the floor overnight. If condensation forms underneath, you have a moisture problem that needs a vapor barrier primer or a different flooring approach.
Application, Step by Step
Once the floor is prepped and fully dry, application moves quickly, so have everything ready and work with a helper if possible.
- Repair cracks: Fill cracks and pits with a concrete patch or epoxy filler and let them cure fully.
- Mix the epoxy: Combine resin and hardener in the exact ratio for the full induction time listed, usually 5 to 30 minutes. Mix only what you can use within the pot life.
- Cut in the edges: Use a brush to coat perimeter and corners the roller can’t reach.
- Roll the field: Apply with a 3/8-inch nap roller on an extension pole, working in 4-by-4-foot sections and maintaining a wet edge.
- Broadcast flakes: If using decorative chips, toss them onto the wet coat before it sets.
- Topcoat: After the base cures, apply a clear urethane or epoxy topcoat for added gloss and abrasion resistance.
Watch your working time. Epoxy has a limited pot life, and once it starts to gel in the tray, it’s unusable. In warm weather that window shrinks, so plan to move steadily.
Curing and Cure Times
Epoxy dries to the touch within hours but cures over days. You can usually walk on it after 24 hours, return light foot traffic at 48 hours, and drive on it after a full 72 hours to 7 days depending on the product and temperature. Rushing this is a classic mistake, especially with vehicles, because hot tires on a partially cured floor will lift the coating. Keep the space between 60 and 85 degrees F during application and cure for best results.
What It Costs
Epoxy is one of the most budget-friendly durable floor finishes. Here’s what to expect:
- DIY water-based kit: $0.50 to $1.50 per sq ft in materials
- DIY high-solids/professional-grade kit: $1.50 to $3 per sq ft
- Professional installation: $3 to $12 per sq ft installed
- Grinder rental: $75 to $150 per day if you go the mechanical-prep route
A typical two-car garage of about 400 square feet costs $200 to $600 to coat yourself, or $1,200 to $4,000 professionally with premium systems. The DIY route saves substantially, and the labor, while real, is mostly prep.
Choosing Colors and Decorative Options
Epoxy floors don’t have to be plain gray. Solid color coats in tan, blue, or slate are popular, but the decorative flake systems are what make garage floors look truly finished. Broadcasting vinyl color chips into the wet base coat creates a speckled, terrazzo-like surface that hides dust, tire marks, and minor slab imperfections while adding grip underfoot. You control the density, from a light accent scatter to a full broadcast that completely covers the base color.
Metallic epoxy is the high-end option, blending reflective pigment into the resin to create swirling, three-dimensional effects that mimic flowing stone or molten metal. Metallics look spectacular in basements and showrooms but demand skill and always need a clear topcoat. For a first-time DIY garage, a flake system offers the best balance of good looks and forgiveness, since the chips camouflage small application flaws.
Adding Slip Resistance
A glossy epoxy floor becomes slippery when wet, which matters if snow or rain drips off your car. Broadcasting an anti-slip additive, such as fine silica or an aluminum-oxide grit, into the topcoat solves this without ruining the look. Flake floors already have some texture from the chips, but adding aggregate to the clear coat is cheap insurance against a fall, especially near the garage door where water collects.
Common Mistakes to Avoid
Beyond skipping prep, a few errors sink DIY epoxy jobs. Mixing more product than you can apply within the pot life leaves you with a gelled, wasted batch. Coating in high humidity or cold temperatures causes bubbles and slow, uneven curing. And driving on the floor before it fully cures is the classic garage mistake, since warm tires grab a soft coating and peel it up in patches. Patience with the cure time is as important as the prep.
Maintenance and Longevity
A properly applied epoxy floor lasts 5 to 10 years in a home garage, longer with a fresh topcoat every few years. Care is easy: sweep or dust-mop regularly, wipe spills promptly, and clean with a mild degreaser and water. Avoid harsh acids and abrasive scrubbers, and place a mat under vehicles that drip to protect the finish from constant chemical exposure.
Floor epoxy paint delivers a huge upgrade in looks, cleanliness, and durability for relatively little money. Respect the prep, mind the moisture test, apply within the pot life, and let it cure fully before parking on it. Do those four things and you’ll have a floor that stays glossy and tough for the better part of a decade.
Prefer to explore on your own?
See how new flooring looks in your actual room in seconds — free, no signup.
Try the free Floor Studio →