
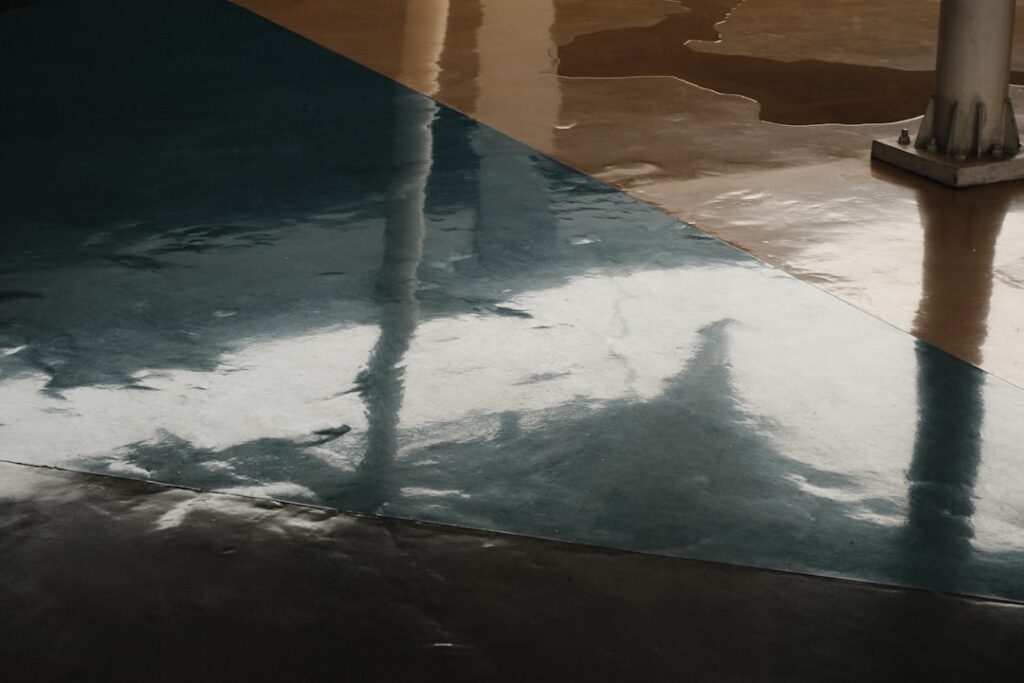
White epoxy paint is a tough, two-part coating that cures into a hard, glossy, bright-white film prized for floors, garages, basements, appliances, and tile that need to look clean and stand up to abuse. Unlike ordinary latex paint, epoxy chemically hardens into a surface that resists chemicals, moisture, scuffing, and heavy traffic. That durability makes it a favorite for spaces where a regular paint would peel or stain within a season, but it also means the prep and application demand more care. Get the preparation right and white epoxy can last for many years; rush it and it will peel in sheets.
Part of our Epoxy, Concrete & Garage Floors guide — explore the full guide →
This guide explains where white epoxy paint shines, how the two-part system works, the surface prep that makes or breaks the job, and how to apply and cure it safely for a lasting, brilliant white finish.
What White Epoxy Paint Is
Most true epoxy coatings come as two components: a resin and a hardener that you mix together just before use. Once combined, a chemical reaction begins that cures the mixture into a dense, plastic-like film far harder than the air-dried film of conventional paint. This is why epoxy is sold as a kit and why it has a limited working window, or pot life, once mixed.
You will also see products labeled “epoxy paint” that are single-can, epoxy-fortified latex coatings. These are easier to use and cheaper but are not as durable as a true two-part system. For a high-traffic floor, the two-part product is worth the extra effort; for a low-wear wall or a quick refresh, the single-part version may be plenty. White is one of the most popular colors because it maximizes brightness, makes a workspace feel larger and cleaner, and reflects light beautifully in garages and basements.
Common Uses Around the Home
The combination of toughness and a clean white look suits a range of projects:
- Garage and basement floors: the classic application, often over concrete, where white reflects light and shrugs off oil and tire marks.
- Workshop and utility floors: easy to sweep, resistant to dropped tools and spills.
- Tile and tub refinishing: specialized epoxy kits can renew dated tile or fixtures with a fresh white coat.
- Appliances and metal: epoxy appliance paint restores chipped white refrigerators, washers, and dryers.
- Countertops and shelving: in lower-wear settings, epoxy gives a hard, wipeable white surface.
Always confirm the specific product is rated for your surface. Floor epoxy, appliance epoxy, and tub-and-tile epoxy are formulated differently, and using the wrong one is a common cause of failure.
Why Surface Prep Is Everything
If you remember one thing about epoxy, make it this: the coating is only as good as the surface beneath it. Epoxy bonds mechanically and chemically to a clean, sound, slightly textured surface. Any grease, dust, sealer, or loose material becomes a weak layer that the epoxy will eventually lift away from, taking your finish with it.
For concrete floors, the process generally runs: clean the slab thoroughly to remove oil and grime, repair cracks and pits, then etch or mechanically grind the surface to open the pores and give the epoxy a profile to grip. A moisture test matters too, because epoxy applied over a damp slab will bubble and peel; tape a plastic sheet to the floor overnight and look for trapped moisture before you commit. On metal or tile, the surface must be degreased, sanded or abraded to dull the gloss, and wiped clean. Skipping these steps is the number one reason epoxy projects fail.
Mixing and Applying White Epoxy Paint
Once your surface is prepped and fully dry, work efficiently because the clock starts the moment you mix. Follow the product’s exact ratio and instructions, since they vary by brand.
- Stir each component, then combine the resin and hardener in the specified ratio and mix thoroughly for the full time listed.
- Let the mixture sit for any required induction time, then plan to use it within the stated pot life.
- Cut in the edges with a brush, then roll the field with a quality roller, working in manageable sections so the wet edge does not dry.
- Apply thin, even coats rather than one thick layer; thick epoxy traps bubbles and cures unevenly.
- If broadcasting decorative flakes or adding a non-slip additive, do it while the coat is still wet.
- Allow the recommended recoat window before adding a second coat or a clear topcoat for extra durability and shine.
White epoxy can require two coats for full, opaque coverage, since the bright color shows every thin spot. A clear topcoat over the white adds wear resistance and depth and helps protect against yellowing in sunlight.
Safety and Ventilation
Epoxy is a chemical product, and the curing reaction releases fumes that demand respect. Always work in a well-ventilated space with windows and doors open and fans moving air. Wear chemical-resistant gloves, eye protection, and a respirator rated for organic vapors, especially in enclosed garages or basements. Keep the area free of open flames and ignition sources, and keep children and pets out until the coating has fully cured.
Mix only what you can apply within the pot life, and follow the manufacturer’s disposal guidance for leftover material, since mixed epoxy can generate heat as it cures in the container. Reading and following the product’s safety data and instructions is not optional with these coatings; the formulations differ enough that one brand’s directions may not match another’s.
Curing and Cure Times
There is a critical difference between dry and cured. Epoxy may feel dry to the touch within hours, but it has not reached full hardness or chemical resistance until it cures, which often takes several days. Walking on a floor too soon leaves footprints; parking a car or placing heavy items on it before full cure can mar the surface permanently.
As a general guide, wait roughly a day before light foot traffic and closer to a week before heavy use such as vehicle traffic, but always defer to the product’s stated cure schedule. Temperature and humidity affect curing; epoxy struggles in cold conditions and may not harden properly below the manufacturer’s minimum temperature. Keep the space within the recommended range throughout the cure.
Maintenance and Longevity
A properly applied white epoxy floor is easy to live with. Sweep or dust mop regularly and clean spills promptly so they do not stain the bright surface. Avoid harsh, abrasive cleaners that can dull the gloss, and use furniture pads or mats under anything that drags. In sunny spaces, a UV-resistant topcoat helps the white resist the slight yellowing that can affect some epoxies over time.
With good prep, careful application, and a full cure, white epoxy paint delivers a bright, hard-wearing finish that transforms a dull garage, basement, or worn surface into something that looks clean and lasts for years. Respect the prep, respect the fumes, and respect the cure time, and the result will reward the effort.


