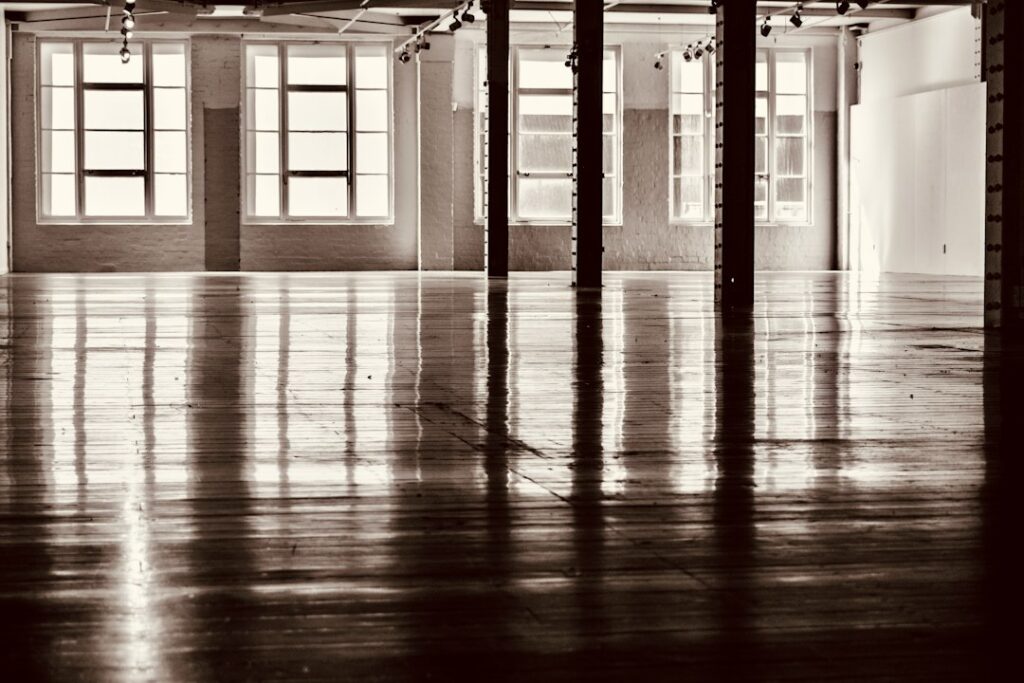
A scratched, gray, worn-out hardwood floor is rarely as far gone as it looks. Beneath that dull surface sits solid wood waiting to be revived, and floor sanding and polishing is the process that brings it back, stripping away years of wear and laying down a fresh, protective finish. Done right, it can make a 50-year-old floor look better than the day it was installed. Done wrong, it leaves swirl marks, gouges, and uneven sheen that haunt the room. Understanding the grit sequence, the tools, and the finishing steps is what separates a professional-grade result from a costly redo.
Is Your Floor a Candidate for Refinishing?
Before you rent a sander, confirm the floor can take it. Solid hardwood can typically be sanded several times over its life, since there is enough wood above the tongue-and-groove to remove material safely. Engineered wood has a thin veneer, often only 2 to 4 millimeters, and may only handle one light sanding, if any.
Check the board thickness by pulling a vent or looking at a doorway transition. If old nail heads are showing through the surface or the boards are paper-thin, the floor may be at the end of its sandable life and need replacing instead. For most solid oak, maple, and pine floors, though, refinishing is the smart, economical choice.
The Grit Sequence Is Everything
Sanding is not one pass with one paper; it is a progression from coarse to fine, and skipping steps leaves marks. A typical sequence for a worn floor:
- 36 to 40 grit: The aggressive first cut that removes old finish, deep scratches, and surface damage
- 60 grit: The intermediate pass that erases the scratches left by the coarse paper
- 80 to 100 grit: The final smoothing pass that prepares the wood to accept finish evenly
Each grit removes the scratch pattern of the one before it. Jump from 40 straight to 100 and the deep scratches stay, showing up the moment finish goes on. Patience through the full sequence is the single biggest factor in a smooth result.
The Tools You’ll Use
Floor refinishing relies on two main machines and a few hand tools. The drum sander or belt sander handles the open field of the room, removing material fast across the main floor area. Because it is powerful, it can gouge the floor if you let it sit still, so you keep it moving at all times.
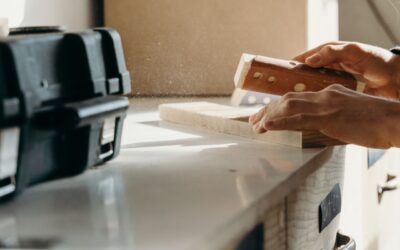
The edger, a smaller handheld disc sander, reaches the perimeter and corners the big machine cannot. A buffer or orbital sander does the final blending pass to erase the transition between the drum-sanded field and the edged borders. For tight corners, a hand scraper and sanding block finish the job.
Sanding Technique That Avoids Disaster
Keep the drum sander moving, always. Lower the drum while walking forward, and lift it before you stop. Letting a running drum sander pause leaves a deep dish in the wood that is nearly impossible to fix. Work with the grain, in long overlapping passes, and never sand across the grain on the final grits.
Match the edger grit to the drum grit at each stage so the perimeter and the field stay consistent. After the final sanding, vacuum thoroughly and wipe the floor with a tack cloth, since any dust trapped under the finish becomes a permanent bump.
Choosing Your Finish
“Polishing” in floor work means applying and building up a protective finish that gives the wood its sheen and durability. The main options:
- Oil-based polyurethane: Durable, warm amber tone, but slow-drying and high in fumes. A classic, long-lasting choice.
- Water-based polyurethane: Dries fast, low odor, stays clear without yellowing. Slightly less amber, very popular for modern looks.
- Hardwax oil: Penetrates the wood for a natural, matte look that is easy to spot-repair, though it needs more frequent reapplication.
Apply finish in thin, even coats, sanding lightly between coats with fine paper to ensure adhesion. Most floors get two to three coats, with drying times of a few hours for water-based and up to a full day for oil-based products.
Drying, Curing, and Patience
There is a difference between dry and cured. A floor may feel dry to the touch in hours, but the finish keeps hardening for days or weeks. Wait at least 24 hours before light foot traffic, longer for oil-based, and hold off on moving furniture back for several days. Wait two weeks or more before laying rugs, since trapping a still-curing finish under a rug can dull or mar it.
When to Hire a Pro
Sanding is doable for a determined DIYer, but the drum sander is unforgiving and the stakes are high on an irreplaceable floor. If your floor is rare, intricately patterned, or you are not confident keeping a heavy machine moving smoothly, hiring a professional is money well spent. Pros also have dust-containment systems that keep the mess far lower than a rental setup.
The Payoff
Floor sanding and polishing is one of the most rewarding home projects you can take on, transforming a tired, worn floor into a gleaming centerpiece for a fraction of the cost of replacement. Confirm your floor can be sanded, follow the full grit sequence without shortcuts, keep the machine moving, and build up the right finish in thin coats. Respect the curing time at the end, and you will be walking on a floor that looks decades younger and is ready for decades more.
Prefer to explore on your own?
See how new flooring looks in your actual room in seconds — free, no signup.
Try the free Floor Studio →