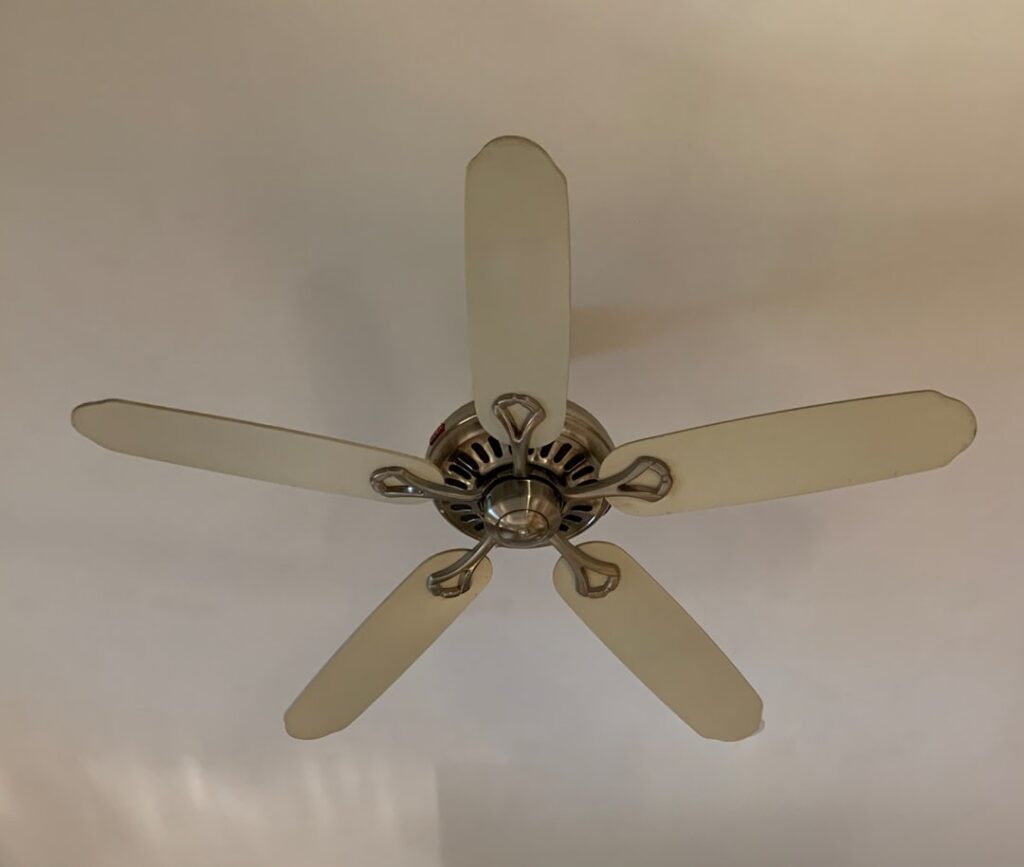
If your ceiling is under eight feet, a standard downrod fan is a hazard waiting to clip a tall guest or a raised arm. A flush mounted ceiling fan — often called a hugger or low-profile fan — bolts the motor housing directly against the ceiling, eliminating the downrod and reclaiming four to eight inches of critical headroom. That single design choice is why these fans dominate bedrooms, hallways, closets, and any space where an 84- or 90-inch ceiling leaves no room to spare. The tradeoff is airflow, and understanding that tradeoff is the key to buying one that actually moves air instead of just spinning politely.
How Flush Mount Differs From a Downrod Fan
A downrod fan hangs the blades roughly 12 inches below the ceiling, which puts them in the sweet spot for pushing a strong column of air down into the room. A flush mount sacrifices that gap — the blades sit just a few inches under the ceiling. Air has less room to accelerate before it hits the blades, so hugger fans generally move somewhat less air than an equivalent downrod model at the same speed.
For code and comfort, the National Electrical Code wants at least seven feet of clearance from the floor to the blades, and you want the blades roughly 10 inches below the ceiling for good circulation. On an eight-foot ceiling, a flush mount keeps you safely above the seven-foot floor clearance while a downrod would drop too low. That is the entire reason huggers exist.
Sizing the Fan to the Room
Blade span, measured tip to tip across the fan, should match your square footage. Use these brackets:
- Up to 75 sq ft (bathrooms, small closets): 29 to 36 inches
- 76 to 144 sq ft (bedrooms, kitchens, offices): 42 to 48 inches
- 145 to 225 sq ft (master bedrooms, dining rooms): 52 to 56 inches
- 225 to 400 sq ft (great rooms, large living rooms): 60 inches or a pair of fans
An oversized blade in a small room wastes money and creates uncomfortable turbulence; an undersized fan in a big room just stirs the air near the center and leaves the corners stagnant. When in doubt, size up one bracket for a flush mount to compensate for the reduced airflow.
Reading the Airflow Numbers
Do not shop by looks alone. The number that matters is CFM — cubic feet per minute — which tells you how much air the fan actually moves on high. A decent flush mount pushes 3,000 to 5,000 CFM; a strong one exceeds 6,000. Also check the efficiency figure, CFM per watt, if you care about running costs. A DC-motor hugger fan can hit 6,000-plus CFM while drawing under 35 watts, versus a cheaper AC motor that draws 60 to 75 watts for less air.
Motor type is worth the upgrade. DC motors are quieter, lighter, more efficient, and usually offer six speeds plus a remote, while AC motors are cheaper up front and simpler. In a bedroom where fan noise keeps you up, spend on the DC motor.
Lights, Controls, and Extras
Most flush mounts come with an integrated LED light, which makes them a two-in-one fixture — smart in a low-ceiling room where you cannot fit a separate light. Look for a color-temperature switch so you can set warm (2700K) light for a bedroom or cool (4000K to 5000K) light for a laundry room. Remote and wall-control options let you reverse blade direction seasonally: counterclockwise in summer to push cooling air down, clockwise on low in winter to pull cool air up and redistribute the warm air pooled at the ceiling.
Installing a Flush Mount Ceiling Fan
This is an intermediate DIY job. The single most important requirement: the electrical box must be a fan-rated (UL-listed) box capable of supporting a moving load. A standard lighting box will loosen and drop the fan over time. If you are replacing a light fixture, verify or upgrade to a fan-rated box first.
- Turn off the circuit at the breaker and confirm it is dead with a non-contact voltage tester.
- Remove the old fixture and confirm — or install — a fan-rated box, using an old-work brace box if there is no accessible joist.
- Mount the fan’s ceiling bracket to the box with the provided lag screws or bolts.
- Because there is no downrod, most huggers assemble the motor and canopy on the ground, then you lift the whole unit and hook it to the bracket. Have a helper — flush mounts are awkward to hold overhead.
- Connect wiring: black to black (hot), white to white (neutral), and the bare or green ground to the box ground. If there is a blue wire, that feeds the light kit.
- Tuck the wires, secure the canopy tight to the ceiling, attach the blades and light, then restore power and test all speeds and the reverse switch.
Budget 60 to 120 minutes for a first-timer. If the ceiling has no existing box or you are running new wiring, bring in a licensed electrician — that portion is not a beginner job.
Where Flush Mounts Work Best
The whole reason to buy a hugger is ceiling height, so start there. On a standard eight-foot ceiling, a flush mount is the correct choice — it keeps blades above the seven-foot code minimum while a downrod fan would hang uncomfortably or dangerously low. Bedrooms are the classic use case, since older homes and many apartments have eight-foot ceilings and you want air movement over the bed without a fixture in your sightline. Home offices, small living rooms, laundry rooms, and hallways all suit huggers for the same reason.
Sloped or vaulted ceilings are the exception. On a steep slope, a flush mount cannot sit flush against the angled surface, and you either need a sloped-ceiling adapter or a short downrod with an angle mount instead. For ceilings nine feet and up, skip the hugger entirely and use a downrod fan — dropping the blades into the room’s air column gives you noticeably better circulation, and you have the headroom to spare. The hugger is a tool for low ceilings specifically; using one under a tall ceiling just wastes airflow you could have had.
Energy Use and Running Costs
A ceiling fan does not cool air — it cools people, by moving air across your skin so sweat evaporates and you feel a few degrees cooler. That lets you raise the thermostat about 4 degrees with no loss of comfort, which is where the real savings come from. A fan itself is cheap to run: an efficient DC-motor hugger drawing 30 watts on high costs roughly a penny or two per hour, far less than the air conditioning it lets you dial back.
The efficiency gap between motor types shows up on your bill over a season. An AC-motor fan running 12 hours a day all summer draws two to three times the wattage of a comparable DC model for the same airflow. Look for the ENERGY STAR label and check the CFM-per-watt figure if efficiency matters to you. Just remember the fan only saves money when someone is in the room feeling the breeze — running it in an empty room wastes electricity, since it does nothing to the air temperature itself. Turn it off when you leave.
Common Mistakes to Avoid
Two problems account for most hugger-fan complaints. The first is a wobble, almost always caused by a loose canopy screw, an unbalanced blade set, or a box that is not truly flush and rigid. Use the included balancing kit and check that every blade is torqued evenly. The second is disappointing airflow, which usually traces back to buying a fan that is too small, too cheap, or spinning clockwise when it should be counterclockwise for summer cooling.
Get the box rated right, size the blades to the room, and choose a DC motor if the budget allows, and a well-chosen flush mounted ceiling fan will keep a low-ceiling room comfortable and quiet for a decade or more.