
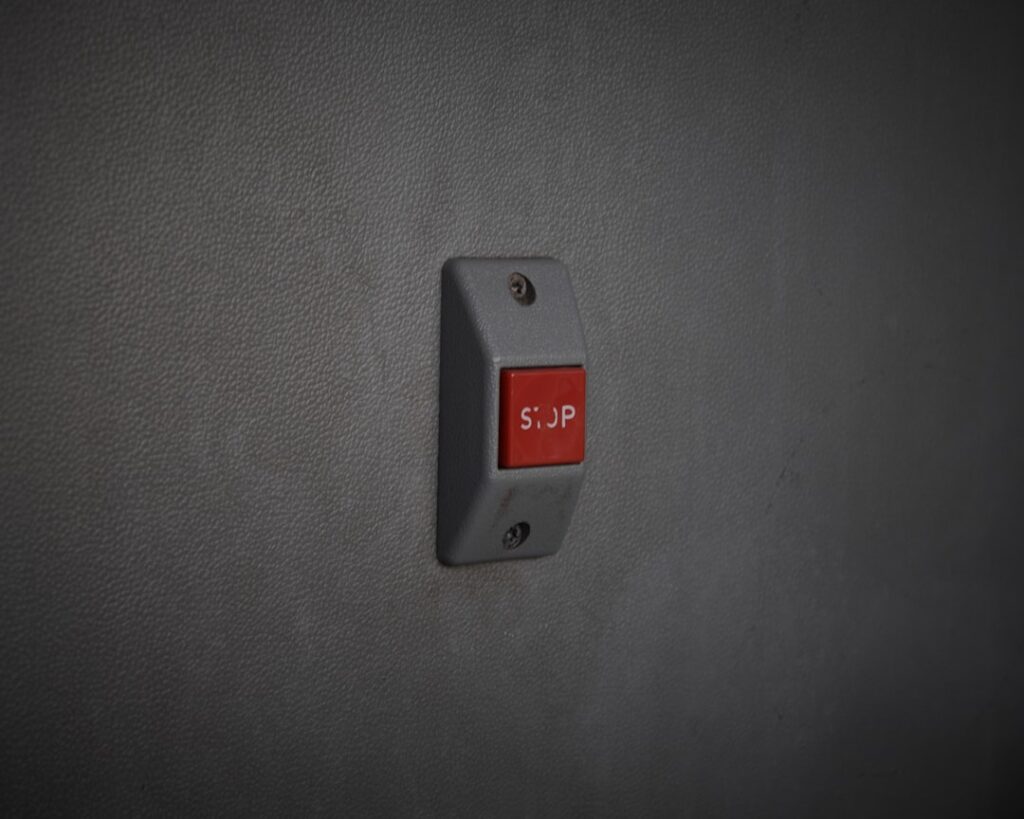
When the garage door refuses to move and the remote works fine from the car, the culprit is almost always the wall control. The garage door opener button mounted inside your garage is a simple low-voltage switch, yet it fails more often than any other part of the system because of loose wiring, worn contacts, or a tripped lock feature. This guide explains how the button works, why it stops responding, and how to test, wire, and replace it without calling a technician.
Part of our Garage Doors guide — explore the full guide →
- How the Wall Button Works
- Types of Garage Door Opener Buttons
- Why Your Garage Door Opener Button Stops Working
- Testing the Button and Wiring
- Replacing a Garage Door Opener Button
- Running New Wire for a Detached or Remote Button
- Smart Upgrades Worth Considering
- Troubleshooting an Intermittent Button
- Adding a Second Button or Keypad
- Keeping Your Wall Control Reliable
- When to Call a Professional
How the Wall Button Works
Unlike a remote that sends a radio signal, the wall-mounted button completes a low-voltage circuit through two small wires running to the opener motor. Press it, and the contacts close, telling the logic board to run the motor. Most systems operate on 12 to 24 volts, which is why the thin bell wire feels harmless and rarely poses a shock risk.
Basic single-button units simply open and close the door. Multi-function wall consoles add a light control and a lock or vacation mode that disables the remotes for security. Understanding which type you have is the first step to diagnosing a problem, since a “dead” opener is frequently just an accidentally engaged lock button.
Types of Garage Door Opener Buttons
Wall controls range from bare-bones to smart. Knowing your category helps you buy the right replacement and understand its features.
- Basic push button: a single momentary switch with two terminals, the least expensive at $8 to $20
- Multi-function console: adds light and lock controls, common on Chamberlain, LiftMaster, and Genie units, $20 to $45
- Smart wall control: includes motion-activated lights, a timer-to-close, and sometimes a small display, $40 to $70
- Wireless keypad or button: battery-powered units that mount without running wire, handy for detached setups
Match the replacement to your opener brand when possible. While a basic two-wire button is nearly universal, multi-function consoles often use brand-specific communication and may not work across manufacturers.
Why Your Garage Door Opener Button Stops Working
Several common faults cause an unresponsive button. Start with the simplest before assuming the worst. A tripped lock or vacation mode is the number one false alarm, so check for a blinking indicator and hold the lock button for a few seconds to disengage it.
Beyond the lock feature, wiring issues top the list. The staples that hold the bell wire to the wall can pierce the insulation over time and short the circuit. Corroded terminal screws, a cracked button housing from years of use, or a failed logic board on the opener itself round out the usual suspects.
Testing the Button and Wiring
Diagnosing the problem takes only a screwdriver and a few minutes. First, rule out the button by touching the two wires together directly at the opener’s terminal screws. If the door runs when you short the wires, the button or the wire between it and the motor is at fault, not the opener.
If the door does not respond even when you jump the terminals, the problem lies in the opener’s logic board or safety sensors, not the button. When shorting the wires works but the button does not, remove the button, clean or tighten its terminals, and test again. Persistent failure means the switch itself has worn out and needs replacing.
Replacing a Garage Door Opener Button
Swapping a wall button is a beginner-friendly project that takes 15 to 30 minutes. Gather a screwdriver, a wire stripper, and your replacement console before you start.
- Unplug the opener or switch off its breaker to work safely
- Unscrew the old button from the wall and note which wire connects to each terminal
- Loosen the terminal screws and free the two wires
- Strip a fresh quarter inch of insulation if the wire ends look corroded
- Connect the wires to the new button, matching the original terminals
- Mount the new console and restore power
Most modern wall buttons are not polarity-sensitive, so as long as both wires reach their terminals, the door should respond. Test the open, close, light, and lock functions before screwing the cover on permanently.
Running New Wire for a Detached or Remote Button
If you are adding a button in a new location or replacing damaged wire, use 18 to 22 gauge two-conductor bell wire, sold in spools at any hardware store for about $10. Route it along the ceiling and down the wall, securing it with insulated staples that clamp the jacket without piercing the conductors.
Keep the run away from power cables and fluorescent light ballasts, which can induce interference. At the opener, connect both conductors to the same two low-voltage terminals the original button used. For truly awkward layouts, a wireless button avoids running any wire at all, at the cost of an occasional battery change.
Smart Upgrades Worth Considering
While you have the wall control apart, consider upgrading to a smart console. Models with a built-in timer-to-close automatically shut the door after a set interval, a genuine safety feature for anyone who has driven away wondering whether the garage was left open. Motion-sensing consoles turn on the opener light when you walk in, which beats fumbling for a switch with an armload of groceries.
These smart consoles still wire to the same two low-voltage terminals, so the installation is no harder than a basic swap. Just confirm compatibility with your opener’s model year, since the added features rely on communication protocols that older logic boards may not support.
Troubleshooting an Intermittent Button
A button that works sometimes is more maddening than one that is fully dead, and the cause is usually a marginal connection rather than a total failure. Start at the terminals, where years of vibration loosen the screws and let the wire drift in and out of contact. Tighten them firmly and inspect the wire ends for corrosion or fatigue, snipping back and re-stripping to fresh copper if they look dark or brittle.
Follow the wire run next. Bell wire stapled along a wall can chafe where a staple pinches it, creating an intermittent short that flares when the wire shifts with temperature. Run your fingers along the length looking for crushed or nicked spots, and replace any suspect section. If the button has a soft, mushy feel when pressed, the internal contacts are worn, and a new console is the cure. Intermittent faults that survive fresh wiring and a new button point back to the opener’s logic board.
Adding a Second Button or Keypad
Many homeowners want a control in more than one spot, such as a button by the house door and another by the workshop entrance. Adding a second wired button is simple because low-voltage buttons wire in parallel: run a new pair of bell wire from the opener’s same two terminals to the new location and connect it there. Both buttons then operate the door independently.
If running wire is impractical, a wireless keypad or button avoids the whole problem. A wireless keypad mounted outside lets you or family members open the door with a code, handy for kids without a remote or for letting in a trusted visitor. These units are battery-powered and program to the opener the same way a remote does, learning the code through the opener’s learn button. Keep a spare battery on hand, since a dead keypad battery is the most common reason an outdoor code suddenly stops working.
Keeping Your Wall Control Reliable
A little preventive care keeps the button working for years. Every so often, snug the terminal screws, since vibration slowly backs them out. Keep the console clean and dry, especially in a garage prone to humidity, and avoid mounting it where a car door or storage rack might crack the housing. If your console controls the opener light, replacing a failed bulb sometimes clears a fault that seemed like a button problem.
When to Call a Professional
Most button problems are DIY territory, but a few signs point to a deeper issue. If shorting the terminals does not move the door and the safety sensors are aligned and clean, the logic board may have failed, which often makes a full opener replacement more cost-effective than a board repair. Grinding noises, a door that reverses randomly, or intermittent operation across both the button and remotes suggest a mechanical or control-board fault beyond the wall switch.
For a straightforward dead button, though, you now have everything you need. Check the lock feature first, test the wiring by jumping the terminals, and replace the switch if it fails. A working garage door opener button restores the daily convenience you barely notice until it stops, and fixing it yourself costs a fraction of a service call.


