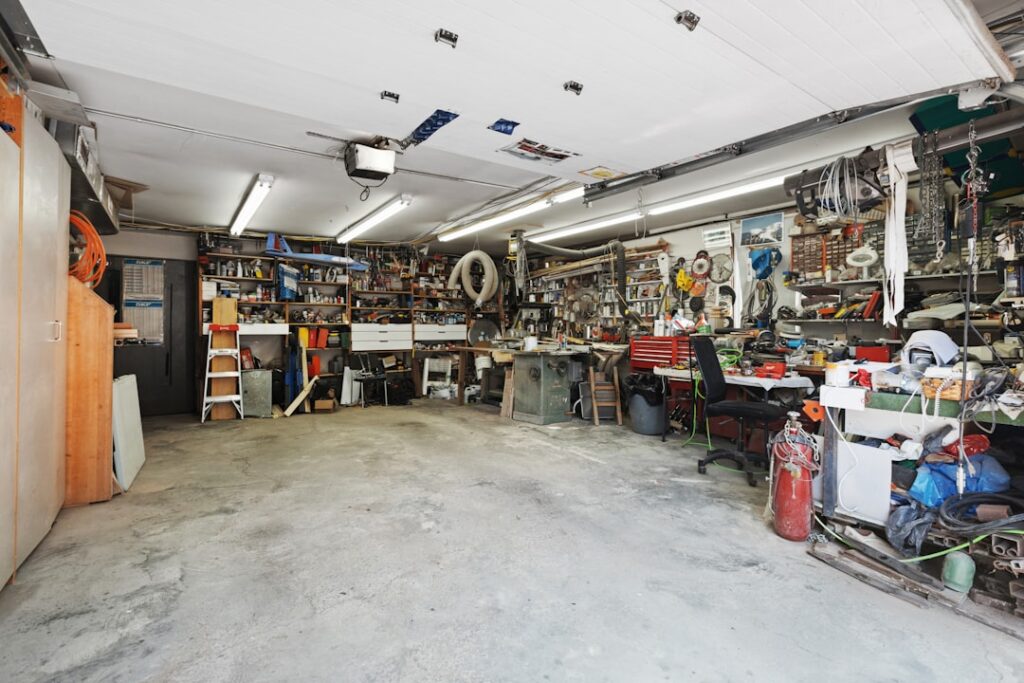
A garage that fits the cars but leaves no room to open the doors, walk around the hood, or store a lawnmower is a design failure you cannot easily fix after the concrete is poured. A well-thought-out garage floor plan starts with honest dimensions and works backward from how you actually use the space, not just how many vehicles you own. Get the sizing right on paper and you gain a workshop, storage, and a comfortable place to park; get it wrong and you spend years turning sideways to squeeze between the car and the wall.
Standard Garage Dimensions
The baseline numbers are worth memorizing. A single-car garage typically runs 12 by 22 feet at a minimum, though 14 by 24 is far more comfortable and lets you open doors and walk around the vehicle. A two-car garage commonly measures 20 by 20 feet as a tight minimum, but 24 by 24 is the practical sweet spot that most builders and homeowners prefer, giving room to park two vehicles and still move between them.
A three-car garage generally spans 32 to 36 feet wide by 22 to 24 feet deep. Depth matters as much as width: 20 feet is barely enough for a mid-size car, while 24 feet accommodates a full-size pickup or SUV plus a few feet of workbench or storage at the front. If you drive a large truck, plan for at least 24 feet of depth and confirm the garage door opening is 8 feet wide per bay and at least 7 feet tall, with 8-foot-tall doors preferable for taller vehicles.
If you’re running out of room even with a clean garage floor, a backyard shed takes the overflow — seasonal gear, tools, lawn equipment. And if you’re parking outside while the garage doubles as a workshop, a carport keeps your car covered without needing a second garage.
We may earn a commission when you purchase through our links.
Planning Around the Vehicles
Start the plan by drawing the vehicles to scale in their parked positions, then add the clearances you need around them. Leave at least 3 feet on the driver’s side to open the door and get in and out comfortably, and 2 to 3 feet in front of the bumper for walking space and storage. Between two vehicles, aim for 3 feet so both doors can open without dinging each other, a clearance that the minimum 20-foot-wide two-car garage simply does not provide.
Account for how the garage doors themselves work. Sectional overhead doors roll up along tracks under the ceiling, so you need adequate headroom, typically 14 to 18 inches above the door opening for a standard track, plus clearance for the opener motor. Mark the door swing of any entry doors and the path from the vehicles to that door so you are not squeezing past a bumper every time you carry groceries into the house.
Zoning Workspace and Storage
The best garage plans treat the space like a small building with distinct zones rather than one open box. Reserve the perimeter for a work zone: a workbench along one wall, pegboard or slatwall above it for tools, and a base cabinet run for a garage-based project area. A workbench needs about 6 feet of width and 2 to 3 feet of depth, plus standing room in front, so plan that footprint into the layout before the cars claim all the space.
Storage climbs the walls and the ceiling in a smart plan. Wall-mounted shelving and cabinets keep the floor clear, and overhead storage racks suspended from the ceiling hold seasonal items above the hoods of parked cars, an area that would otherwise be wasted. Map these zones on the drawing so your electrical, lighting, and outlet placement supports them, because a workbench with no outlet nearby is a daily frustration.
Utility and Access Considerations
A functional garage plan includes more than parking. Decide early where the man door to the yard and the entry door to the house will go, and keep those paths clear of the parked vehicles. Position the electrical panel, water heater, or HVAC equipment, if they live in the garage, in a corner where they do not eat into vehicle or workbench space and remain accessible for service with the required code clearances, generally 30 inches of working space in front of an electrical panel.
Plan outlets and lighting generously, because garages are chronically underserved on both. Aim for outlets every few feet along the workbench wall, at least one dedicated 20-amp circuit for power tools or a compressor, and bright overhead lighting, LED shop fixtures delivering plenty of lumens, positioned so a raised hood does not throw the engine bay into shadow. A 240-volt outlet is worth roughing in if you might ever add an EV charger or a welder.
The Garage Floor Itself
The floor is the one surface every activity in the garage touches, so it deserves real thought in the plan. Bare concrete is standard but porous; it stains from oil, dusts over time, and cracks. For a floor that holds up to vehicles, dropped tools, and chemicals, an epoxy or polyaspartic coating is the popular upgrade, sealing the concrete against stains, resisting hot tire pickup, and wiping clean. A quality two-part epoxy system runs roughly $3 to $7 per square foot for a DIY kit and more for professional polyaspartic.
Interlocking floor tiles are the other common route, snapping together over the existing slab to hide cracks and provide a cushioned, drainable surface, typically $2 to $5 per square foot. Whatever surface you choose, plan for a slight slope in the slab, about 1/8 inch per foot toward the door, so water and melting snow drain out rather than pooling. Specify the floor finish at the planning stage, because prepping and coating a bare slab is far easier before the garage fills with cabinets and cars.
Planning for Future Uses
A garage rarely stays just a place to park, so a smart plan anticipates what you might add later. If a home gym, a workshop, or a hobby space is on your wishlist, reserve a zone for it now and rough in the electrical and lighting to support it, even if you finish the space later. Adding a 240-volt circuit during construction costs a fraction of retrofitting one, and it opens the door to an EV charger, a welder, a compressor, or a future heater.
Insulation and climate control are worth considering at the planning stage too, especially if you want a usable space year-round. An insulated garage door, insulated walls, and a mini-split heat pump turn a cold, unusable slab into a comfortable workshop or gym. Even if you skip conditioning now, running the wiring and choosing an insulated door during the build makes the upgrade painless later. Plan the garage as flexible space, not just vehicle storage, and it grows with your needs.
Ceiling Height and Overhead Opportunities
Vertical space is the most underused resource in most garages, and the plan should claim it. A standard garage ceiling runs 8 to 9 feet, but bumping to 10 feet or higher opens real possibilities: overhead storage racks, a car lift for serious hobbyists, or a loft for seasonal storage. If you park a tall truck or SUV, confirm the ceiling and door track leave clearance for the raised hood and any roof accessories.
Plan overhead storage into the layout from the start. Ceiling-mounted racks suspended above the hoods of parked vehicles hold bins, kayaks, and ladders in space that would otherwise be wasted, and they keep the floor and walls clear for active use. Note the location of the garage door track and opener when placing overhead storage, since the door mechanism claims the center of the ceiling and racks must work around it. Thinking vertically doubles the effective storage of a modest footprint.
Drawing Your Own Plan
Sketch your garage floor plan to scale on graph paper or a free floor-plan app, letting each square represent one foot. Place the vehicles first with their clearances, then add the workbench, storage zones, doors, and utility equipment, checking that every walkway stays at least 3 feet wide and no zone overlaps another. Seeing it all at scale exposes conflicts, like a workbench that blocks a door or a storage rack the car would hit, while they are still just pencil lines.
Whether you are building new or reorganizing an existing garage, the discipline is the same: dimension the space honestly, work backward from how you use it, and account for the floor as a working surface, not an afterthought. A garage planned this way parks your vehicles, houses your projects, and stores your gear without a single wasted square foot or a daily squeeze past a fender.