
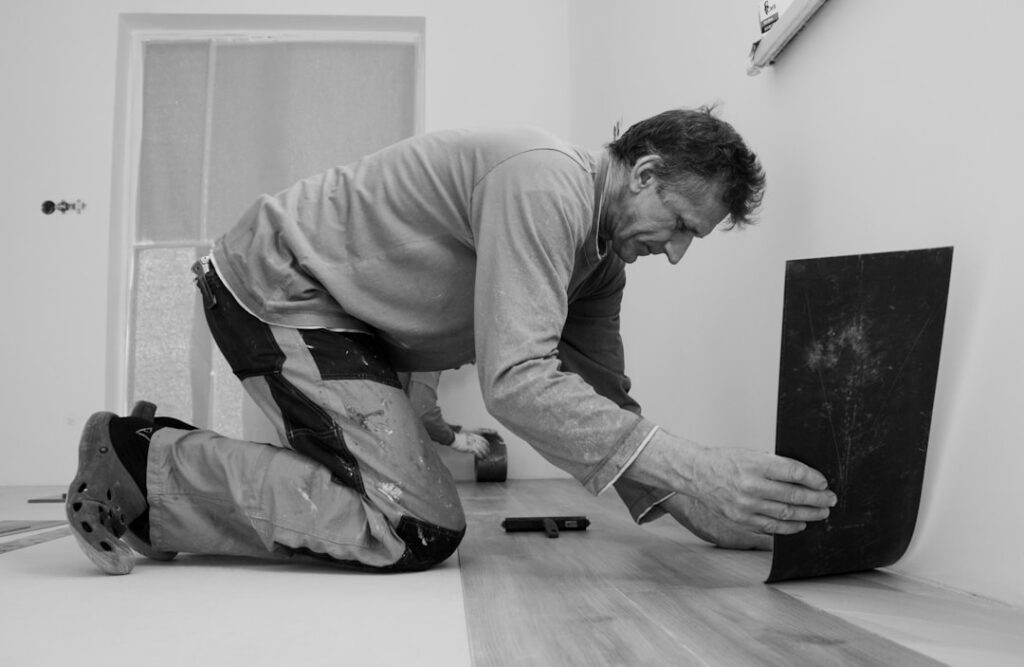
When a room sees heavy traffic, standing water, or spans a wide open floor plan, glue down vinyl tile flooring often beats a floating floor for long-term stability. Rather than clicking together and drifting freely over an underlayment, each tile is bonded directly to the subfloor with adhesive. That solid bond eliminates the hollow sound, edge lifting, and gapping that can plague floating installations in demanding spaces. It also asks more of your subfloor prep and your patience. This guide covers the honest trade-offs, the adhesive choices, and a clear step-by-step method so you can decide whether gluing down is the right call and then do it correctly.
Part of our Tile & Grout guide — explore the full guide →
- Pros of Glue-Down Vinyl Tile
- Cons of Glue-Down Vinyl Tile
- Full-Spread vs. Pressure-Sensitive Adhesive
- Subfloor Prep: The Make-or-Break Step
- Step-by-Step: How to Install Glue-Down Vinyl Tile
- Best Rooms for Glue-Down Vinyl Tile
- Removal and Cost
- Glue-Down vs. Floating vs. Peel-and-Stick
- Working Time and Temperature Matter
Pros of Glue-Down Vinyl Tile
The appeal comes down to permanence and performance under stress. A fully adhered floor behaves like part of the building rather than a rug laid on top.
- Rock-solid feel: No hollow click underfoot and no bounce, because there is no air gap between tile and subfloor.
- Handles big spaces: Floating floors need expansion gaps and often transitions in very large rooms; glue-down runs seamlessly across wide areas.
- Moisture stability: In bathrooms, laundry rooms, and entries, a bonded floor resists the edge-curling that water can cause under floating planks.
- Heavy traffic durability: Commercial spaces almost always specify glue-down because it takes rolling loads and constant foot traffic without shifting.
- Low profile: Thin glue-down tiles add minimal height, which simplifies transitions to adjacent flooring and under appliances.
Cons of Glue-Down Vinyl Tile
The same permanence that makes glue-down strong also makes it demanding. Weigh these before you commit.
- Fussy subfloor prep: Adhesive telegraphs every flaw. The substrate must be flat, clean, dry, and smooth or the imperfections show through.
- Slower, messier install: Spreading adhesive, respecting open time, and cleaning squeeze-out takes longer than clicking planks together.
- Harder removal: Pulling up bonded tile is labor-intensive and often destroys the tile; expect scraping and residue cleanup.
- Cure time: You must stay off the floor and wait for the adhesive to set, sometimes 24 to 72 hours for full cure.
- Not DIY-forgiving: Mistakes are harder to correct once a tile is set in wet adhesive.
Full-Spread vs. Pressure-Sensitive Adhesive
Two adhesive systems dominate, and choosing the right one is half the battle. They cure and behave very differently, so match the product to your tile and room.
Full-Spread (Hard-Set) Adhesive
A full-spread adhesive is troweled across the entire subfloor and cures to a permanent, rigid bond. You lay each tile into wet adhesive within its open time. This is the choice for high-moisture and high-traffic rooms because the bond is maximally strong. It is less forgiving because once a tile is placed and the adhesive skins over, repositioning is difficult.
Pressure-Sensitive Adhesive
Pressure-sensitive adhesive is spread, then allowed to flash off to a tacky state before tiles are set. It never fully hardens; it stays tacky like a sticky note, gripping the tile while allowing easier removal later. It is popular for peel-and-stick style products and for spaces where you may want to replace individual tiles. It is not the pick for standing-water rooms, where a hard-set bond performs better.
Subfloor Prep: The Make-or-Break Step
No adhesive can overcome a bad substrate. Plan on the prep taking as long as the install itself in an older home.
- Confirm the subfloor is structurally sound, with plywood or a clean concrete slab. Refasten any squeaky or loose areas.
- Check flatness to within 3/16 inch over 10 feet. Grind down high spots and fill low spots with a cementitious patch or self-leveler.
- Test concrete for moisture. A calcium chloride test under about 3 pounds per 1,000 square feet in 24 hours, or an in-slab RH test under 75 to 80 percent, is the usual threshold. Excess moisture destroys the bond.
- Clean thoroughly. Vacuum, then remove any old adhesive, paint, sealer, or curing compound that could prevent bonding.
- Prime porous or dusty concrete if the adhesive manufacturer calls for it.
Step-by-Step: How to Install Glue-Down Vinyl Tile
With the subfloor flat, clean, and dry, the installation itself is methodical. Acclimate the tile in the room for 48 hours at 65 to 85 degrees Fahrenheit first so it is dimensionally stable.
- Find your layout lines. Snap chalk lines to establish a square center point so cut tiles at opposite walls are balanced and no sliver pieces land at doorways.
- Choose the right trowel. Follow the adhesive label. A common size for standard vinyl tile is a 1/16 by 1/16 by 1/16 inch square-notch trowel; some full-spread products call for a U-notch. The notch size controls how much adhesive transfers to the tile.
- Spread in sections. Trowel adhesive over an area you can tile within the open time, holding the trowel at a consistent 45-degree angle for even ridges. Do not spread the whole room at once.
- Respect open time. For pressure-sensitive adhesive, wait for it to flash to tacky. For full-spread, set tiles while wet and within the working window on the label.
- Set tiles tight. Place each tile against your line, press it home, and butt seams tight without sliding, which pushes adhesive up into the joints.
- Roll the floor. Go over the finished area with a 75 to 100 pound floor roller to seat every tile and eliminate air pockets. Roll both directions.
- Clean and cure. Wipe squeeze-out immediately with the manufacturer’s recommended cleaner. Keep foot traffic off for 24 hours and heavy loads off for 72 hours.
Best Rooms for Glue-Down Vinyl Tile
Glue-down earns its keep where floating floors struggle. It is the right method in bathrooms, laundry rooms, mudrooms, and entryways where water and grit are constant, and it excels in large open commercial or retail spaces where a floating floor would need disruptive expansion gaps. Basements over concrete are another strong fit, provided the moisture test passes. For a small, dry bedroom, a floating click floor is faster and easier, so save the glue-down effort for the spaces that reward it.
Removal and Cost
Be honest with yourself about the future. Removing bonded tile means heat, scrapers, and often a full day of labor to clear adhesive residue before the next floor can go down. Pressure-sensitive tiles lift more easily than hard-set ones, which is worth remembering if you expect to renovate again. On cost, the tile itself typically runs $1.00 to $3.00 per square foot, adhesive adds roughly $0.30 to $0.60 per square foot, and professional installation with prep runs another $1.50 to $4.00 per square foot. Doing it yourself saves the labor but not the prep effort. Chosen for the right room and installed over a properly prepped subfloor, glue down vinyl tile flooring delivers a durable, quiet, water-resistant surface that outlasts and outperforms a floating floor in the spaces that demand the most.
Glue-Down vs. Floating vs. Peel-and-Stick
It helps to see where full-spread glue-down sits among the three common vinyl approaches. Each solves a different problem, and picking the wrong one for the room is the most common regret installers hear about.
- Glue-down (troweled adhesive): Strongest bond, best for moisture and heavy traffic, most demanding prep and removal. The choice for bathrooms, commercial floors, and wide-open plans.
- Floating click-lock: Fastest install, easiest repair, needs expansion gaps, and can sound hollow. Great for dry bedrooms and quick refreshes but weaker over water.
- Peel-and-stick: Uses a factory pressure-sensitive backing, easiest for a small DIY project, but the thin adhesive is the least durable and most sensitive to a dusty or uneven subfloor.
Full-spread glue-down and peel-and-stick both bond to the subfloor, but the troweled adhesive on a true glue-down tile is far more robust than the factory strip on peel-and-stick. For a mudroom that sees wet boots all winter, that difference decides whether the floor lasts two years or twenty.
Working Time and Temperature Matter
One thing new installers underestimate is how much room temperature affects the adhesive. Most vinyl tile adhesives are rated to be installed between 65 and 85 degrees Fahrenheit, and both the tile and the subfloor should sit in that range for at least 48 hours before you start. Cold slabs slow the flash-off and the cure, sometimes doubling the time before you can walk on the floor, while a hot, dry room can skin the adhesive over before you get the tiles down. Keep the HVAC running through the install and for at least 48 hours after, and never rush the roll step, since a properly rolled floor is what prevents the edge-lifting and telegraphing that show up months later.
Prefer to explore on your own?
See how new flooring looks in your actual room in seconds — free, no signup.
Try the free Floor Studio →

