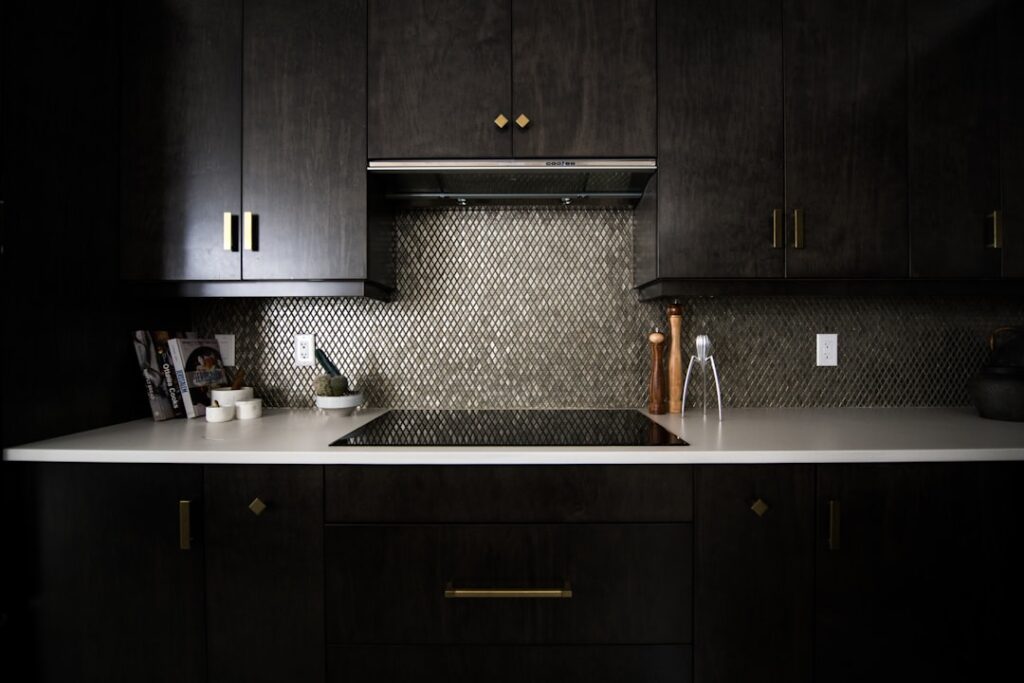
Half my service calls start with some version of “we’re stuck.” Stuck choosing tile, stuck mid-demo, stuck with a quote that seems high, or stuck staring at a half-grouted wall that went sideways on Sunday night. If you’re looking for help with kitchen backsplash planning or you’re troubleshooting a project already in motion, this is the guide I wish I could hand every homeowner before they start. I’ll cover the decisions in the order you should actually make them, then the fixes for the most common problems I get called in to rescue.
Part of our Kitchen Remodeling guide — explore the full guide →
- Step 1: Measure Correctly (Most People Don't)
- Step 2: Pick Tile by Lifestyle Before Looks
- Step 3: Solve the Layout on Paper, Not on the Wall
- Step 4: DIY or Hire? An Honest Assessment
- Step 5: The Materials Checklist People Forget
- Troubleshooting: Fixes for Backsplashes Gone Wrong
- Sequencing: When the Backsplash Happens in a Remodel
- A Realistic Weekend Timeline
Step 1: Measure Correctly (Most People Don’t)
Measure the length of each wall section in inches, multiply by the height (standard counter-to-cabinet is 18″, behind the range to the hood is usually 30″–36″), and divide by 144 for square feet. Add the sections, then add 10 percent waste for straight layouts or 15 percent for herringbone and diagonal patterns. A typical kitchen lands between 25 and 40 square feet.
Common measuring mistakes I fix constantly: forgetting the full-height section behind the range, ignoring window returns and side walls that also need tile, and not deducting anything for windows (fine — that’s your waste buffer) but then also skipping the overage (not fine). When in doubt, buy the extra box; most retailers accept returns of unopened boxes, and running short mid-install with a discontinued dye lot is the single most painful supply problem in tiling.
Step 2: Pick Tile by Lifestyle Before Looks
Here’s the filter I give clients before they ever open a design website. Answer these honestly:
- Do you cook hard — oil, wok, tomato sauce? Choose glazed porcelain or ceramic in a mid-tone with matching grout. Skip raw stone, skip bright white grout, be cautious with heavily textured tile behind the burners.
- Do you hate maintenance? Porcelain, glass, or quartz slab. Natural marble and travertine need sealing and forgive nothing acidic.
- Is this a five-year house? Neutral subway or stone-look porcelain photographs well and helps resale. Save the bold patterned tile for your forever kitchen.
- Is your budget under $500? Ceramic field tile at $2–$5 per square foot installed by you. It’s the best value in the category, full stop.
Price context so nothing surprises you: material runs $2–$8 per square foot for ceramic, $4–$15 for porcelain, $8–$25 for mosaics and glass, $12–$30 for zellige and handmade tile, and $60–$150 installed for slab. Professional installation labor adds $10–$40 per square foot depending on tile format and market — small mosaics and handmade tile cost more to set than 12×24 porcelain.
Step 3: Solve the Layout on Paper, Not on the Wall
Layout is where kitchens are won. Three rules from the field: center the pattern on the focal wall (the range and hood), let cut tiles fall in corners and behind appliances, and never leave a sliver cut — if the math leaves you a 1/2″ strip at a visible edge, shift the whole layout half a tile so both ends get generous cuts. Decide your ending height too: the 4-inch strip is dated, the standard 18-inch fill always works, and full-height to the ceiling or hood makes any tile look intentional. Finally, plan your edges — where tile stops mid-wall, spec a metal edge profile ($15–$30 per stick) or a bullnose tile. A raw cut edge with caulked paint next to it reads unfinished forever.
Step 4: DIY or Hire? An Honest Assessment
A backsplash is the most DIY-friendly tile job in a house — no foot traffic, no waterproofing, small area. If you can use a level and follow cure times, mesh-backed mosaic or 3×6 subway on a flat painted wall is absolutely within a patient beginner’s reach over a weekend, and you’ll save $900–$2,000 in labor.
Hire it out when any of these apply: large-format tile (12×24 and up needs flat walls and technique to avoid lippage), slab material (two-person lift, zero error margin), handmade zellige (irregularity demands experience), tight-radius outlets and window wraps everywhere, or walls that bow more than 1/8″ over 4 feet. A good tile setter charges $400–$1,200 in labor for a standard kitchen splash and finishes in a day. Ask to see photos of their grout lines up close — joint consistency is the tell that separates pros from painters who also tile.
Step 5: The Materials Checklist People Forget
- Thinset or mastic rated for your tile (glass usually wants white thinset)
- Correct trowel — 3/16″ V-notch for mosaic, 1/4″ square-notch for most field tile
- Spacers matched to your joint (1/16″–1/8″ typical on walls)
- Grout: unsanded for joints under 1/8″, sanded above; urethane/acrylic premix if you want stain resistance without sealing
- Color-matched silicone caulk for the counter joint and inside corners
- Outlet box extenders — code requires outlets flush to the new tile face
- Metal edge trim for any exposed tile edge
- Painter’s tape, rosin paper, two sponges, two buckets, microfiber cloths
Troubleshooting: Fixes for Backsplashes Gone Wrong
“My grout is cracking at the countertop.” Grout was used at a change of plane. Rake it out with a carbide grout saw and re-fill with color-matched silicone. Fifteen-minute fix, permanent solution.
“There’s white haze all over the tile.” Grout haze. Within a week: buff with a damp microfiber and a nylon pad. Older or stubborn haze on porcelain: a diluted haze remover from the tile aisle ($10). On natural stone, use only stone-safe cleaners — acids etch marble instantly.
“A few tiles sound hollow or fell off.” Bond failure, usually from grease on the wall or skinned-over thinset. Remove the loose tiles, scrape the old mortar flat, degrease, and reset with fresh thinset. If more than a quarter of the wall taps hollow, the whole install is suspect — plan a redo rather than chasing failures one tile at a time.
“My outlets sit below the tile surface.” Add box extenders — $3 each, five minutes per outlet with the breaker off. Never leave receptacles recessed behind combustible gaps; it’s a code violation and a real fire concern.
“The grout color turned out wrong.” You have three options in ascending order of effort: live with it for a season (wet grout dries lighter — judge nothing for 72 hours), apply a grout colorant/stain pen system ($20–$40, works surprisingly well on cement grout), or rake out and regrout the top 1/8″ with the color you actually wanted.
“I hate my old backsplash but can’t afford a redo.” Cheapest to priciest: paint it with a two-part epoxy tile paint ($50, lasts 2–5 years), regrout in a fresh color, or install quality peel-and-stick over the top if the existing tile is flat and glossy.
Sequencing: When the Backsplash Happens in a Remodel
Backsplash comes after countertops, always — the counter must be templated, installed, and the joint gap known before tile goes up. If you’re replacing counters and splash together, don’t let anyone talk you into tiling first. Cabinets and paint should also be done; cutting in wall paint above fresh tile is easy, but tiling against a wall that still needs sanding is misery. Range hoods go in before tile too, so you know exactly where the field ends.
A Realistic Weekend Timeline
For DIYers who’ve decided to go for it, here’s the schedule that actually works. Friday evening: clear the counters, kill power to splash-zone outlets, degrease and scuff the wall, strike your level line, and dry-lay the layout. Saturday: set tile, working from the focal wall’s centerline outward, finishing with the corner cuts — a full day for a first-timer, and that’s fine. Saturday night: nothing. The thinset cures; you rest. Sunday morning: grout in sections, wipe, buff haze. Sunday evening or Monday: caulk the counter joint and corners, reinstall outlets with extenders, restore power. Total working hours: 10 to 14 for a standard kitchen. The number one schedule mistake is compressing Saturday night — grouting over green thinset shifts tiles and traps moisture, and it’s the most common reason first-time backsplashes develop hollow spots. The wall took decades to get ugly; give the mortar its twelve hours.
If you take nothing else from this page, take this: measure twice with the overage included, choose the tile your cooking habits can live with rather than the one the showroom lighting sold you, solve the layout on paper before mixing anything, and use caulk — never grout — where the wall meets the counter. Those four habits prevent about 90 percent of the calls I get. The backsplash is a small wall with an outsized effect on your kitchen; give it one careful weekend of planning and it will pay you back every day for twenty years.