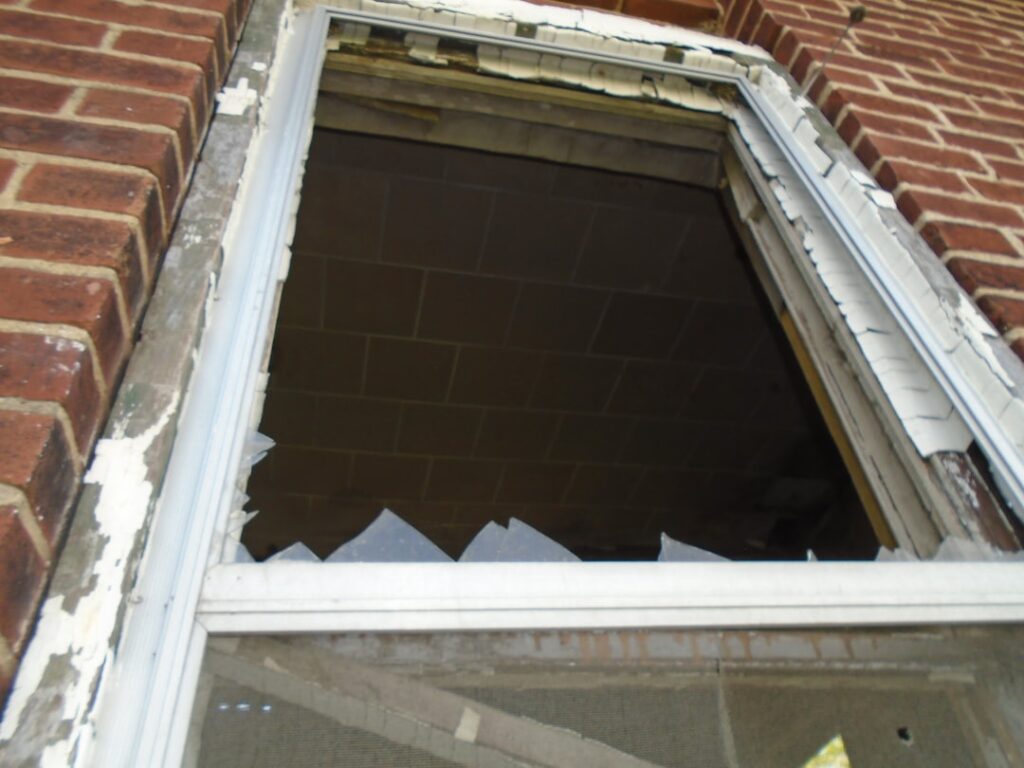
If your basement has a drafty, rusted, or fogged-up window that tilts inward from the top, you are looking at a candidate for hopper window replacement, and it is one of the more approachable window upgrades a homeowner can tackle. A hopper window replacement improves ventilation, seals out drafts, and often solves the moisture and security problems that plague old steel basement units. Because these windows are small and usually sit in an accessible opening, the project is far less daunting than swapping a large picture or double-hung window.
Part of our Windows & Doors guide — explore the full guide →
A hopper window is hinged at the bottom and opens inward from the top, like a bin or hopper tipping toward you. That design sheds rain outward while letting warm, stale air escape near the ceiling of the room. You will find them in basements, bathrooms, and utility spaces where compact, high-mounted ventilation matters. Here is how to plan and execute the swap.
How Hopper Windows Work and Where They Fit
Because the sash tilts inward at the top on bottom hinges, a hopper vents air rising toward the ceiling while its outward-sloping top helps keep rain from blowing in when cracked open. That makes them ideal for below-grade openings where you want ventilation without a large exposed opening. Their small size and inward swing also make them easy to fit with a window well, screen, or security bar.
They are common in older homes as single-pane steel units that conduct cold, rust at the frame, and leak air badly. Replacing one of these with a modern insulated vinyl or fiberglass hopper is a genuine comfort and efficiency upgrade, especially in a finished basement.
Because the sash swings inward, plan for the space it needs to open into the room. In a finished basement, do not place shelving, a workbench, or furniture directly beneath the window where it would block the tilting sash. The inward swing is actually a convenience for cleaning, since you can wipe both sides of the glass from inside, but it does claim a few inches of interior clearance. Pair the unit with a fitted screen so you can crack it for ventilation without letting insects in, and confirm the latch is easy to reach if the window sits high on the wall.
Measuring the Opening Correctly
Accurate measurement is the whole game with any window replacement. Measure the width at the top, middle, and bottom of the existing frame opening, and use the smallest number. Do the same for height at the left, center, and right. Basement openings, particularly masonry ones, are rarely perfectly square, so those three-point measurements matter.
For a full-frame replacement into a masonry or block wall, measure the rough opening, the raw hole, and order a unit sized to leave about 1/4 to 1/2 inch of gap on each side for shimming and sealing. For a pocket or insert replacement into an existing wood frame, measure the frame’s inside dimensions. When in doubt, have the window supplier confirm your measurements before ordering, because a custom hopper is not returnable.
Material and Glass Choices
Modern hoppers come in a few frame materials, each with tradeoffs:
- Vinyl: The value leader. Insulates well, resists moisture and rot, and needs no painting. Ideal for damp basements.
- Fiberglass: Stronger and more dimensionally stable than vinyl, holds paint, costs more.
- Aluminum: Durable but conducts cold unless thermally broken; less common for energy-focused swaps.
For glass, choose double-pane insulated glazing with a low-E coating and argon fill if the budget allows. That combination cuts heat loss and reduces the condensation that plagues single-pane basement windows. In a bathroom, add obscured or frosted glass for privacy. Look for the window’s U-factor on its energy label; a lower number, roughly 0.30 or below, means better insulation.
Egress Rules You Cannot Ignore
Here is the single most important caveat: most standard hopper windows are too small to serve as an emergency egress. If the basement room is or will become a bedroom, building codes generally require an egress window meeting minimum opening dimensions, typically a net clear opening of about 5.7 square feet, at least 20 inches wide and 24 inches high, with a sill no more than 44 inches above the floor. A small hopper almost never meets that standard.
If you are simply replacing a window in a utility or storage area, a like-for-like hopper is fine. But if the space is a sleeping room, you may need to enlarge the opening and install a proper egress window and well instead, which is a bigger structural job. Confirm requirements with your local building department before you order, because getting this wrong can fail inspection and, worse, endanger occupants.
Cost of a Hopper Window Replacement
Hopper windows themselves are inexpensive relative to full-size windows. A basic vinyl hopper runs roughly $80 to $250 for the unit. A better-insulated fiberglass or low-E argon model lands between $200 and $450. If you replace it yourself, add $30 to $60 for shims, low-expansion foam, backer rod, sealant, and flashing tape.
Hiring a professional to remove the old unit and install the new one typically adds $150 to $500 in labor for a straightforward swap. Costs climb if the opening needs masonry work, a new buck frame, or enlargement for egress, which can push a project into the $1,000 to $3,000-plus range once concrete cutting and a window well enter the picture. Get the egress question answered first, since it is the biggest cost swing.
Installation Overview
For a like-for-like replacement in an accessible opening, the basic sequence is manageable for a handy homeowner. Remove the old sash and frame, taking care with rusted steel units and old glazing. Clean and inspect the opening for rot, cracked masonry, or water intrusion, and address any moisture source before installing new work. Dry-fit the new window to confirm it sits square and level.
Set the unit with shims until it is plumb, level, and square, then fasten it per the manufacturer’s instructions. Seal the exterior perimeter with appropriate flashing and sealant, insulate the gap with low-expansion window-and-door foam (never high-expansion, which can bow the frame), and finish the interior with trim or a sealed reveal. Test that the sash opens, closes, and latches smoothly before you call it done. If the opening is out of square, the wall is masonry you are uncomfortable cutting, or you find structural damage, bring in a professional installer.
Managing Water and Condensation Afterward
A new window solves air leakage, but basement moisture is a system. Pair the replacement with a functional window well and drainage if the unit sits below grade, so water does not pool against the sill. A well cover keeps out rain, leaves, and debris while still allowing some light and air.
A well cover, whether a clear domed polycarbonate lid or a flat grate, keeps rain, snow, and debris out of the well while still admitting daylight, and it adds a measure of security against intrusion through a below-grade window. Inside, address humidity with ventilation or a dehumidifier so the new insulated glass does not collect condensation from a damp room. A modern low-E double-pane hopper will resist fogging far better than the old single pane, but it cannot overcome a chronically wet basement on its own.
Grade and drainage around the exterior of the window matter as much as the unit itself. The soil should slope away from the foundation so rainwater and snowmelt drain off rather than pooling against the sill. A gravel base in the window well helps water percolate down rather than backing up against the glass, and in some installations a drain at the bottom of the well ties into the foundation drainage. If you have battled water intrusion at this window before, solve the drainage first, because even a perfect new window will leak or sweat if it sits in a well that fills with water every storm.
Is It Worth Doing?
For most homeowners, yes. A hopper window replacement is one of the cheapest ways to stop a persistent draft, cut basement moisture, and improve security over a rusty steel original. The materials are affordable, the opening is usually accessible, and the payoff in comfort is immediate. Just settle the egress question up front, measure three ways, and choose insulated low-E glass, and you will have a tidy, weathertight upgrade that pays you back every winter. Compared with replacing a large main-floor window, the cost is modest and the disruption minimal, since the opening is small and usually easy to reach. For a homeowner looking for a high-impact, budget-friendly improvement to a basement or bath, few projects deliver more comfort per dollar than swapping a rusty single-pane hopper for a modern, insulated one that seals tight and opens smoothly for years to come.