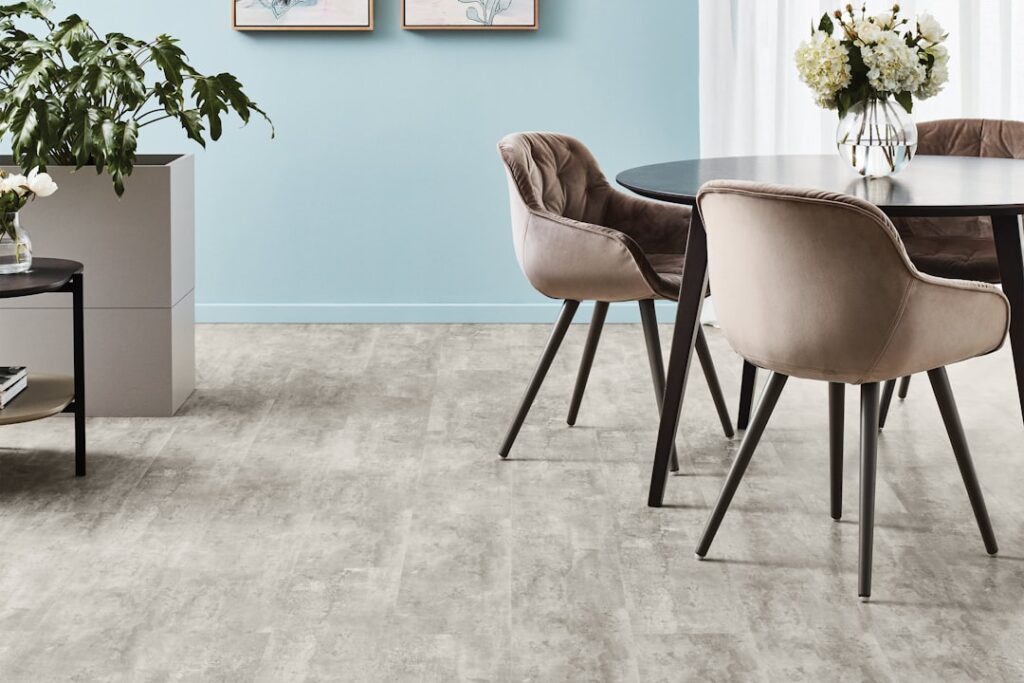
Most luxury vinyl plank installs bog down at the same moment: the first cut. Boards shatter at the corner, blades melt the core, and the cut edge leaves a gap the homeowner will see every morning over coffee. Learning how to cut LVP flooring cleanly comes down to three things — the right tool for the cut, the right blade for the tool, and a scoring technique that respects the plank’s construction. Get those locked in and a full kitchen install goes from a frustrating weekend into a clean one-day job.
Understand What You Are Cutting
Luxury vinyl plank is a laminated product. A tough wear layer sits on top of a printed film, which bonds to a rigid or semi-rigid core — SPC (stone polymer composite) or WPC (wood polymer composite) in most modern products. An attached underlayment usually lives on the bottom. The core thickness and rigidity decide which tool works best. SPC is harder and denser; WPC is slightly softer and quieter to cut.
Always cut LVP face up when possible. Chip-out happens on the exit side, so keeping the decorative surface on the entry side gives the cleanest visible edge.
Tool Options, Ranked
Utility Knife and Straightedge (Score and Snap)
Best for straight crosscuts on WPC and thin SPC up to 5mm. Score the wear layer three to five times with a sharp utility blade along a metal straightedge, then snap the plank downward over the edge of a workbench. Finish the underside cut with the knife. Zero dust, zero noise, zero blade cost.
Miter Saw
The fastest way to make straight crosscuts in a full LVP install. A 10 or 12 inch miter saw with a fine-tooth blade makes a square cut in one stroke. Rigid SPC cuts cleanly; WPC can gum the blade on slow cuts.
- Blade: 80-tooth or higher carbide, alternate top bevel (ATB), negative hook angle if available.
- Tip: Sandwich the plank between two scrap pieces to reduce chip-out on thick SPC.
Jigsaw
Essential for curved cuts around toilets, pipes, vents, and irregular door jambs. Use a fine-tooth metal-cutting blade (24 TPI or higher) and cut on the slowest orbital setting with the plank face down for cleaner visible edges.
Table Saw
Best for long rip cuts along the final row. Use an 80-tooth plywood or melamine blade and feed slowly to prevent melting. A zero-clearance insert stops chip-out underneath.
Oscillating Multi-Tool
The right answer for undercutting door jambs and finishing notch cuts near walls. Pair with a bimetal or carbide segment blade. Slow, but precise.
Flooring Shear
A dedicated LVP cutter, sometimes called a guillotine cutter, makes perfectly straight crosscuts in seconds with zero dust. Bullet Tools MAGNUM 13 or Roberts 10-64 run $150 to $400 and pay for themselves on any room larger than 200 sq ft.
Step-by-Step: Score and Snap
- Mark the cut with a pencil and square across the wear layer.
- Line up a metal straightedge on the waste side of the line, clamped to a workbench.
- Score three to five times with a fresh utility blade, pressing firmly. Each pass cuts deeper.
- Overhang the bench edge so the cut line sits just past the table.
- Press sharply downward on the waste piece. The plank should snap cleanly along the score.
- Run the blade along the back to sever the attached underlayment if any fibers remain.
Step-by-Step: Miter Saw Crosscut
- Set the plank face up against the fence.
- Align the cut mark with the blade, leaving the blade kerf on the waste side.
- Start the saw and let it reach full speed before entering the work.
- Cut steadily in a single stroke without stopping mid-cut to prevent melting.
- Raise the blade after the cut before releasing the plank.
Cutting Around Obstacles
Toilet Flanges
Trace the flange onto the plank with a contour gauge or a paper template. Drill a starter hole inside the waste area, then finish with a jigsaw. Leave a 1/4 inch expansion gap around the flange; the toilet base will cover it.
Door Jambs
Never notch a plank to fit around a door jamb. Use an oscillating multi-tool to undercut the jamb by the thickness of the plank plus 1mm and slide the board underneath. The result looks built-in, not cut-to-fit.
HVAC Vents and Floor Registers
Measure the opening and transfer dimensions with a square. Cut a rectangle 1/4 inch larger than the opening and trim for an expansion gap. The register cover hides any minor irregularity.
Irregular Walls
Set the plank parallel to the wall and use a compass or scribe tool to trace the wall profile onto the plank. Cut along the scribed line with a jigsaw. This is the professional technique for old houses with out-of-square walls.
Pro Tips for Clean Cuts
- Replace utility blades often. One blade lasts about 40 cuts on SPC before dulling.
- Cut in a dust-contained area. Miter and jigsaw cuts throw vinyl chips that stick to static surfaces.
- Wear a respirator rated N95 or better when power-cutting. Some older LVP products contained phthalates, though current US-sold stock does not.
- Keep a small fan behind you blowing dust away when using a miter saw indoors.
- Do not cut when the plank is cold. Below 65°F, SPC cores chip more easily. Acclimate to room temperature for 48 hours before install.
Common Mistakes
Forcing a dull blade is the top cause of ragged edges. Rushing a miter saw cut melts the wear layer into a molten lip that catches on the adjoining plank. Cutting face down on a table saw causes chip-out on the visible side. None of these mistakes are skill issues; they are setup issues. Fix the tool and the cut improves immediately.
Bottom Line
Knowing how to cut LVP flooring cleanly is less about raw skill and more about matching the tool to the cut. Score and snap for simple crosscuts, miter saw for speed on full rooms, jigsaw for curves, and a multi-tool for undercutting jambs. Keep blades fresh, cut face up, and respect the plank’s layered construction. With those habits in place, cut edges disappear under baseboard and transitions look factory-tight across the whole room.
Frequently Asked Questions
How do you cut vinyl plank flooring lengthwise?
A table saw with a fine-tooth blade is the cleanest way to rip LVP lengthwise for the last row. Without one, score the plank several times along a clamped straightedge and snap it, or use a circular saw guided by a straightedge. Measure each rip at both ends, since walls are rarely straight, and remember to subtract the expansion gap.
Can you cut LVP without a saw?
Yes. Most straight crosscuts on LVP can be made with a sharp utility knife using the score and snap method, and a flooring shear cuts planks with no dust at all. Thicker, rigid SPC planks need more scoring passes before they snap cleanly. Curves and notches around pipes or flanges still need a jigsaw or oscillating tool.
Can you use a circular saw to cut LVP?
Yes. A circular saw works for crosscuts and rips if it has a fine-tooth blade. Because a circular saw blade cuts upward through the top of the board, place the plank face down so any chip-out lands on the hidden underside. Clamp the plank and run the saw along a straightedge for a square, clean edge.
Do you cut luxury vinyl tile the same way as LVP?
Yes. Luxury vinyl tile shares the same layered construction as plank, so the same tools and techniques apply. Score and snap works for straight cuts on most tiles, a miter saw or flooring shear handles repeated cuts quickly, and a jigsaw takes care of curves. Wider tiles may need a longer straightedge to keep the score line straight.
How big of a gap should you leave when cutting LVP at the walls?
Most floating LVP products call for an expansion gap of about 1/4 inch at every wall and fixed object. Check the installation instructions for your specific plank, since some products list a different gap for very large rooms. Use spacers during installation, and cover the gap with baseboard or quarter round once the floor is down.
Prefer to explore on your own?
See how new flooring looks in your actual room in seconds — free, no signup.
Try the free Floor Studio →