A single dripping faucet wastes up to 3,000 gallons of water per year, which adds roughly $20-$30 to your annual water bill and slowly stains your sink basin. Learning how to fix a leaky faucet yourself saves the $150-$300 a plumber would charge and rarely takes longer than 30-45 minutes. The key is identifying which type of faucet mechanism you have, because each design fails differently and requires a different repair approach.
Identify Your Faucet Type
There are four common faucet mechanisms in residential kitchens and bathrooms. Knowing which one you have determines the repair parts you need and the steps you follow.
- Cartridge: Found in both single-handle and double-handle faucets. Uses a cylindrical cartridge that slides in and out. Moen and Pfister use this design extensively
- Ball: Single-handle faucets with a rounded cap above the base. A metal or plastic ball inside controls water flow and temperature. Common in Delta faucets
- Compression: Old-style double-handle faucets with rubber washers. You feel resistance when closing the handle because you are compressing a washer against a valve seat. Found in many pre-1990 faucets
- Ceramic disc: Single-handle faucets with a wide cylindrical body. Two ceramic discs rotate against each other to control flow. Found in higher-end Kohler and American Standard models
If you are unsure, remove the handle and look at the internal mechanism. A round ball means ball type. A cylindrical tube means cartridge. Two separate handles with screw-down action means compression.
Tools and Supplies You Will Need
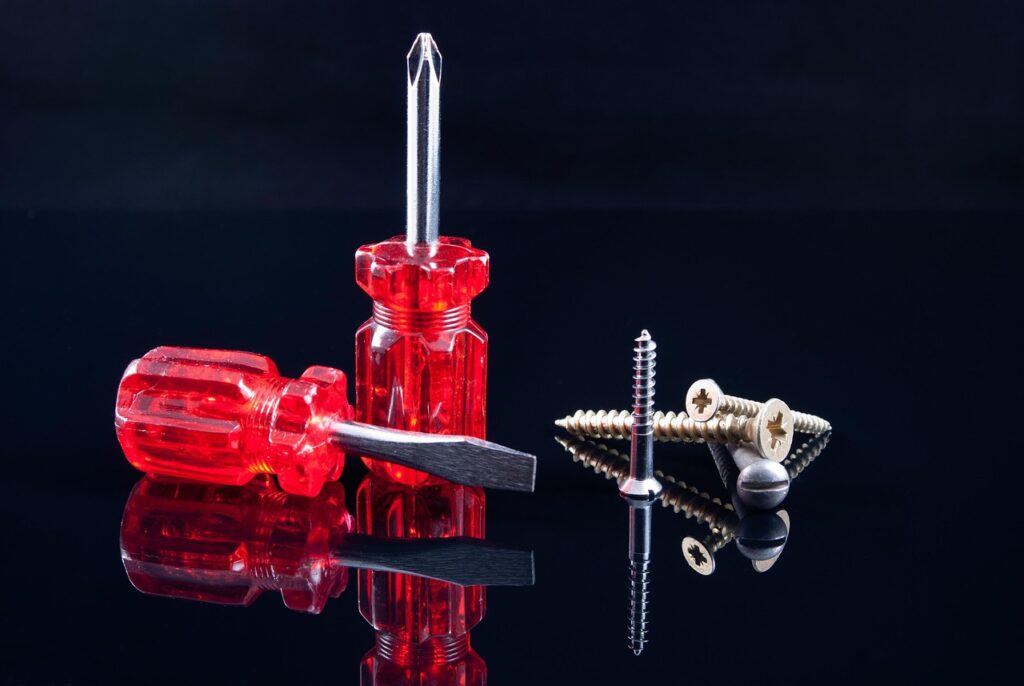
Most faucet repairs require only basic tools you probably already own. Gather an adjustable wrench, a Phillips and flathead screwdriver set, hex (Allen) wrenches, needle-nose pliers, and plumber’s grease. You may also need a cartridge puller tool ($10) if the old cartridge is stuck, which is common in faucets over five years old.
Buy a repair kit specific to your faucet brand and model. Kits cost $5-$20 and include all the seals, O-rings, springs, and washers for your mechanism. Check the faucet manufacturer’s label under the sink or look for model numbers stamped on the faucet body. Bring the old parts to the hardware store if you cannot find a model number, as employees can usually match them visually.
Fixing a Cartridge Faucet
Shut off the water supply valves under the sink and open the faucet to relieve pressure. Pry off the decorative cap on the handle with a flathead screwdriver. Remove the handle screw (usually a Phillips or hex screw) and pull the handle straight off. You may need to wiggle it gently or use a handle puller if it is corroded in place.
Remove the retaining clip or nut holding the cartridge in the faucet body. Grip the cartridge stem with pliers and pull it straight out. If it will not budge, a cartridge puller tool threads onto the stem and provides mechanical leverage. Take the old cartridge to the hardware store to match the replacement exactly. Coat the new cartridge O-rings with plumber’s grease, slide it into the body, and reassemble in reverse order. Turn the water on slowly and check for leaks.
Fixing a Ball-Type Faucet
Ball faucets have more moving parts than other types, which means more potential leak points. After shutting off the water, remove the handle by loosening the set screw with a hex wrench. Unscrew the cap and collar using adjustable pliers wrapped in a cloth to protect the finish.
Lift out the cam, cam washer, and ball assembly. Inside the faucet body, you will see two rubber seats and two small springs in the inlet holes. Pry these out with a flathead screwdriver or needle-nose pliers. These tiny seats and springs are the most common failure point on ball faucets. Replace them with the new ones from your repair kit, dropping the spring in first and then pressing the rubber seat on top. Reinstall the ball, cam washer, and cap. If the leak was coming from the base of the faucet rather than the spout, replace the O-rings on the faucet body before reassembling.
Fixing a Compression Faucet
Compression faucets are the oldest and simplest design. Remove the handle by unscrewing the decorative cap and the handle screw beneath it. Use an adjustable wrench to unscrew the packing nut, then pull the stem assembly straight out of the valve body.
At the bottom of the stem, you will find a rubber washer held in place by a brass screw. Remove the screw and pry out the old washer. Take it to the hardware store to match the size. Flat washers and beveled washers are not interchangeable, so note the shape. While the stem is out, inspect the valve seat inside the faucet body. Run your finger around the rim. If it feels rough or pitted, it will chew through new washers quickly. A seat grinder tool ($10) smooths the surface, or you can replace the entire seat if it is a removable type. Install the new washer, coat the stem threads with plumber’s grease, and reassemble.
Fixing a Ceramic Disc Faucet
Ceramic disc faucets rarely leak, but when they do, the issue is almost always worn seals on the underside of the disc assembly. Remove the handle and unscrew the escutcheon cap to expose the disc cartridge. Unscrew the cartridge mounting screws and lift the entire disc cylinder out of the faucet body.
On the bottom of the cartridge, you will see two or three rubber seals set into recessed slots. Pry them out with a small flathead screwdriver. Clean the seal recesses and the inside of the faucet body with white vinegar to remove mineral buildup. Press new seals into the slots and reinstall the cartridge. When turning the water back on, open the faucet first and turn the supply valves on very slowly. A sudden burst of water pressure into an empty ceramic disc cartridge can crack the discs, which turns a $5 seal replacement into a $50-$100 cartridge replacement.
When to Replace Instead of Repair
Some faucets are not worth repairing. If replacement parts are no longer available for your model, the faucet body is corroded or cracked, or you have already repaired the same faucet multiple times, a full replacement makes more sense. A quality single-handle kitchen faucet from Moen, Delta, or Kohler costs $120-$250 and installs in about an hour. Bathroom faucets run $60-$180.
Replacing a faucet involves disconnecting the supply lines, removing the mounting nuts from under the sink, lifting out the old faucet, and reversing the process with the new one. Flexible braided supply lines ($5-$10 each) make the water connections simple. If your supply valves are older gate valves that drip when you shut them off, replace them with quarter-turn ball valves while you have the lines disconnected. This small upgrade costs $10-$15 per valve and prevents future headaches. A working faucet that does not drip saves water, eliminates that annoying sound, and keeps your sink free of mineral stains from constant dripping.