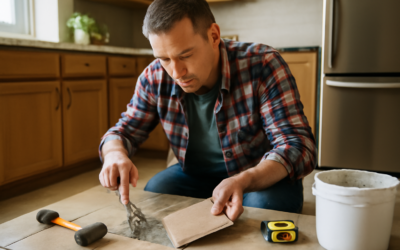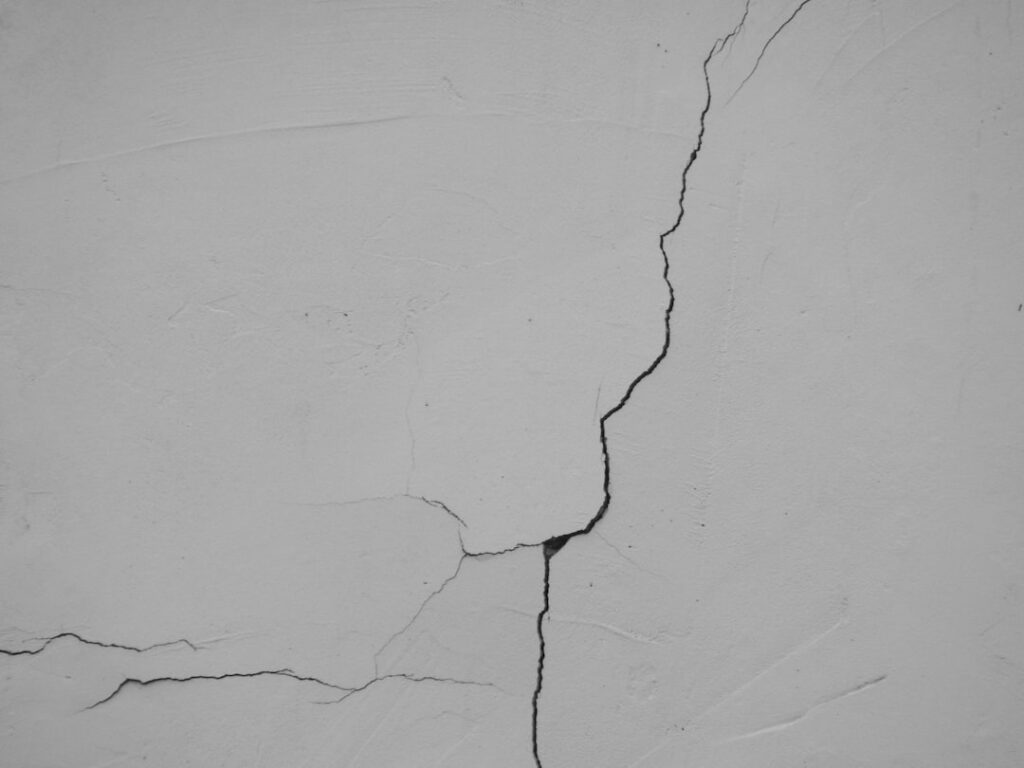
A single cracked tile can make an otherwise perfect floor look neglected, and most homeowners assume the fix means tearing up the whole area. It usually does not. Learning how to fix cracked tile comes down to two paths: filling a minor surface crack so it disappears, or cleanly removing and replacing a broken tile without disturbing its neighbors. Both are weekend-friendly jobs with hand tools. The trick is matching the repair to the damage and, just as important, figuring out why the tile cracked in the first place so you do not repeat the work in six months.
Part of our Tile & Grout guide — explore the full guide →
First, Find Out Why It Cracked
Before you repair anything, diagnose the cause. A hairline crack in one tile is often just an impact, a dropped pan or a heavy object. But a crack that runs across several tiles in a line usually points to a structural problem underneath: a flexing subfloor, a failed mortar bed, or movement in the slab. Press around the cracked tile. If it sounds hollow or shifts, the bond has failed. If multiple tiles are cracking along the same path, fix the subfloor stiffness or the underlying movement first, or any cosmetic repair will fail again. For a single isolated crack with solid tiles all around, you are clear to proceed.
Option 1: Filling a Hairline or Surface Crack
For a thin crack in a tile that is still firmly bonded, you can fill rather than replace. This works best on glazed ceramic and porcelain where the damage is cosmetic.
- Clean the crack. Wipe the tile with a degreasing cleaner and let it dry fully so filler bonds well.
- Apply epoxy or a matching filler. A two-part clear epoxy or a color-matched tile repair filler works. Squeeze a small amount into the crack and work it in with a toothpick or putty knife.
- Wipe off the excess immediately with a cloth dampened with the appropriate solvent, leaving filler only in the crack itself.
- Touch up the color. For visible cracks, use a dab of matching oil-based paint or a tile touch-up pen over the cured filler, then seal with a clear glaze or a coat of clear nail polish for sheen.
This is a cosmetic fix, not a structural one. It hides the line and keeps moisture out, but it will not restore the tile’s strength.
Option 2: Replacing a Broken Tile
When a tile is shattered, loose, or badly cracked, replacement is the real fix. The goal is to remove only the damaged tile while protecting the surrounding ones.
Tools and Materials You Will Need
- Safety glasses and work gloves
- Grout removal tool or oscillating multi-tool
- Cold chisel and hammer, or a drill with a masonry bit
- Putty knife and notched trowel
- Replacement tile (ideally a matching spare)
- Thin-set mortar, grout, and tile spacers
Step-by-Step Removal and Replacement
- Remove the surrounding grout. Rake out the grout lines around the cracked tile with a grout saw or oscillating tool. This isolates the tile so breaking it does not damage neighbors.
- Break out the old tile. Put on your glasses. Drill a few holes near the center of the tile, then use a chisel and hammer to break it from the center outward, working toward the edges. Pry the pieces up carefully.
- Scrape the substrate clean. Chisel and scrape away the old thin-set until the surface is flat and free of high spots. A clean, level bed is what makes the new tile sit flush.
- Dry-fit the new tile. Set it in place without mortar to confirm it sits level with the surrounding tiles. Adjust the substrate as needed.
- Set in thin-set. Spread thin-set on the substrate with a notched trowel, press the tile down with a slight twist, and use spacers to keep the grout lines even. Wipe away any mortar that squeezes up.
- Let it cure. Leave the thin-set to set for the time on the label, typically 24 hours, before grouting. Do not rush this.
- Grout the joints. Mix grout to match the existing color, work it into the lines with a rubber float, then wipe the surface clean with a damp sponge. Buff off the haze once it dries.
- Seal the grout after it cures fully, usually 48 to 72 hours, to keep out moisture and staining.
Matching New Grout and Tile
The hardest part of a tile repair is often making the new work disappear. If you saved leftover tiles from the original installation, use them; even the same product from a different production run can vary slightly in shade. For grout, take a clean chip of old grout to the store to match the color, and remember that fresh grout looks darker until it fully cures and dries. Sealing the new grout and gently cleaning the old grout nearby helps the repaired joint blend with the rest of the floor.
Pro Tips That Save Time and Money
- Keep spare tiles. Always set aside a box of leftover tile after any installation. An exact match years later is worth far more than the storage space.
- Work slowly on removal. Most cracked-neighbor damage happens when people rush the demolition. Patience around the edges protects the tiles you want to keep.
- Check the subfloor for tile floors that crack repeatedly. A bouncy floor needs added stiffness or a proper uncoupling membrane before retiling, or you will be back with the chisel.
- Call a pro for large cracks across many tiles, which signal a structural issue that a single tile swap will not solve.
Fixing a cracked tile is one of the most satisfying small repairs in a home. A filler job takes 30 minutes and a curing day; a full replacement takes an afternoon plus drying time. Either way, you restore the floor without the cost and disruption of a full retile, as long as you address what cracked it in the first place.
Prefer to explore on your own?
See how new flooring looks in your actual room in seconds — free, no signup.
Try the free Floor Studio →