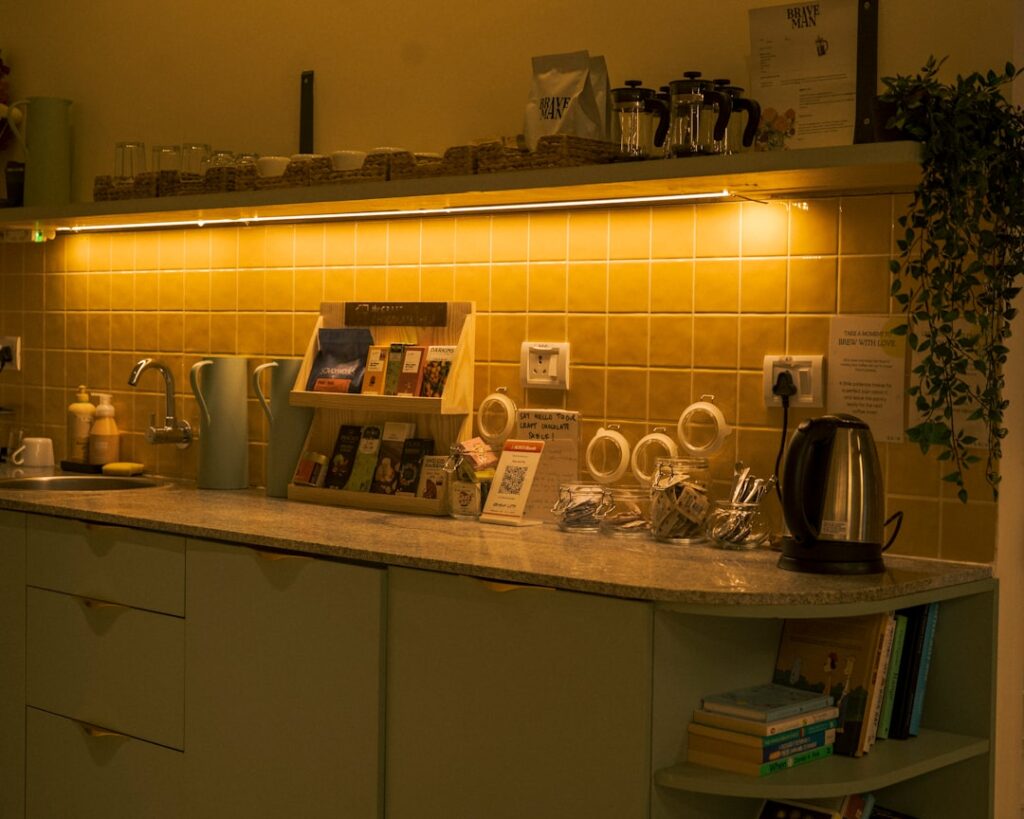
Under cabinet lighting is the upgrade that makes a kitchen feel professionally designed, erasing the shadows your overhead fixtures throw across the countertop right where you chop, read recipes, and work. Learning how to wire under cabinet lighting is well within reach for a confident DIYer, and the payoff is both better task lighting and a warm ambient glow that elevates the whole room. The job ranges from a simple plug-in strip to a fully hardwired system tied to a wall switch. This guide breaks down every approach, the tools you need, and a clear wiring process so you can light your counters safely and cleanly.
Part of our Kitchen Remodeling guide — explore the full guide →
- Choose Your Lighting Type First
- Tools and Materials You Will Need
- Safety and Planning Before You Cut
- Wiring a Hardwired System Step by Step
- Installing Low-Voltage Tape Lighting
- Adding Dimmers and Smart Controls
- Choosing Color Temperature and Brightness
- Hiding Wires and Fixtures for a Clean Look
- Final Thoughts
Choose Your Lighting Type First
Before touching a wire, decide which system fits your skill level, kitchen, and budget. Each has real trade-offs in appearance, difficulty, and cost.
- Plug-in LED strips or bars: The easiest option. They stick or screw under the cabinet and plug into an existing outlet. No electrical work required, roughly $20 to $80 per kit.
- Hardwired LED fixtures: Wired directly into your home’s electrical system and controlled by a wall switch or dimmer. The cleanest look with no visible cords, but requires running cable.
- Low-voltage puck or tape lights: Run off a transformer that steps 120V down to 12V or 24V. Popular for tape lighting and a favorite for even, seamless illumination.
If you want zero visible wires and a permanent, switch-controlled install, hardwired or low-voltage is the way to go. If you rent or want a weekend project with no risk, plug-in strips deliver most of the benefit with none of the wiring.
Tools and Materials You Will Need
Gather your supplies before starting so you are not running to the store mid-project. For a hardwired install you will typically need:
- Under cabinet light fixtures or LED tape and channel
- 14/2 or 12/2 NM cable to match your circuit
- Wire strippers, a voltage tester, and wire connectors
- A drill with spade bits, a fish tape, and a stud finder
- A wall switch or dimmer and an old-work electrical box
- Cable staples, a drywall saw, and painter’s tape
A non-contact voltage tester is non-negotiable. You will use it repeatedly to confirm power is off before you touch any wire, and it is the single most important safety tool on this job.
Safety and Planning Before You Cut
Any hardwired lighting connects to your home’s power, so treat it with respect. Turn off the circuit at the breaker panel before doing any wiring, then verify it is dead with your tester at the box you plan to work in. If you are at all unsure about working inside a live panel or tapping a circuit, hire a licensed electrician; the fixtures are cheap, but a wiring mistake behind the wall is not.
Plan your layout by measuring the underside of each cabinet and positioning fixtures toward the front edge, about two to three inches back from the cabinet’s front lip. This aims the light onto the counter rather than the backsplash and hides the fixtures from view when you stand at the counter. Sketch where the cable will run between cabinets and down to the switch before you drill a single hole.
Wiring a Hardwired System Step by Step
With power off and your layout marked, work methodically. Here is the general sequence for a switch-controlled hardwired install:
- Find a power source, commonly an existing outlet or the switch box, and confirm the circuit can handle the added, modest LED load.
- Cut in an old-work box for your new switch at a convenient wall location, then fish 14/2 cable from that box up into the cabinet run.
- Drill small pass-through holes in the sides of adjacent cabinets so cable can travel from one fixture to the next, keeping holes near the back top corner where they hide.
- Run cable to the first fixture, then chain between fixtures using the knockouts and built-in connectors on most under cabinet lights.
- At each fixture, connect black to black (hot), white to white (neutral), and ground to ground with approved connectors, then secure the cover.
- At the switch box, wire the switch or dimmer according to its diagram, connecting the hot, the switched leg, and grounds.
- Staple loose cable, restore the breaker, and test the switch.
Feed cable gently and never force it around corners. If a run resists, use fish tape rather than yanking, which can nick the insulation and create a hazard inside the wall or cabinet.
Installing Low-Voltage Tape Lighting
Low-voltage tape gives the most seamless, even glow and is forgiving to work with because the tape itself carries no dangerous voltage. You still wire the transformer to your power source, but the tape and its connectors run on safe 12V or 24V.
Mount an aluminum channel under the cabinet front, cut the LED tape only at the marked cut points, and press it into the channel. Connect the tape leads to the low-voltage output of the driver, then wire the driver’s line-voltage side to your switched circuit, or plug it into an outlet for a no-wiring version. Size the transformer to the total wattage of your tape with about 20 percent headroom so it does not run hot. A diffuser lens over the channel softens the individual LED dots into a continuous line of light, which is worth adding for a polished result.
Adding Dimmers and Smart Controls
Dimming transforms under cabinet lighting from a simple work light into flexible mood lighting, but compatibility matters. LED fixtures require an LED-rated dimmer, and low-voltage systems need a driver labeled dimmable, matched to the dimmer type (TRIAC or 0-10V). Mismatched components cause flicker, buzzing, or a limited dimming range.
Smart switches and app-controlled LED systems add scheduling, color temperature adjustment, and voice control. If you want tunable white light that shifts from warm in the evening to cool and bright for cooking, choose a system designed for it from the start, since retrofitting color control later usually means replacing the fixtures.
Choosing Color Temperature and Brightness
The light your fixtures produce matters as much as where you put them, and color temperature is the setting people most often get wrong. Measured in Kelvin, it ranges from warm to cool. A 2700K to 3000K warm white flatters wood tones and creates an inviting glow, which suits most kitchens. A 3500K to 4000K neutral white reads crisp and clean, closer to daylight, and shows food colors accurately for serious cooks. Cooler 5000K light feels clinical in a home kitchen and is usually best avoided.
Brightness is measured in lumens, and for task lighting on a counter you generally want around 200 to 300 lumens per linear foot of cabinet. Too dim and the lighting is merely decorative; too bright and it glares off a glossy countertop. If you cannot decide between warm and neutral, a tunable-white system that shifts color temperature on demand gives you cozy warmth in the evening and bright, accurate light for meal prep, all from the same fixtures.
Hiding Wires and Fixtures for a Clean Look
The difference between amateur and professional under cabinet lighting usually comes down to what you can see. The goal is light on the counter with no visible fixtures, cords, or bright dots reflected in the backsplash. Mount fixtures toward the front lip of the cabinet and add a small valance or light rail along the cabinet’s underside front edge if the fixtures would otherwise be visible from a seated position at an island.
For plug-in systems, route the cord along the back of the cabinet and down a corner, securing it with adhesive clips so it never dangles. On tape lighting, an aluminum channel with a frosted diffuser lens both protects the strip and blurs the individual LEDs into a smooth line of light, eliminating the dotted look that gives cheap installs away. Where a cord must cross to an outlet, a paintable cord cover blends it into the wall. These small finishing touches turn a functional upgrade into one that looks professionally designed.
Final Thoughts
Knowing how to wire under cabinet lighting lets you erase the counter shadows that make even a nice kitchen feel dim, and the results look expensive for a modest investment. Pick the system that matches your comfort with electrical work, plan the fixture placement toward the cabinet front, and always confirm the power is off before you wire. Whether you choose a quick plug-in strip or a fully hardwired, dimmable setup, careful layout and safe wiring will give you clean, even light exactly where you need it most.