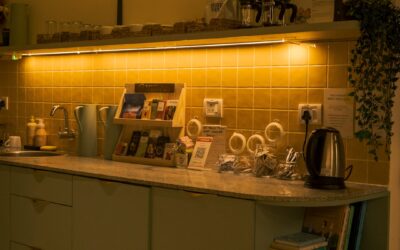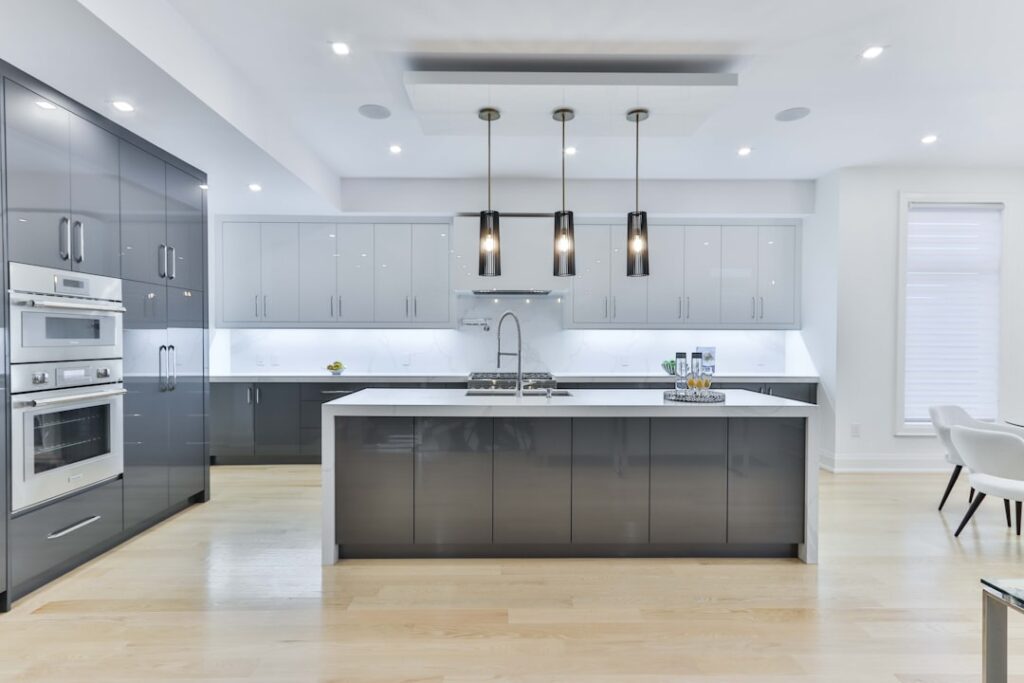
Nothing modernizes a kitchen faster or cheaper than good task lighting under the wall cabinets, and direct wire under cabinet lighting is the version that looks truly built-in. Instead of plug-in cords snaking down to an outlet, hardwired fixtures connect straight into your home’s electrical system and vanish behind the cabinet face. The result is a clean, glare-free wash of light over your countertops with no visible cords, no batteries to swap, and a single switch to control the whole run. Here is everything you need to know before you install it.
Part of our Kitchen Remodeling guide — explore the full guide →
- Direct Wire Versus Plug-In
- Types of Under Cabinet Fixtures
- Choosing Color Temperature and Brightness
- Planning the Circuit
- Installation Steps
- Hiding the Wiring Cleanly
- Safety and Code Considerations
- Cost Expectations
- Positioning Fixtures for the Best Light
- Troubleshooting and Common Problems
- Final Thoughts
Direct Wire Versus Plug-In
Understanding the difference clarifies why so many homeowners choose hardwired. Plug-in fixtures are the easy path: you mount the light, run a cord to a nearby outlet, and you are done in ten minutes. The downside is a visible cord and the use of an outlet you may want for appliances. Direct wire fixtures connect to a cable inside the wall, so there is nothing to see. They typically tie into a wall switch, giving you clean control, and they present a seamless, professional appearance.
The trade-off is that direct wire involves working with your home’s wiring, which means either comfort with electrical work or hiring an electrician, plus a permit in many areas.
Types of Under Cabinet Fixtures
Direct wire lighting comes in several forms, and the right choice depends on your look and layout:
- LED light bars or strips (linkable): rigid, low-profile bars that link together to span a run of cabinets, wired at one end. The most popular choice today.
- LED puck lights: round fixtures that create pools of light, good for accenting rather than even task lighting.
- Tape/ribbon LED with a driver: ultra-thin, flexible tape hidden behind a light rail, giving a continuous seamless glow, wired to a remote transformer.
For everyday kitchen task lighting, linkable LED bars offer the best balance of even light, easy wiring, and clean looks. Ribbon LED gives the most premium, gap-free effect but takes more skill to install.
Choosing Color Temperature and Brightness
Get the light quality right or the whole project disappoints. Color temperature is measured in Kelvin. For kitchens, 2700K to 3000K gives a warm, inviting tone that flatters wood and warm countertops, while 3500K to 4000K reads crisp and clean for food prep and modern spaces. Match it to your other kitchen lighting so nothing looks mismatched.
For brightness, aim for roughly 200 to 400 lumens per linear foot of counter for solid task lighting. Also look for a color rendering index (CRI) of 90 or higher so food and finishes look true to color. Cheap low-CRI strips make everything look flat and sickly.
Planning the Circuit
Before you touch a wire, plan how power gets to the fixtures. The cleanest approach is to run a cable from an existing switch or a nearby circuit up into the cabinet space, controlled by a dedicated wall switch. Many people tie into the same circuit that already serves the kitchen lighting, provided it has capacity. LED fixtures draw very little power, so a whole kitchen of them might total under 60 watts, but the circuit still must not be overloaded.
Decide early whether you want dimming. If so, choose fixtures rated as dimmable and a compatible dimmer switch, because mismatched LED dimmers cause flicker and buzz. Confirm the dimmer is designed for LED loads.
Installation Steps
Here is the general sequence for a hardwired install. If you are not confident working in your panel and boxes, hire a licensed electrician.
- Kill the power at the breaker and verify with a non-contact voltage tester. This is non-negotiable.
- Run the cable from your power source or switch box up behind the wall to a point above the cabinets, then into the underside area. Fishing cable behind an installed backsplash is the hardest part; plan around existing openings.
- Mount the fixtures to the underside of the cabinet, positioned toward the front edge so light falls on the counter, not the backsplash, and hides the fixture from view.
- Make the connections inside the fixture’s junction box, matching hot to hot (black), neutral to neutral (white), and ground to ground (green or bare), secured with proper connectors.
- Link additional bars with the supplied connector cables so one feed powers the whole run.
- Restore power and test, then check the dimmer through its full range for flicker.
Hiding the Wiring Cleanly
The whole appeal of direct wire under cabinet lighting is the invisible finish, so hide the cable well. Route link cables along the recessed channel at the back of the cabinet underside, or use the built-in wire clips that most bars include. Where a cable must cross into the wall, drill through the cabinet back or the wall in a spot the fixtures will conceal. Small paintable raceways can tidy any run you cannot bury, though a clean job rarely needs them.
Safety and Code Considerations
Hardwired lighting is subject to electrical code, and that exists for good reason. All splices must be inside an approved enclosure, not floating behind a cabinet. Use the correct cable type and gauge for the circuit, typically 14-gauge on a 15-amp circuit. Many jurisdictions require a permit and inspection for new hardwired lighting, especially if you are adding a circuit. If any of this feels beyond your skill, the cost of an electrician for a half-day is small compared to a fire risk or a failed home inspection later.
Cost Expectations
Direct wire under cabinet lighting is affordable in materials. A quality set of linkable LED bars for an average kitchen runs $80 to $250, plus a dimmer switch at $20 to $40. If you DIY, that may be your whole cost. Hiring an electrician typically adds $200 to $600 depending on how easy it is to route the cable and whether a new circuit is needed. Compared to the visual upgrade and the resale appeal, it is one of the best returns in the kitchen.
Positioning Fixtures for the Best Light
Where you mount the fixtures matters as much as the fixtures themselves. The goal is even, shadow-free light across the entire countertop, which means placing the bars toward the front edge of the cabinet underside rather than the back. Front placement throws light out onto the counter where you work and hides the fixture from view when you are standing at the counter. Mount them at the back and you light the backsplash while leaving your work surface in shadow, which is exactly backwards.
Space the bars to cover the full run with minimal dark gaps between them. For most kitchens, running continuous linked bars under each cabinet gives the most seamless wash of light. If you use puck lights instead, position them about every 12 to 18 inches so their pools of light overlap rather than leaving scalloped dark spots between them. A quick way to test placement before permanently mounting is to hold a bar in position at night and see where the light lands.
Troubleshooting and Common Problems
Even a clean install can develop quirks, and most are easy to diagnose. If your dimmable LEDs flicker or buzz, the culprit is almost always an incompatible dimmer, so confirm the dimmer is rated for LED loads and matched to your fixture’s minimum wattage. Very low-wattage LED runs sometimes fall below a dimmer’s minimum load, causing flicker, which a compatible LED-specific dimmer solves.
If a section of a linked run does not light, check the connector cables between bars, since a loose link connector is a frequent cause. When the whole system is dead, verify the breaker, the switch, and your wire connections at the junction box. Should the light output look uneven in color from bar to bar, you likely mixed fixtures of different color temperatures, so keep every bar in a run at the same Kelvin rating. Solving these small issues keeps your investment looking as good as the day it was installed.
Final Thoughts
Direct wire under cabinet lighting delivers the clean, custom look that plug-in strips cannot, and LED technology makes it cheap to run and long-lived. Plan your circuit and dimming, choose warm high-CRI fixtures at the right lumen output, mount them toward the front edge, and hide every cable. Respect the electrical safety rules, or hand the wiring to a pro, and you will end up with countertops bathed in even, cord-free light that makes the entire kitchen feel finished and upscale.