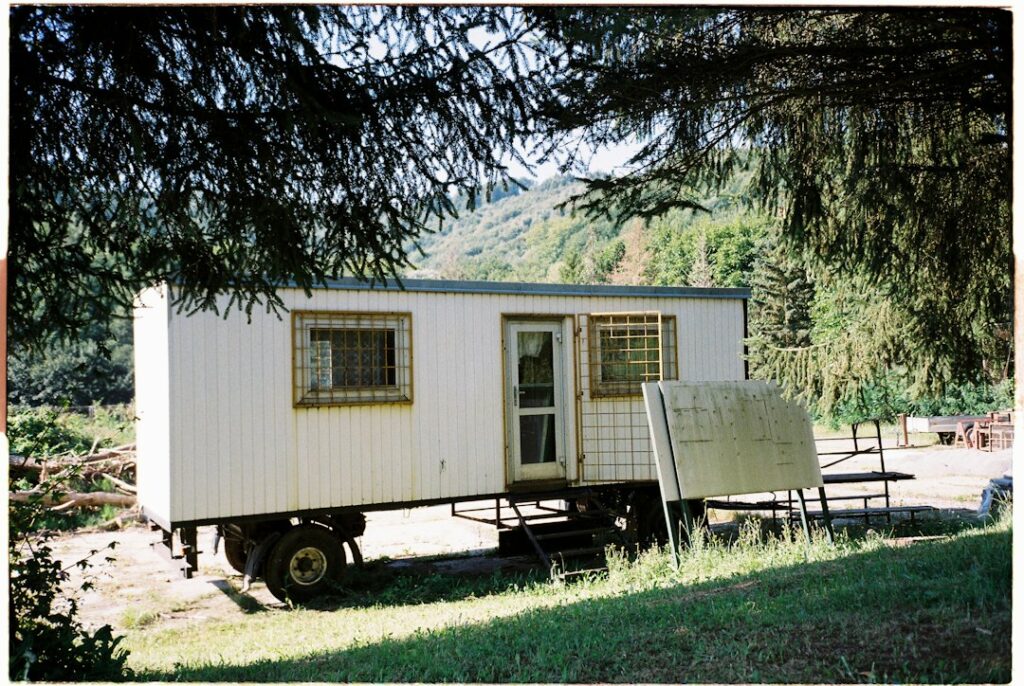
Plain vinyl skirting keeps animals and wind out from under a manufactured home, but it does almost nothing to hold heat. On a cold night the crawlspace runs close to outdoor temperature, and the water lines hanging under the floor freeze first. Insulated mobile home skirting changes that by turning the crawlspace into a buffered zone that stays noticeably warmer than the outside air, which protects pipes and takes the chill off the floors.
You have two realistic routes. One is to install a factory insulated skirting system, panels with foam built in. The other is to keep your existing skirting and add rigid foam insulation board behind it. Either way, the crawlspace still needs ventilation openings, an access panel and a ground moisture barrier, or you trade frozen pipes for rot and mold.
- How Insulated Mobile Home Skirting Works
- R-Values: Factory Panels vs Rigid Foam Board
- Ventilation Openings Are Still Required
- Appliance Vents Must Stay Outside the Skirting
- Moisture Barrier and Access Panel
- Tools and Materials
- Installing Foam Board Behind Existing Skirting
- Troubleshooting
- Cost Ranges and When to Call a Pro
- Frequently Asked Questions
How Insulated Mobile Home Skirting Works
Heat escapes from the belly of the home, from ductwork and from water lines into the crawlspace. Standard skirting lets wind sweep that heat away. Insulated skirting slows the loss through the perimeter, so the space under the home picks up warmth from the ground and the floor above. In many climates that keeps the crawlspace above freezing during typical cold snaps, though it is not a guarantee during extended deep freezes.
Think of it as one layer in a system. The belly wrap and floor insulation of the home are still the primary barrier. Heat tape on vulnerable pipes is still a good backup. The insulated skirting closes the gap at the perimeter so the other layers work better.
Types of insulated skirting for manufactured homes
- Foam-core composite panels: rigid foam bonded to a weather-resistant facing that looks like stone, brick or lap siding. They install on a top and bottom track much like vinyl skirting.
- Insulated concrete-faced panels: a thin cementitious or stucco-like face over foam. Tough against weed trimmers and impact, heavier to handle.
- Insulated trailer skirting kits: lighter foam panels sized for travel trailers and park models, sometimes held with clips rather than tracks.
- Retrofit foam board behind vinyl: standard rigid foam boards cut to fit between the ground and the rim, with the existing skirting reinstalled in front.
R-Values: Factory Panels vs Rigid Foam Board
R-value measures resistance to heat flow, and more is better. Ordinary vinyl or metal skirting is close to zero. Factory insulated panels commonly fall somewhere around R-5 to R-10 depending on foam thickness and type. Rigid foam board gives you more control:
- Expanded polystyrene (EPS): roughly R-4 per inch, the least expensive, handles some moisture.
- Extruded polystyrene (XPS): roughly R-5 per inch, resists moisture well, a common pick for ground contact.
- Polyisocyanurate (polyiso): roughly R-6 per inch, but it loses some performance in cold and wet conditions, so it is a weaker choice near the ground.
For most retrofits, 1 to 2 inches of XPS or EPS behind existing skirting is a practical target, landing in the R-5 to R-10 range. Going thicker helps less than sealing gaps does, because wind leaking through openings at the top track and corners carries away more heat than a little extra foam saves.
Ventilation Openings Are Still Required
This is where many skirting projects go wrong. Moisture rises from the soil into the crawlspace every day. If the space is sealed tight with no vents, that moisture condenses on the cold belly, framing and ductwork, leading to rot, mold and sagging insulation. Most manufactured home installation standards and local codes call for vent openings in the skirting, typically a set amount of net free vent area per square foot of floor, with vents placed near each corner and spread along the sides for cross flow.
Check your home’s installation manual and your local building or housing authority for the exact requirement. A few practical points apply almost everywhere:
- Keep vents within a few feet of each corner so air moves across the whole space.
- Use vents with screens to keep out rodents and insects.
- Some owners partially close adjustable vents during the coldest weeks; only do this if your local rules and installation manual allow it, and reopen them in spring.
- A ground moisture barrier reduces how much ventilation the space needs to stay dry, but it does not replace vents unless a design professional specifically approves a sealed crawlspace.
Appliance Vents Must Stay Outside the Skirting
Clothes dryers, furnaces and water heaters in manufactured homes often vent downward through the floor. Those exhaust ducts and combustion air openings must terminate outside the skirting, never inside the crawlspace. A dryer venting under the home dumps lint and gallons of water vapor into the space, which feeds mold and creates a fire hazard. A furnace or water heater exhaust or combustion air inlet trapped behind skirting can lead to poor combustion and carbon monoxide problems.
When you add insulated skirting or foam board, look for every duct or pipe that drops below the floor. Extend dryer ducts through the skirting with a proper exterior hood, and leave furnace and water heater vents and combustion air openings exactly as the manufacturer designed them. If a fuel-burning appliance vent looks like it ends under the home, have an HVAC technician or the appliance installer correct it before you close up the skirting.
Moisture Barrier and Access Panel
Lay a ground vapor barrier before installing the skirting. Six-mil polyethylene sheeting is the common minimum; heavier sheeting holds up better if you crawl under the home often. Overlap seams by a foot or more and run the edges a few inches up the inside of the skirting or foam. Make sure the ground slopes away from the home outside so rainwater does not pool against the panels.
Every skirting installation also needs an access panel big enough for a person to crawl through, placed near the water shutoff and drain lines if possible. Insulate the access panel to match the rest of the skirting and give it a latch that you can open quickly in winter if a pipe needs attention.
Tools and Materials
- Insulated skirting panels or rigid foam insulation board (XPS or EPS for ground contact)
- Top and bottom track or channel, fasteners suited to the rim material
- Foam-safe construction adhesive and canned foam sealant for gaps
- Screened vent units and an insulated access door
- Six-mil or heavier polyethylene ground barrier
- Utility knife, straightedge, tape measure, level, drill
- Gloves, safety glasses and a dust mask for cutting foam
Installing Foam Board Behind Existing Skirting
- Remove the existing skirting panels carefully and label them in order.
- Inspect the crawlspace. Look for leaks, torn belly wrap, damaged ducts and any appliance vents that end under the home. Fix those first.
- Lay the ground barrier and weigh or pin the edges.
- Cut foam board so it runs from just below grade up to the rim. Allow a small gap at the top for frost heave, then seal that gap with flexible foam sealant.
- Attach the foam to the inside face of the track or to the rim with foam-safe adhesive and a few fasteners.
- Cut vent openings through foam and skirting together, at the spacing your rules require, and install screened vents.
- Frame the access opening and fit an insulated door.
- Reinstall the outer skirting and seal corners and track joints.
Factory insulated systems follow a similar sequence, except the panels replace both the foam and the old skirting.
Troubleshooting
- Pipes still freezing: check for gaps at the top track and corners, torn belly wrap near the pipe, or a vent placed directly beside the water line. Add heat tape rated for the pipe type as backup.
- Musty smell or damp insulation: not enough ventilation, a missing ground barrier, a plumbing leak or a dryer venting inside the skirting.
- Panels bowing: frost heave pushing from below. Leave an expansion gap and use a floating bottom track.
- Rodent damage: foam is easy for animals to chew. Add hardware cloth at the base and keep vents screened.
Cost Ranges and When to Call a Pro
Adding rigid foam behind existing skirting is the budget route, often a few hundred dollars in materials for a single-section home and more for a double-section. Factory insulated skirting costs several times more than plain vinyl, and professionally installed systems for a typical home commonly run into the low thousands. Labor depends heavily on ground conditions and home length.
Call a skirting installer if the ground is uneven or rocky, the home sits high, or you want an engineered sealed crawlspace. Bring in a licensed plumber for damaged or repeatedly freezing water lines, and an HVAC technician for ductwork or any furnace or water heater venting concerns.
Frequently Asked Questions
Does insulated mobile home skirting need vents?
Yes. Most installation standards and local rules require vent openings so ground moisture can escape. Insulation and vents work together rather than against each other.
What R-value should skirting insulation have?
Roughly R-5 to R-10 covers most climates. That is 1 to 2 inches of extruded or expanded polystyrene foam board.
Can I put foam board behind vinyl skirting?
Yes. Cut rigid foam to fit inside the skirting, attach it with foam-safe adhesive, seal gaps and cut matching vent openings.
Will insulated skirting stop pipes from freezing?
It greatly lowers the risk by keeping the crawlspace warmer, but heat tape and intact belly insulation are still smart backups in very cold areas.
Can my dryer vent under the mobile home?
No. Dryer, furnace and water heater vents must end outside the skirting to prevent moisture, lint buildup and combustion hazards.